

Add buyers from successful Payhip transactions to a Mailchimp audience
Every successful Payhip transaction sends the buyer to your Mailchimp audience, adding them as a new member or updating their record if they are already on the list.
 Payhip
 Mailchimp
2 steps Setup ~5 min Used on 915 sites Free to import
What this workflow does
People who buy your ebook, course or download are the readers most likely to want your next release. Payhip records each sale, but copying buyer emails into Mailchimp by hand is easy to forget. This workflow moves each buyer across as the sale completes.
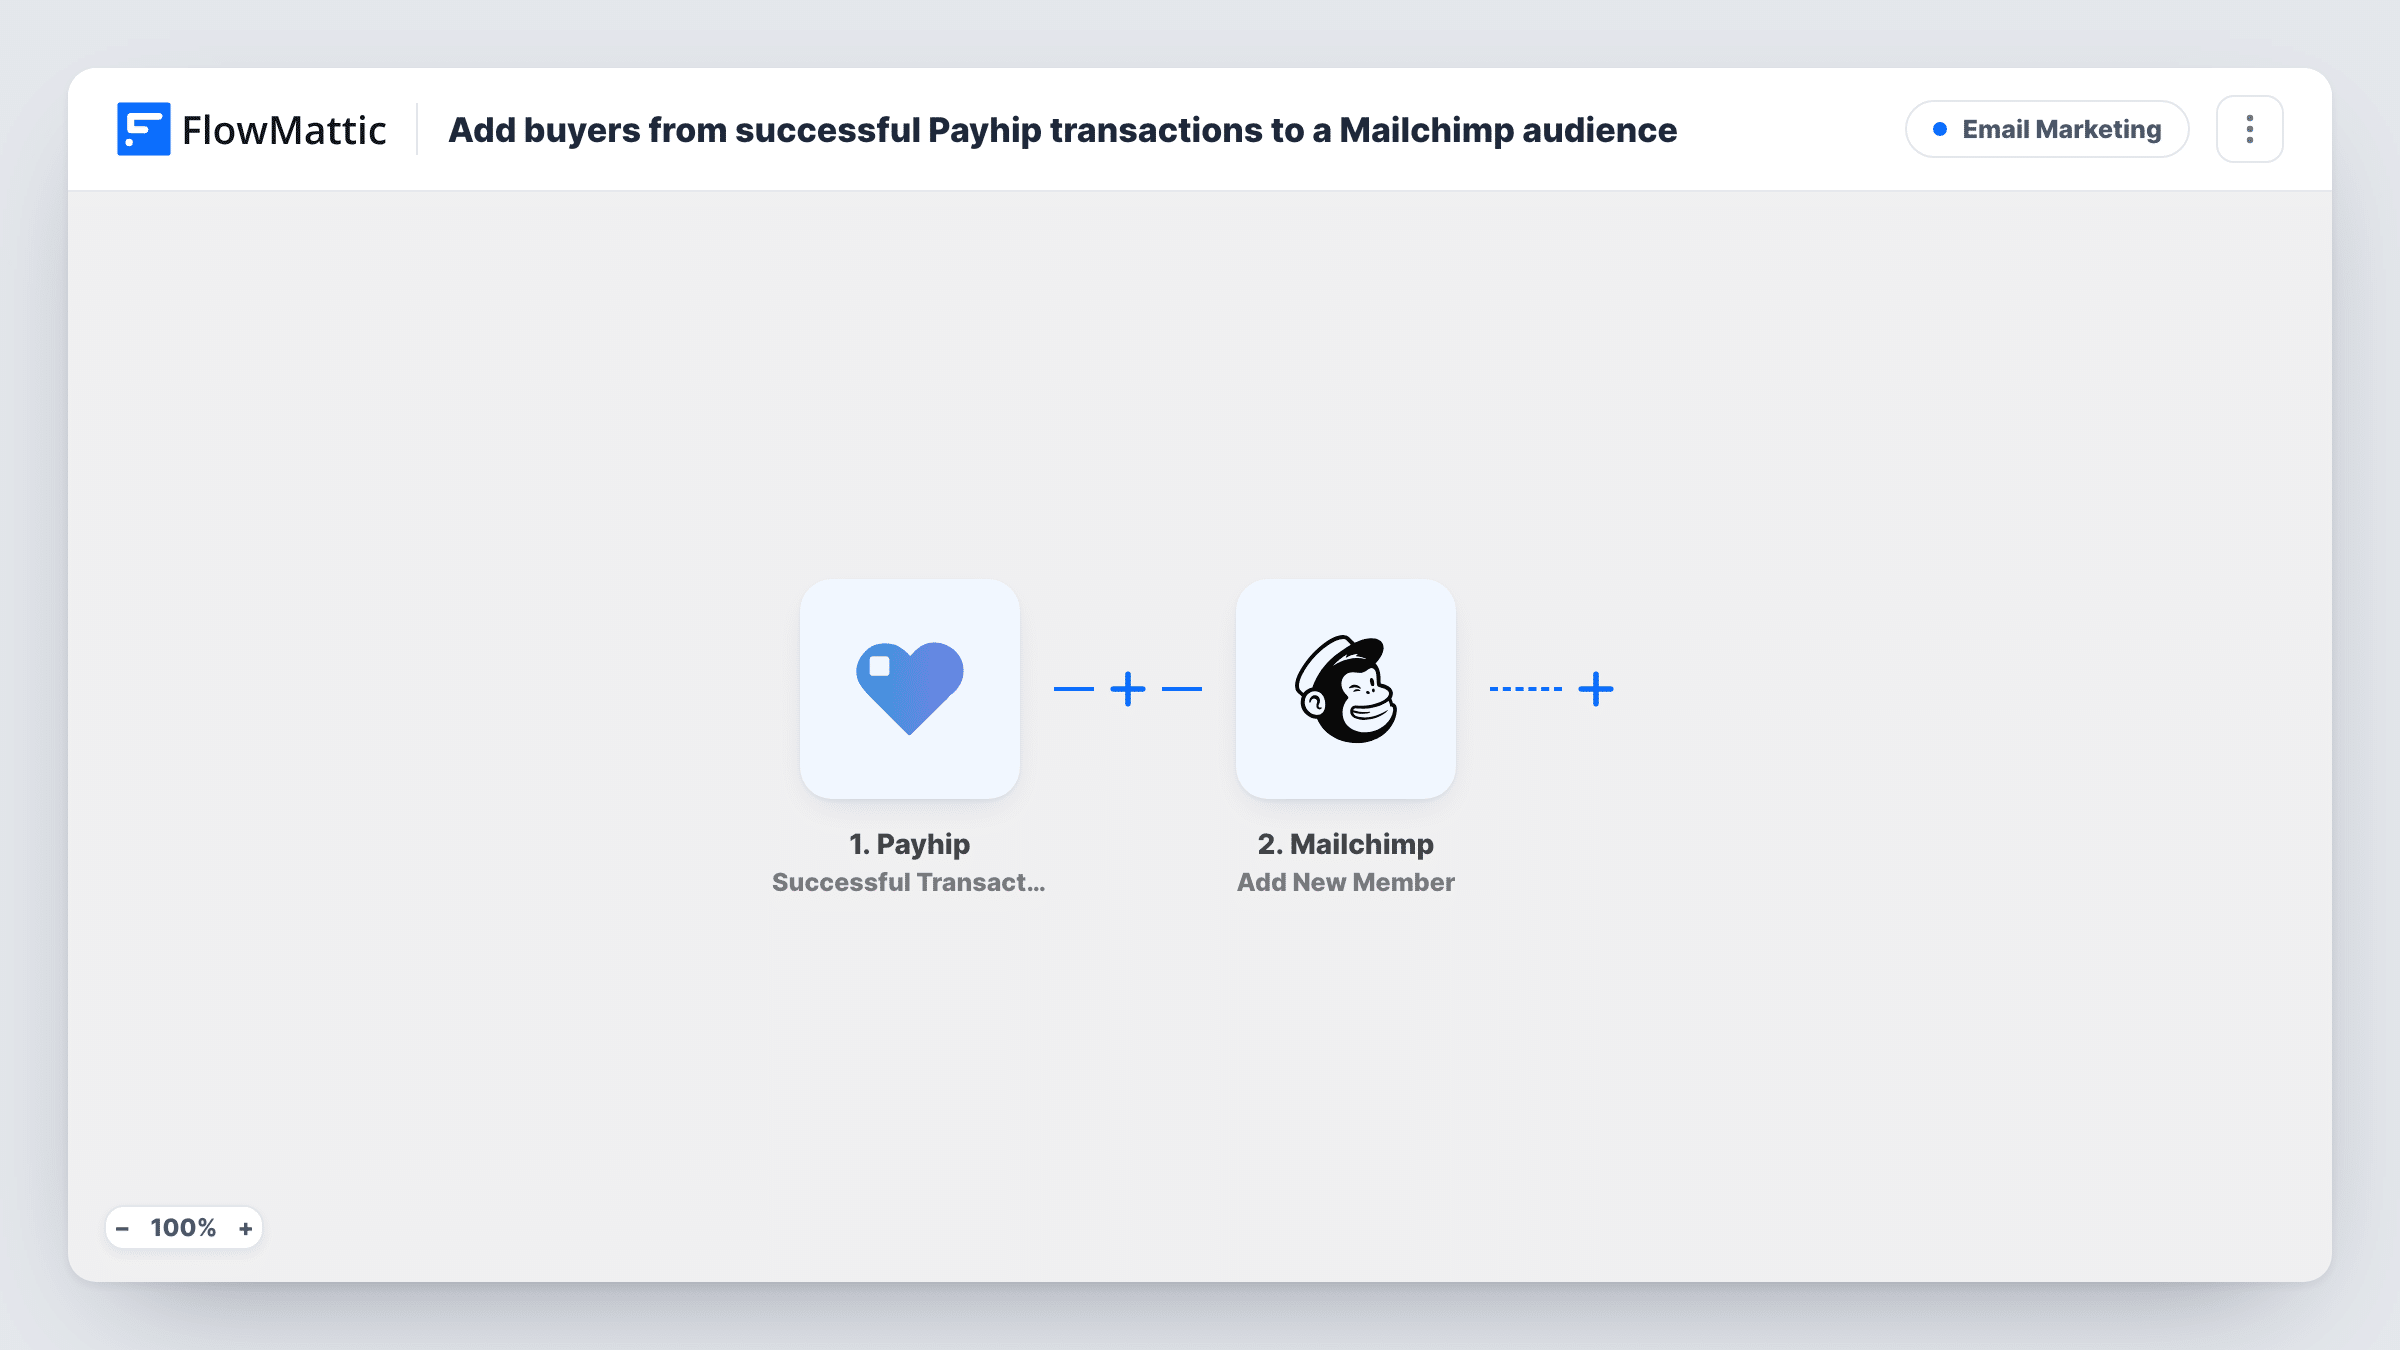
The Payhip trigger fires when a successful transaction is made. The transaction details, including the buyer's email address, come into FlowMattic for mapping. The Mailchimp step then uses Add New Member. It adds the buyer to the audience you choose, or updates them if that address is already a member.
Because the action updates existing members, a returning customer stays as one Mailchimp record. Their details are refreshed from the latest sale, so a field left blank in that transaction may overwrite a value you had. Only successful transactions start a run. Task History logs each one, with the data that went to Mailchimp and its reply.
Announce your next ebook to past buyers
An author selling on Payhip builds an audience of people who have paid for a book, ready for a launch email when the sequel is out.
Course creator follow-up
Students who buy a course on Payhip join the Mailchimp audience you use for lesson tips and update notices about the course.
Template and asset shops
A designer selling digital templates keeps every buyer in one audience and emails them when a new pack goes live.
How this workflow runs
What happens at each step once the workflow is on, and what you need before you import it.
 Payhip Successful Transaction
Fires whenever a Payhip transaction succeeds. The sale's details, including the buyer's email, become available to map into the Mailchimp step.
- Mailchimp Add New Member
Adds the buyer to your chosen Mailchimp audience as a new member, or updates them if the address is already there. Map the Payhip buyer email, plus any name values the transaction carries.
What you need
- FlowMatticCore
- Payhip AccountAccount
- Mailchimp AccountAccount
After importing, map your own data. To keep the template universal, not every step is pre-filled. Open each step in the builder and connect your accounts and fields (channels, lists, sheets, recipients) before you switch the workflow on.
Make it yours
Changes worth making after you import it.
- Make sure you have consent to email buyers before you turn this on. Payhip checkout terms and your privacy policy should cover adding them to your Mailchimp audience.
- Run one test purchase after import so FlowMattic captures the Payhip transaction fields, then map them in the Mailchimp step.
- To keep buyers of one product in their own audience, add a Router with a route per product, using a value from the transaction that names it, and a Mailchimp step on each route.
Questions about this workflow
What happens if the Payhip buyer is already in my Mailchimp audience?
Mailchimp keeps one record for that address, because Add New Member updates a member who already exists. Values from the new transaction replace what Mailchimp held, so a blank value can overwrite an existing field.
Do refunded or failed Payhip payments reach Mailchimp?
The trigger fires on successful transactions. A refund later does not remove the buyer from your audience; you would need to do that yourself.
Are past Payhip buyers added?
No. Only transactions that succeed after you turn the workflow on start a run, so earlier buyers need a one-off import into Mailchimp.
Do I need anything installed on WordPress for Payhip?
No. Payhip and Mailchimp are both connected through their accounts. FlowMattic runs the workflow from your WordPress site.
More Email Marketing workflows
Other ready-to-import templates from the same category.





Import this workflow into your WordPress site
Download the JSON, import it from the Workflows screen and connect your accounts. Every run stays on your server, with no per-task fees.
30-day money-back guarantee Unlimited workflows and runs Self-hosted