

Log every new AnnounceKit post to a Google Sheets spreadsheet
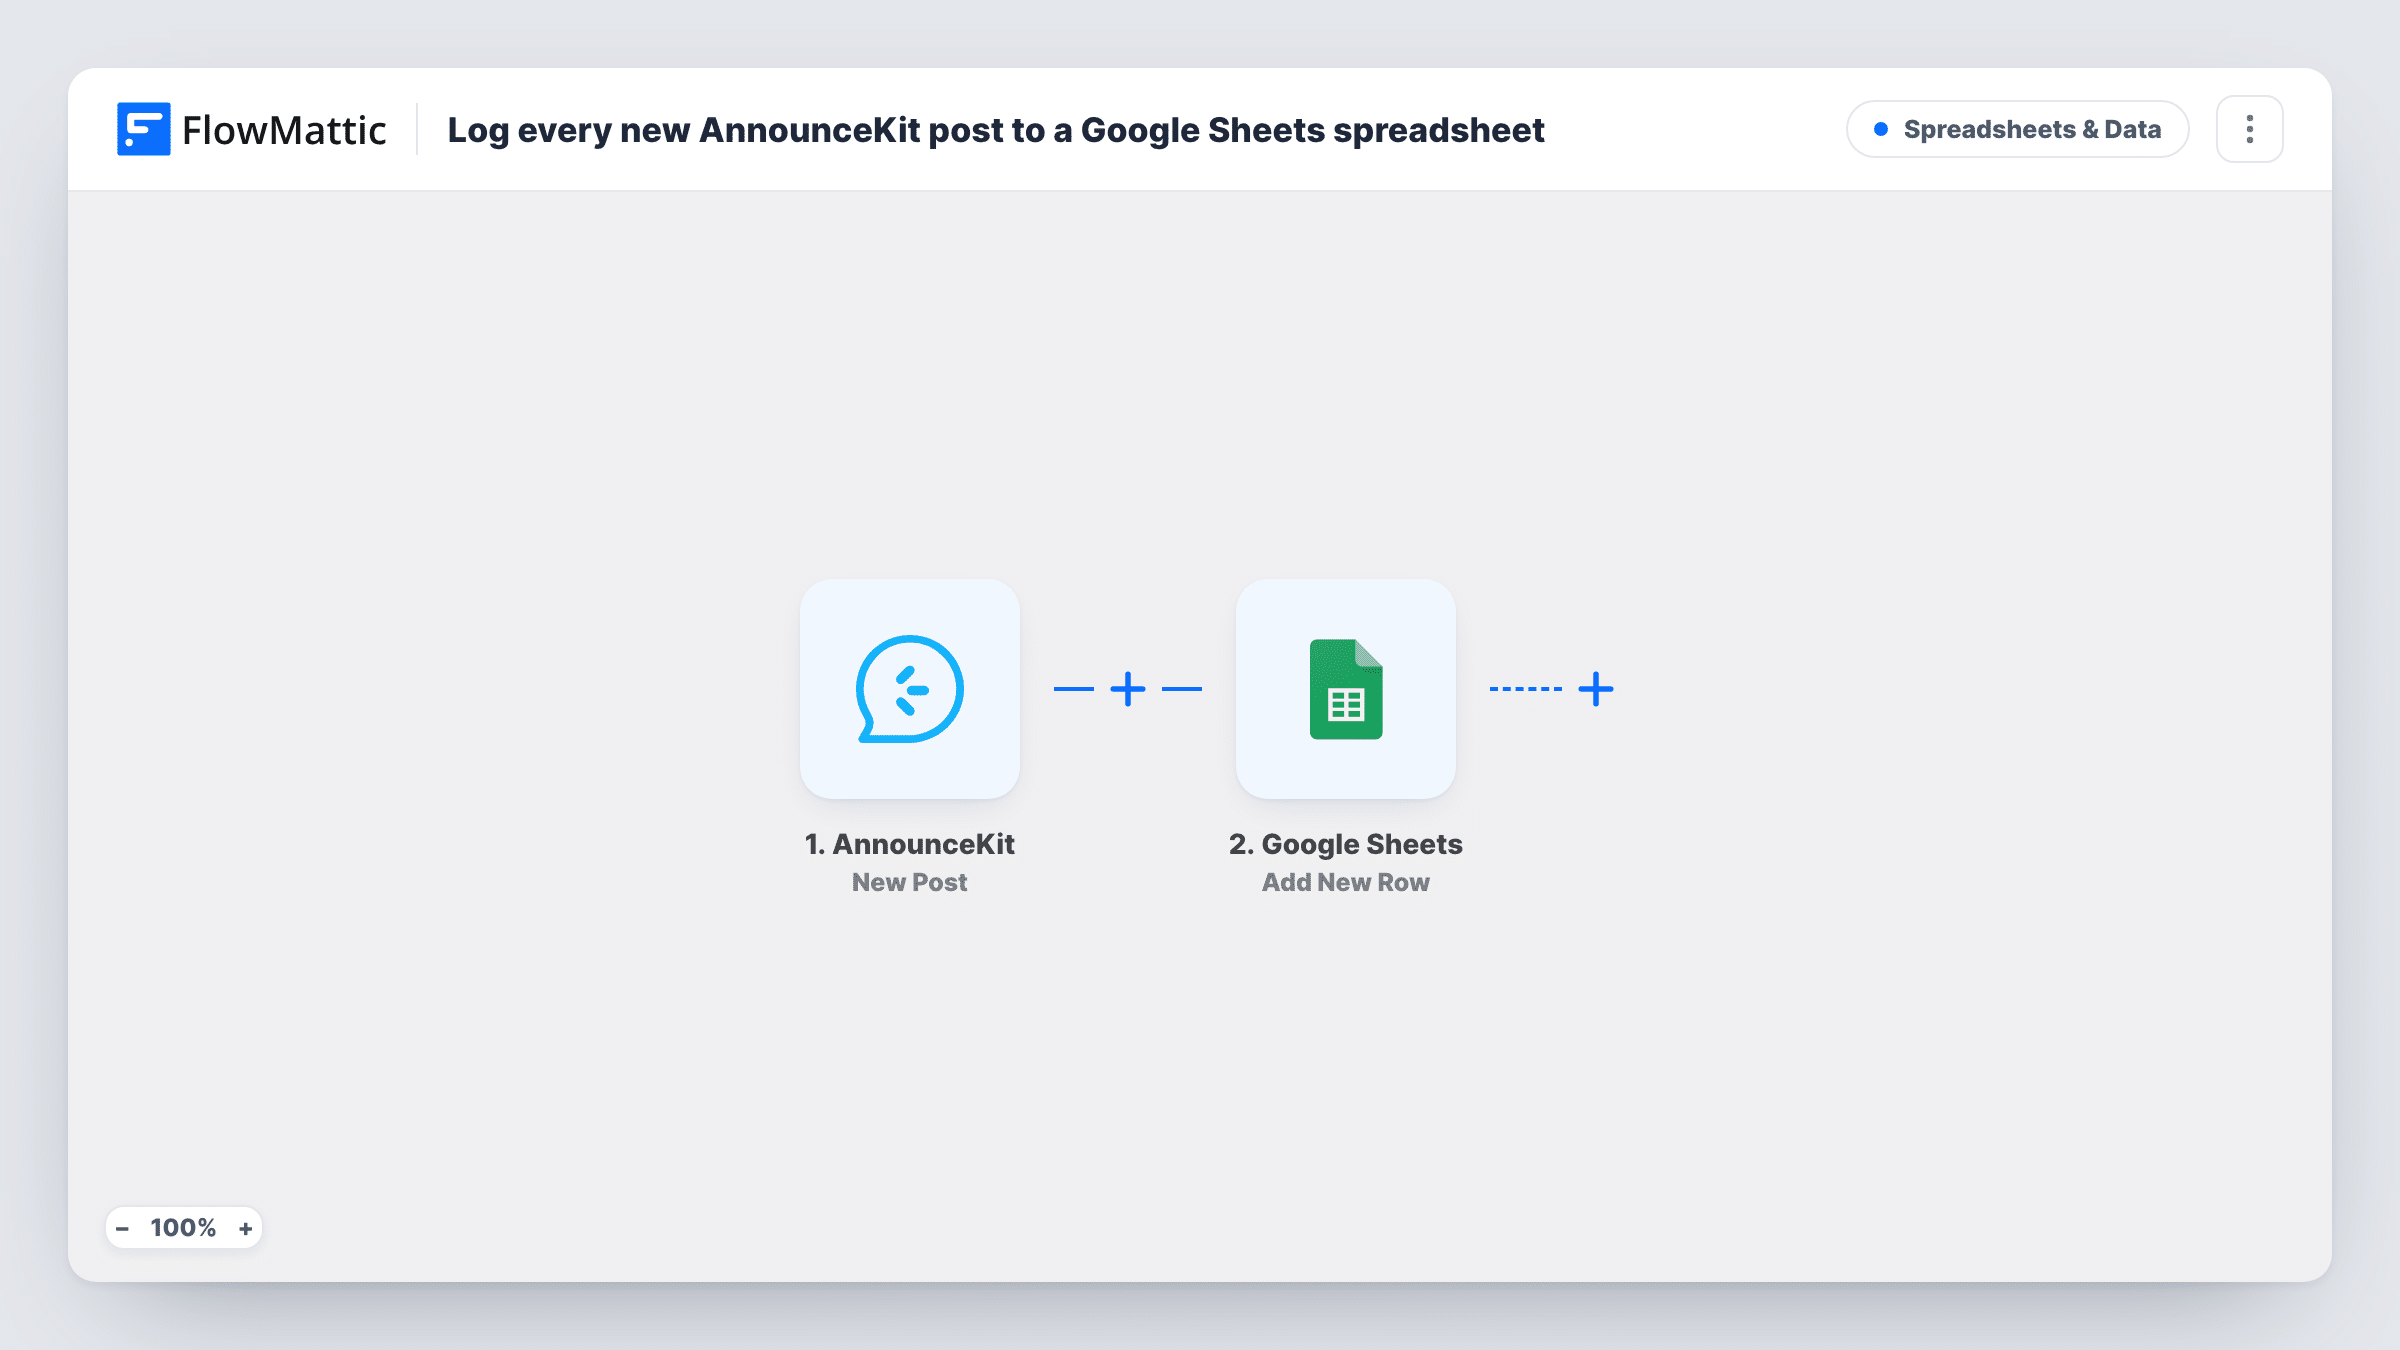
Each time a post is created in AnnounceKit, this workflow adds a row to Google Sheets with the details you map, building a spreadsheet record of your product announcements.
 AnnounceKit
 Google Sheets
2 steps Setup ~5 min Used on 3.5k sites Free to import
What this workflow does
AnnounceKit shows your product updates to users in a widget or feed. It is less handy when you want a plain list of everything you announced, for a release review, a monthly report or a handover to another team. This workflow keeps that list for you in a spreadsheet.
The AnnounceKit trigger fires when a new post is created. FlowMattic passes the post data to Google Sheets, where Add New Row writes it to the spreadsheet you select. You choose which details of the post go into which column when you set up the step.
The sheet grows by one row per post. Because it only reacts to new posts, edits you make to an announcement afterwards are not copied, so the row keeps the details as they were sent. Every run shows up in Task History if you need to check one.
Release history for the support team
Support agents search a shared sheet to see when a feature was announced, without needing an AnnounceKit login.
Monthly product update report
At the end of each month you filter the sheet by date and paste the list of announcements into your report to stakeholders.
Keeping a record outside AnnounceKit
You want your announcement history stored in your own Google account as well, so it stays available if you reorganise your AnnounceKit feed.
How this workflow runs
What happens at each step once the workflow is on, and what you need before you import it.
 AnnounceKit New Post
Fires when a new post is created in AnnounceKit. The post's data is passed on so you can place it in the sheet's columns.
- Google Sheets Add New Row
Writes a row to the Google Sheets spreadsheet you choose, using the AnnounceKit post data you mapped. Connect your Google account and match columns to post details.
What you need
- FlowMatticCore
- AnnounceKit AccountAccount
- Google Sheets AccountAccount
After importing, map your own data. To keep the template universal, not every step is pre-filled. Open each step in the builder and connect your accounts and fields (channels, lists, sheets, recipients) before you switch the workflow on.
Make it yours
Changes worth making after you import it.
- Create a test post in AnnounceKit after import so FlowMattic captures real post data, then map the columns and look at the row it produces.
- Add a header row in the sheet before mapping, with one column per post detail you care about, so the log reads clearly to others.
- Add a second action after the sheet, such as a Slack or email step, if the same new post should also be shared with your team.
Questions about this workflow
Are AnnounceKit posts published before I import this added to the sheet?
No. Only posts created after the workflow is switched on reach Google Sheets. Add older announcements to the sheet by hand if you want a full history.
Does editing an AnnounceKit post update its row in Google Sheets?
No. The workflow only reacts to new posts and always adds a row. Changes made to a post later are not sent to the sheet.
Which post details can go into the AnnounceKit log sheet?
Whatever the New Post trigger passes to FlowMattic. Run a test post and check the captured data to see what you can map into columns.
Do I need an AnnounceKit account to use this?
Yes. You connect your AnnounceKit account to the trigger and a Google account to the Google Sheets step when you set up the workflow.
More Spreadsheets & Data workflows
Other ready-to-import templates from the same category.




Import this workflow into your WordPress site
Download the JSON, import it from the Workflows screen and connect your accounts. Every run stays on your server, with no per-task fees.
30-day money-back guarantee Unlimited workflows and runs Self-hosted