

When a new message is created in Harvestr, add row in Google Sheets
Each new message created in Harvestr is added as a row in your Google Sheets spreadsheet, so the customer feedback your team collects is in a sheet you can sort, filter and share outside Harvestr.
 Harvestr
 Google Sheets
2 steps Setup ~5 min Used on 1.6k sites Free to import
What this workflow does
Harvestr gathers customer feedback as messages from many channels into one place for product teams. Sometimes you still want those messages in a spreadsheet: to share with people who don't have a Harvestr seat, to count requests by theme, or to keep a plain backup. This workflow copies each new message into Google Sheets as it is created.
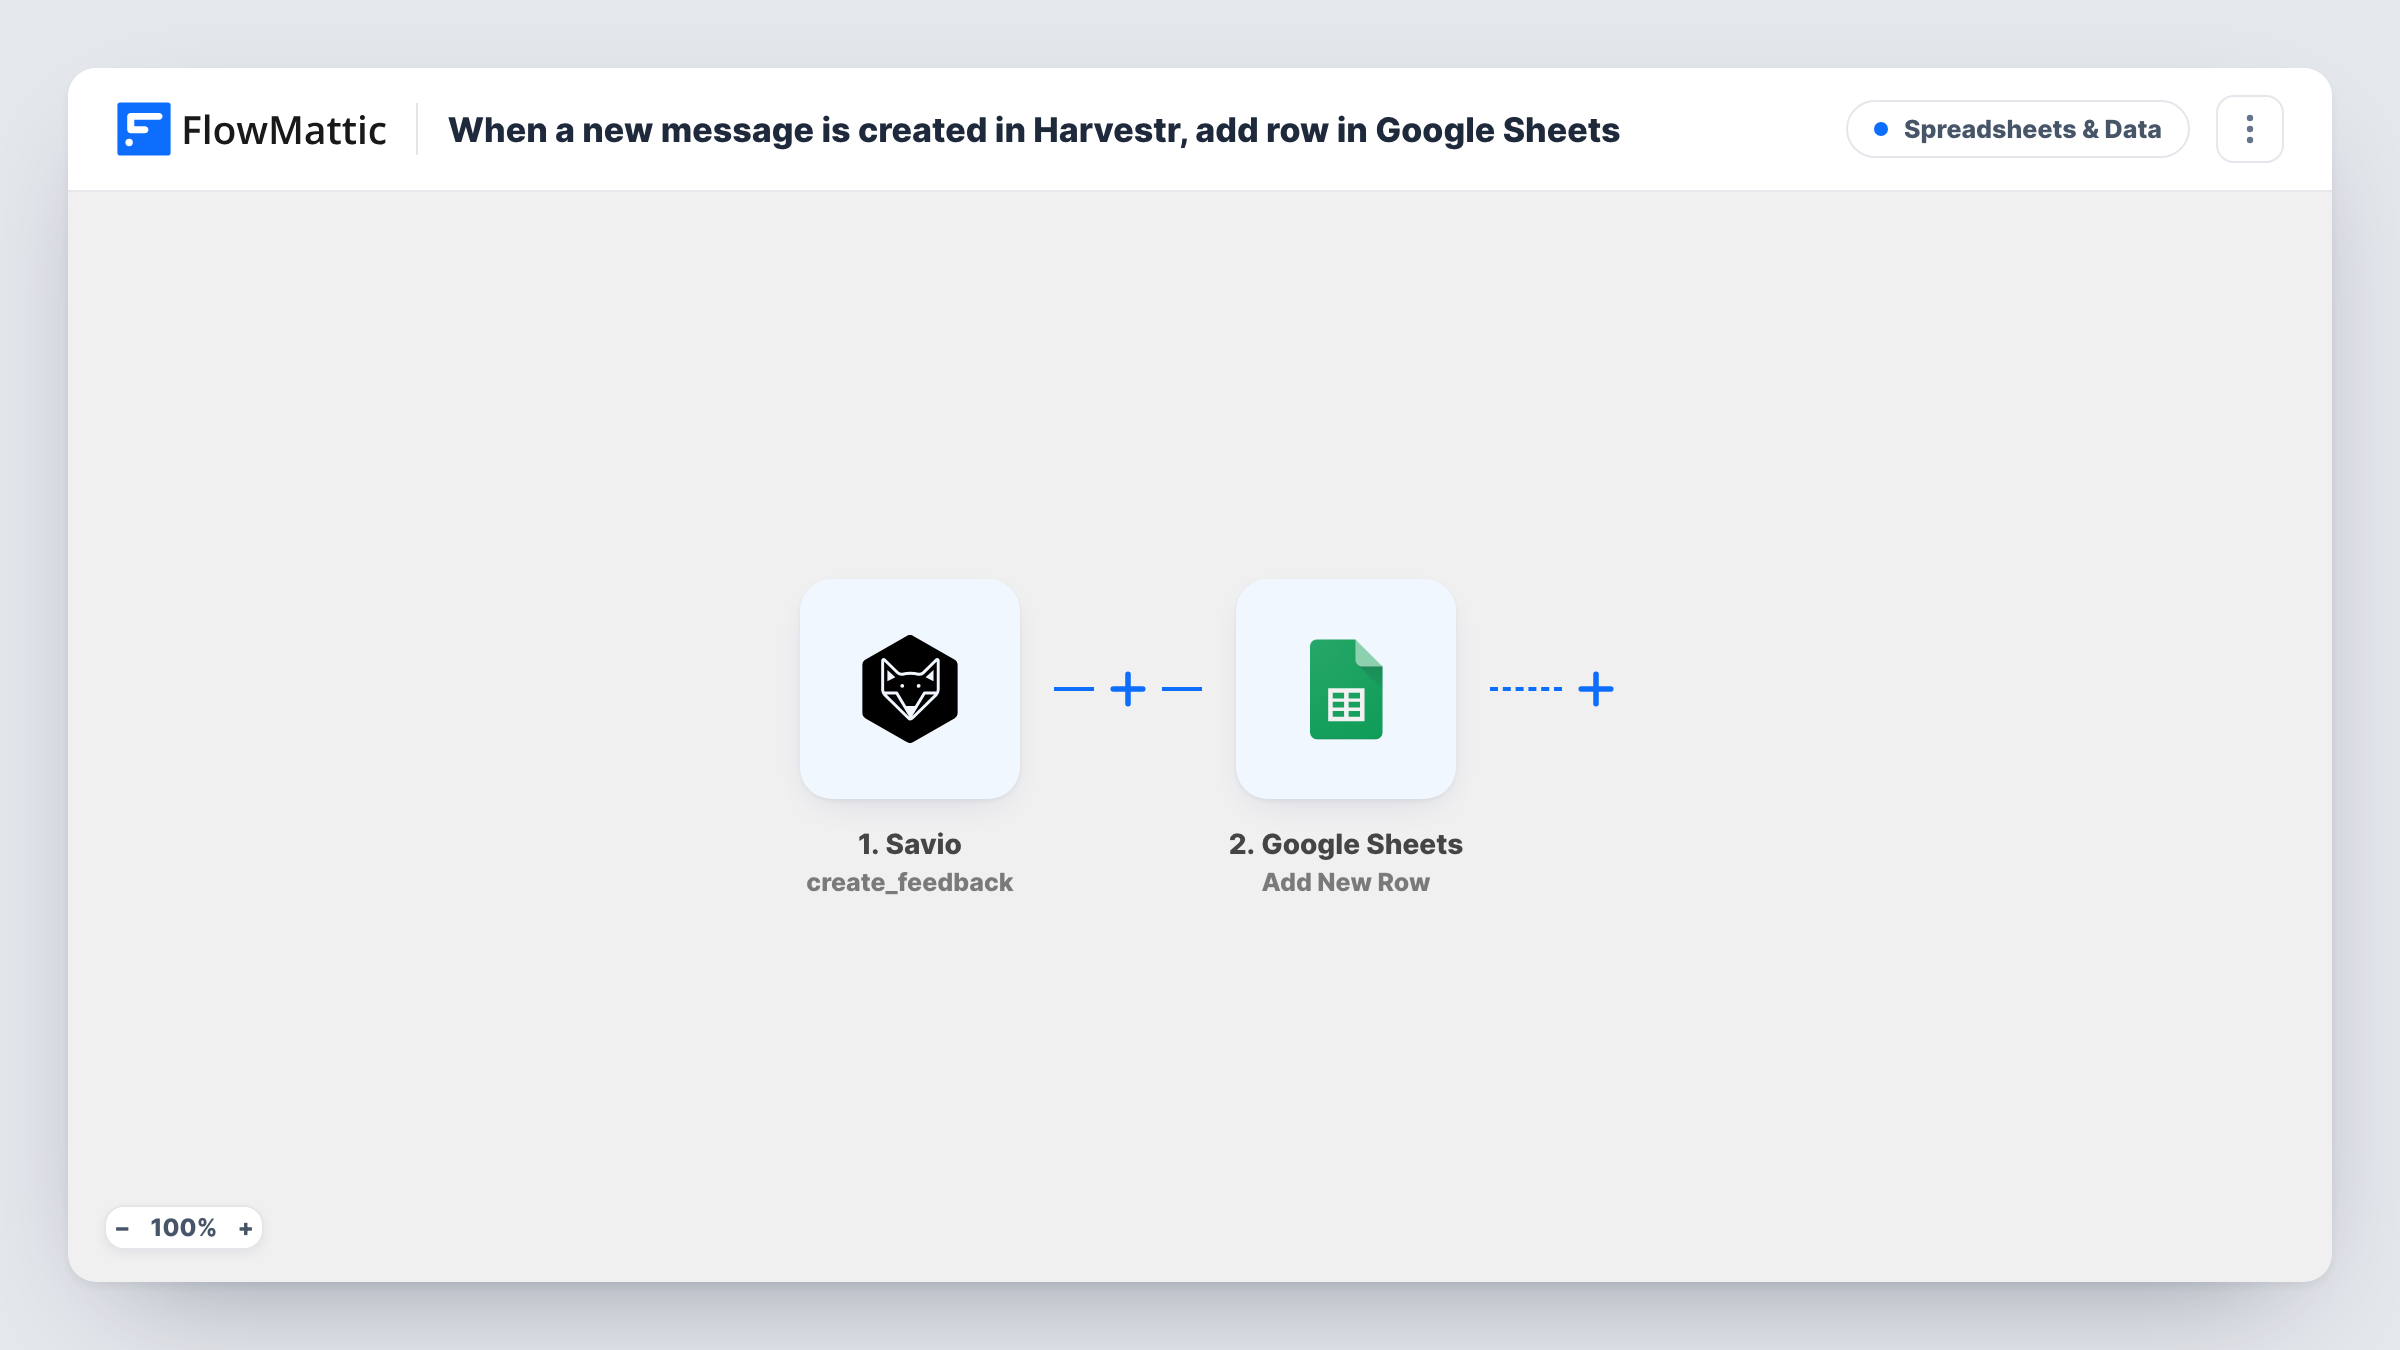
The Harvestr trigger, Message Created, fires when a new message is created and passes the message's data to FlowMattic. Create a test message after import to see which values Harvestr includes, such as the message text, its title and who it came from.
The Google Sheets step, Add New Row, then writes those values into your sheet. The step ships unmapped: connect your Google account, choose the spreadsheet and sheet, and match the Harvestr values to your column headers. Add a date column so you can sort feedback by when it arrived.
Every new message adds one row, without any conditions. Edits made to a message later in Harvestr don't update its row, since only Message Created starts a run. Task History lists each run if you need to check what Harvestr sent.
Feedback digest for the leadership team
A product manager shares a Google Sheet of new Harvestr messages with executives who don't log in to Harvestr, so they can read what customers are asking for.
Counting requests by source
A team maps the message's source into a column, then uses a pivot table to see which channels bring in the most feedback each month.
A plain backup of customer messages
A startup keeps a spreadsheet copy of every Harvestr message so the raw feedback is available even outside the tool.
How this workflow runs
What happens at each step once the workflow is on, and what you need before you import it.
 Harvestr Message Created
Starts when a new message is created in Harvestr. The message's data, such as its text and requester, is passed on. A test message after import shows the exact values available.
- Google Sheets Add New Row
Writes one row per Harvestr message into your spreadsheet. The step ships unmapped: choose the spreadsheet and sheet, then match each Harvestr value to a column header.
What you need
- FlowMatticCore
- Harvestr AccountAccount
- Google Sheets AccountAccount
After importing, map your own data. To keep the template universal, not every step is pre-filled. Open each step in the builder and connect your accounts and fields (channels, lists, sheets, recipients) before you switch the workflow on.
Make it yours
Changes worth making after you import it.
- Set up the header row in Google Sheets before you map the step, with columns such as date, requester, title and message, so each value has an obvious place.
- To log only some messages, put a Filter between the Harvestr trigger and the Google Sheets step, for example continuing when the message text contains a product name. The keyword is an example to replace with your own.
- Keep a Status column the workflow leaves empty, so your team can mark each message as read or followed up in the sheet.
Questions about this workflow
Are older Harvestr messages copied into Google Sheets?
No. Only messages created after the workflow is active start a run, so add older feedback to the sheet by hand if you need it there.
What happens to the row when a Harvestr message is edited?
Nothing. The row keeps the values from when the message was created. Harvestr also has a Message Updated trigger in FlowMattic if you want a separate workflow for edits.
Which Harvestr values become columns in the sheet?
You decide, column by column, in the row step. Nothing is mapped as shipped, so you choose them after a test message.
More Spreadsheets & Data workflows
Other ready-to-import templates from the same category.



Import this workflow into your WordPress site
Download the JSON, import it from the Workflows screen and connect your accounts. Every run stays on your server, with no per-task fees.
30-day money-back guarantee Unlimited workflows and runs Self-hosted