

Send a Zenzap message for each new Gravity Forms entry
Each new Gravity Forms entry on your WordPress site sends a text message to a Zenzap topic, so your team reads new requests and leads in their chat instead of the form inbox.
 Gravity Forms
 Zenzap
2 steps Setup ~5 min Used on 2.4k sites Free to import
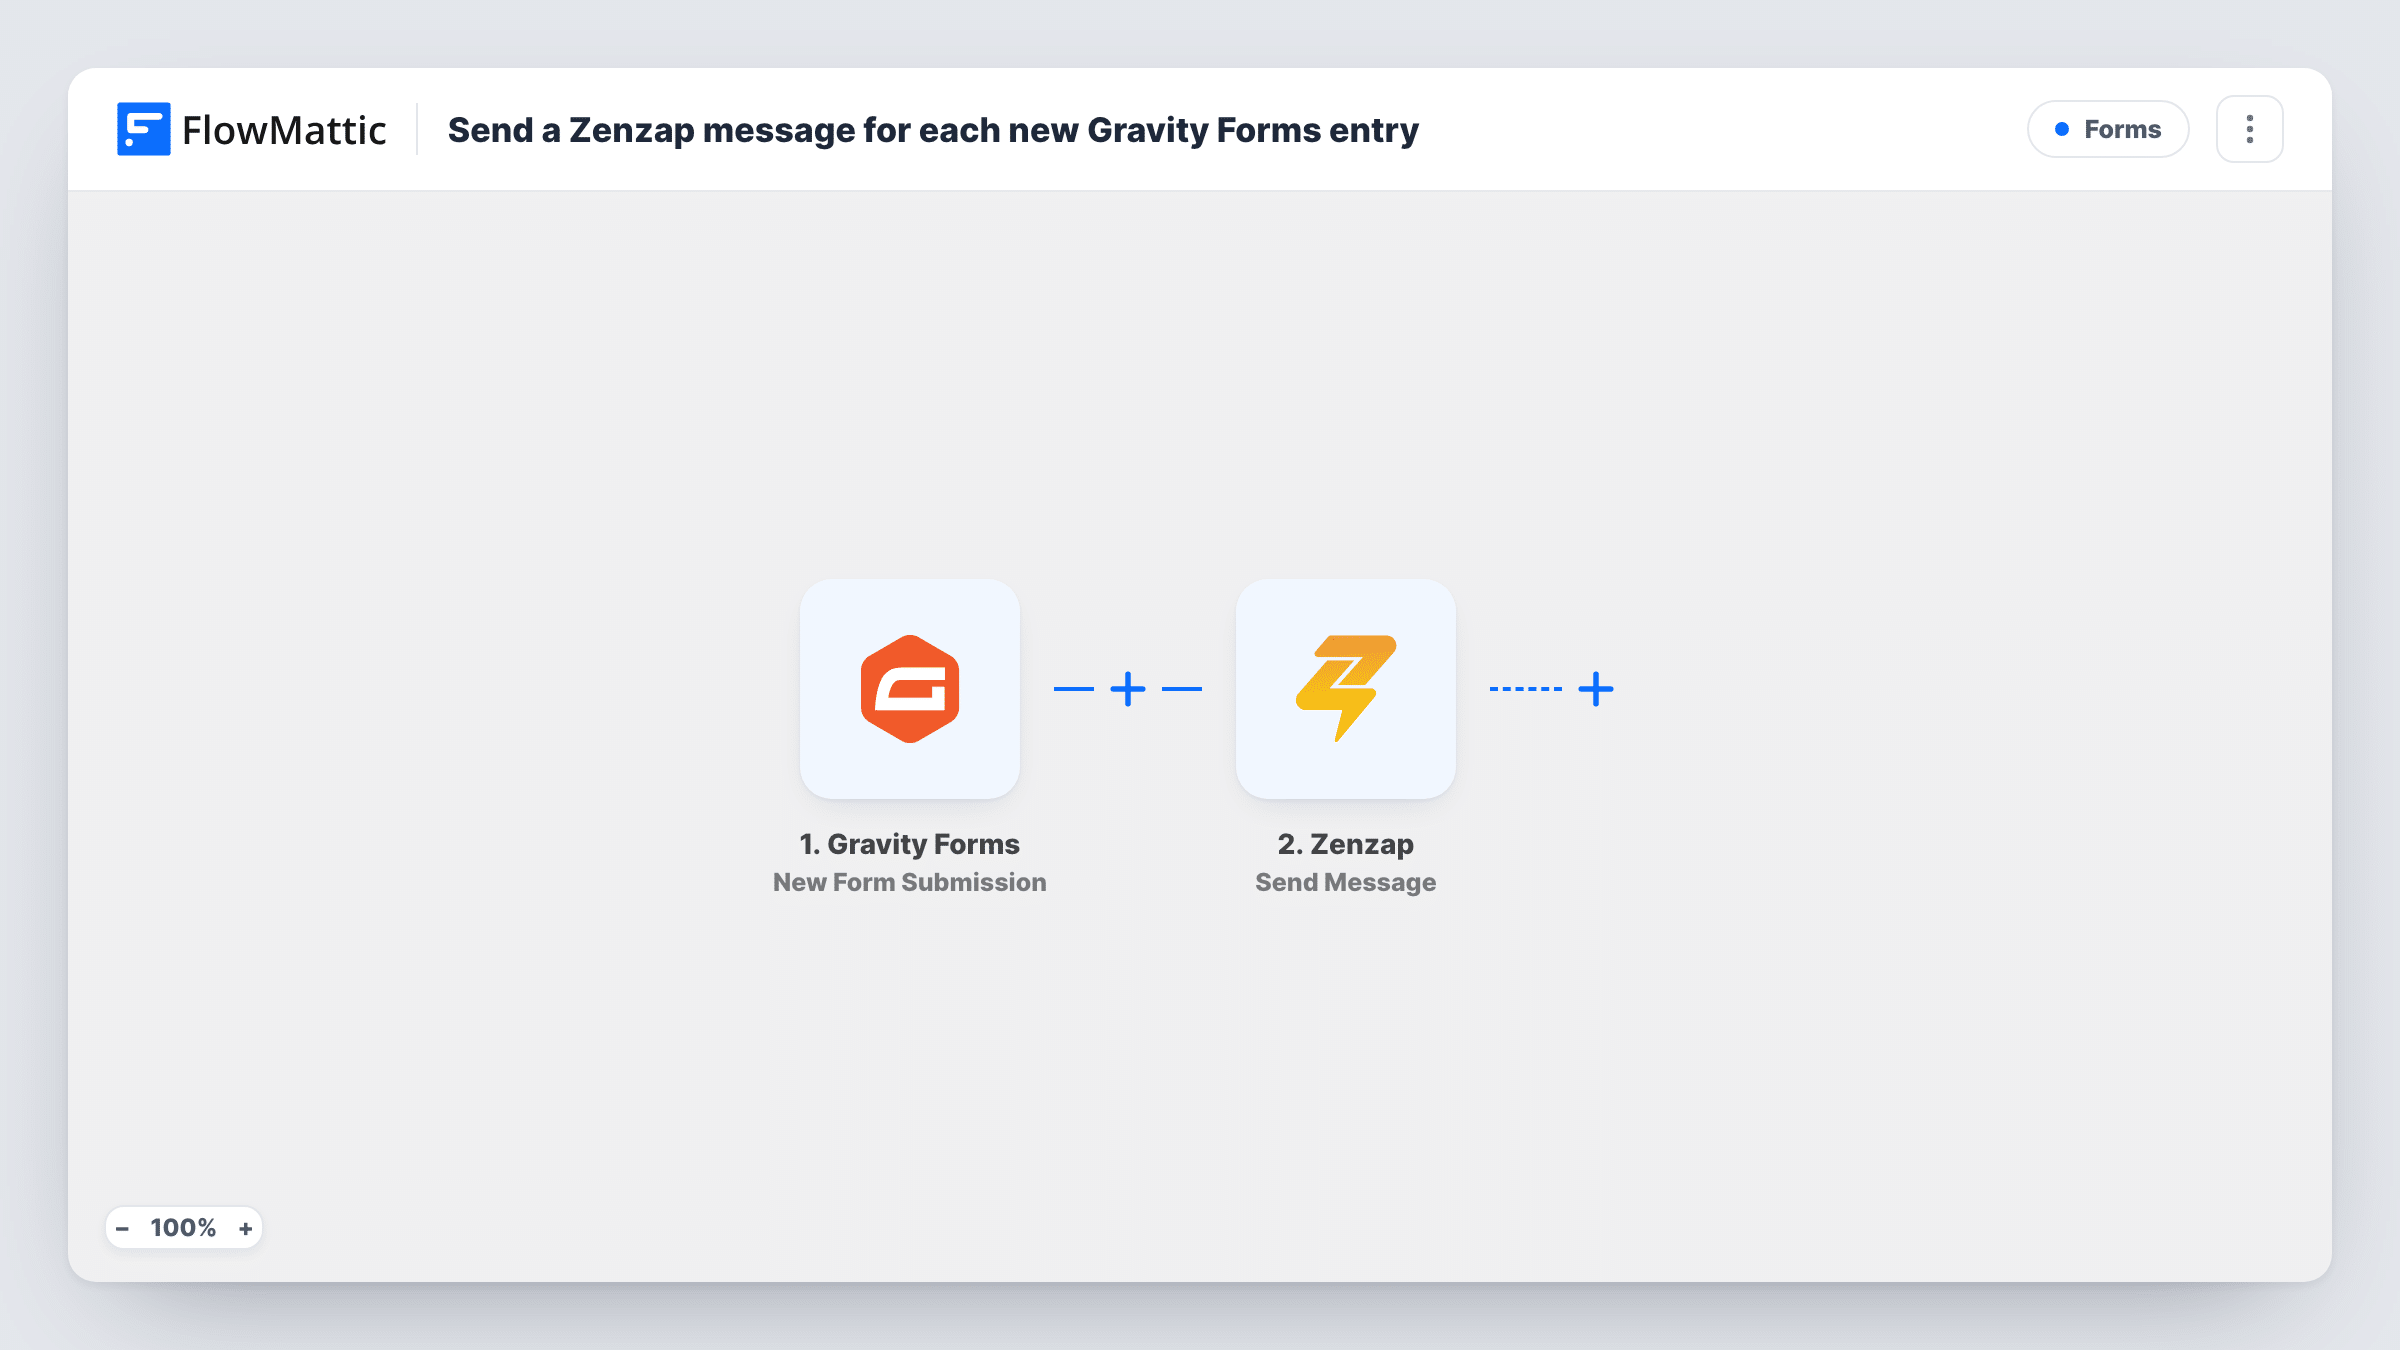
What this workflow does
Gravity Forms stores every entry in WordPress and can email a notification, but those emails are easy to miss and hard to discuss as a team. If your team talks in Zenzap, it makes sense for new entries to show up there. This workflow posts each one to a Zenzap topic.
The Gravity Forms trigger runs on New Form Submission, after a visitor submits a form. Every answer from that entry can be mapped. FlowMattic then calls Zenzap with Send Message, which posts a text message to the topic you set. You decide the wording and which answers to include, for example the name, email and message fields.
The entry itself stays in Gravity Forms, and your existing form notifications keep working. With no Filter in the template, each entry that reaches the trigger posts one message to Zenzap.
Agency contact form
Project enquiries from the agency's Gravity Forms contact page appear in a Zenzap topic, where the team agrees who replies before the lead goes cold.
Maintenance requests from tenants
A property manager's repair request form posts each entry to a Zenzap topic read by the maintenance crew, with the unit number and problem in the message.
Event volunteer sign-ups
Organisers see each volunteer who signs up through Gravity Forms in their Zenzap topic and can assign shifts from there.
How this workflow runs
What happens at each step once the workflow is on, and what you need before you import it.
 Gravity Forms New Form Submission
Starts the run each time someone sends in a Gravity Forms entry. All fields from that entry are passed on for use in the Zenzap message.
- Zenzap Send Message
Posts a text message to the Zenzap topic set in this step. Write the message and map in the Gravity Forms answers your team needs to see.
What you need
- FlowMatticCore
- Gravity Forms PluginPlugin
- Zenzap AccountAccount
After importing, map your own data. To keep the template universal, not every step is pre-filled. Open each step in the builder and connect your accounts and fields (channels, lists, sheets, recipients) before you switch the workflow on.
Make it yours
Changes worth making after you import it.
- Add a Filter on a dropdown or checkbox field so only entries of one type, such as urgent requests, reach Zenzap.
- Use a Router to send entries to different Zenzap topics based on a department field, giving each route its own Send Message step.
- Submit a test entry after import so the Gravity Forms field values are captured, then build the Zenzap message from them.
Questions about this workflow
Do my Gravity Forms confirmations and notifications change once Zenzap is added?
No. FlowMattic picks up the entry after it is submitted and leaves your form settings alone, so confirmations and notification emails work as before.
Can I include file uploads from the Gravity Forms entry in Zenzap?
The Send Message step sends text, so you can map in an upload field's value as part of the message. Run a test entry to see what that field contains.
Do all Gravity Forms entries post to the same Zenzap topic?
Yes, as imported. Every entry goes to the topic set in the Send Message step. Add a Router if different forms or answers should go to different topics.
Is the Gravity Forms data sent anywhere else?
Only to Zenzap, and only the fields you place in the message. The full entry stays in Gravity Forms on your site.
More Forms workflows
Other ready-to-import templates from the same category.








Import this workflow into your WordPress site
Download the JSON, import it from the Workflows screen and connect your accounts. Every run stays on your server, with no per-task fees.
30-day money-back guarantee Unlimited workflows and runs Self-hosted