

When a ticket is created in NeetoDesk, create a new contact in Sendinblue (Brevo)
When a ticket is created in NeetoDesk, this workflow creates a contact in Brevo from the ticket’s details, so the people who write to support also appear in your email marketing contacts.
 NeetoDesk
 Brevo ( Sendinblue )
2 steps Setup ~5 min Used on 1.4k sites Free to import
What this workflow does
Customers who contact support are often the ones you most want to keep informed about fixes, updates and new features. Their details sit in your helpdesk, though, not in your email tool. This workflow copies each ticket's requester into Brevo when the ticket comes in.
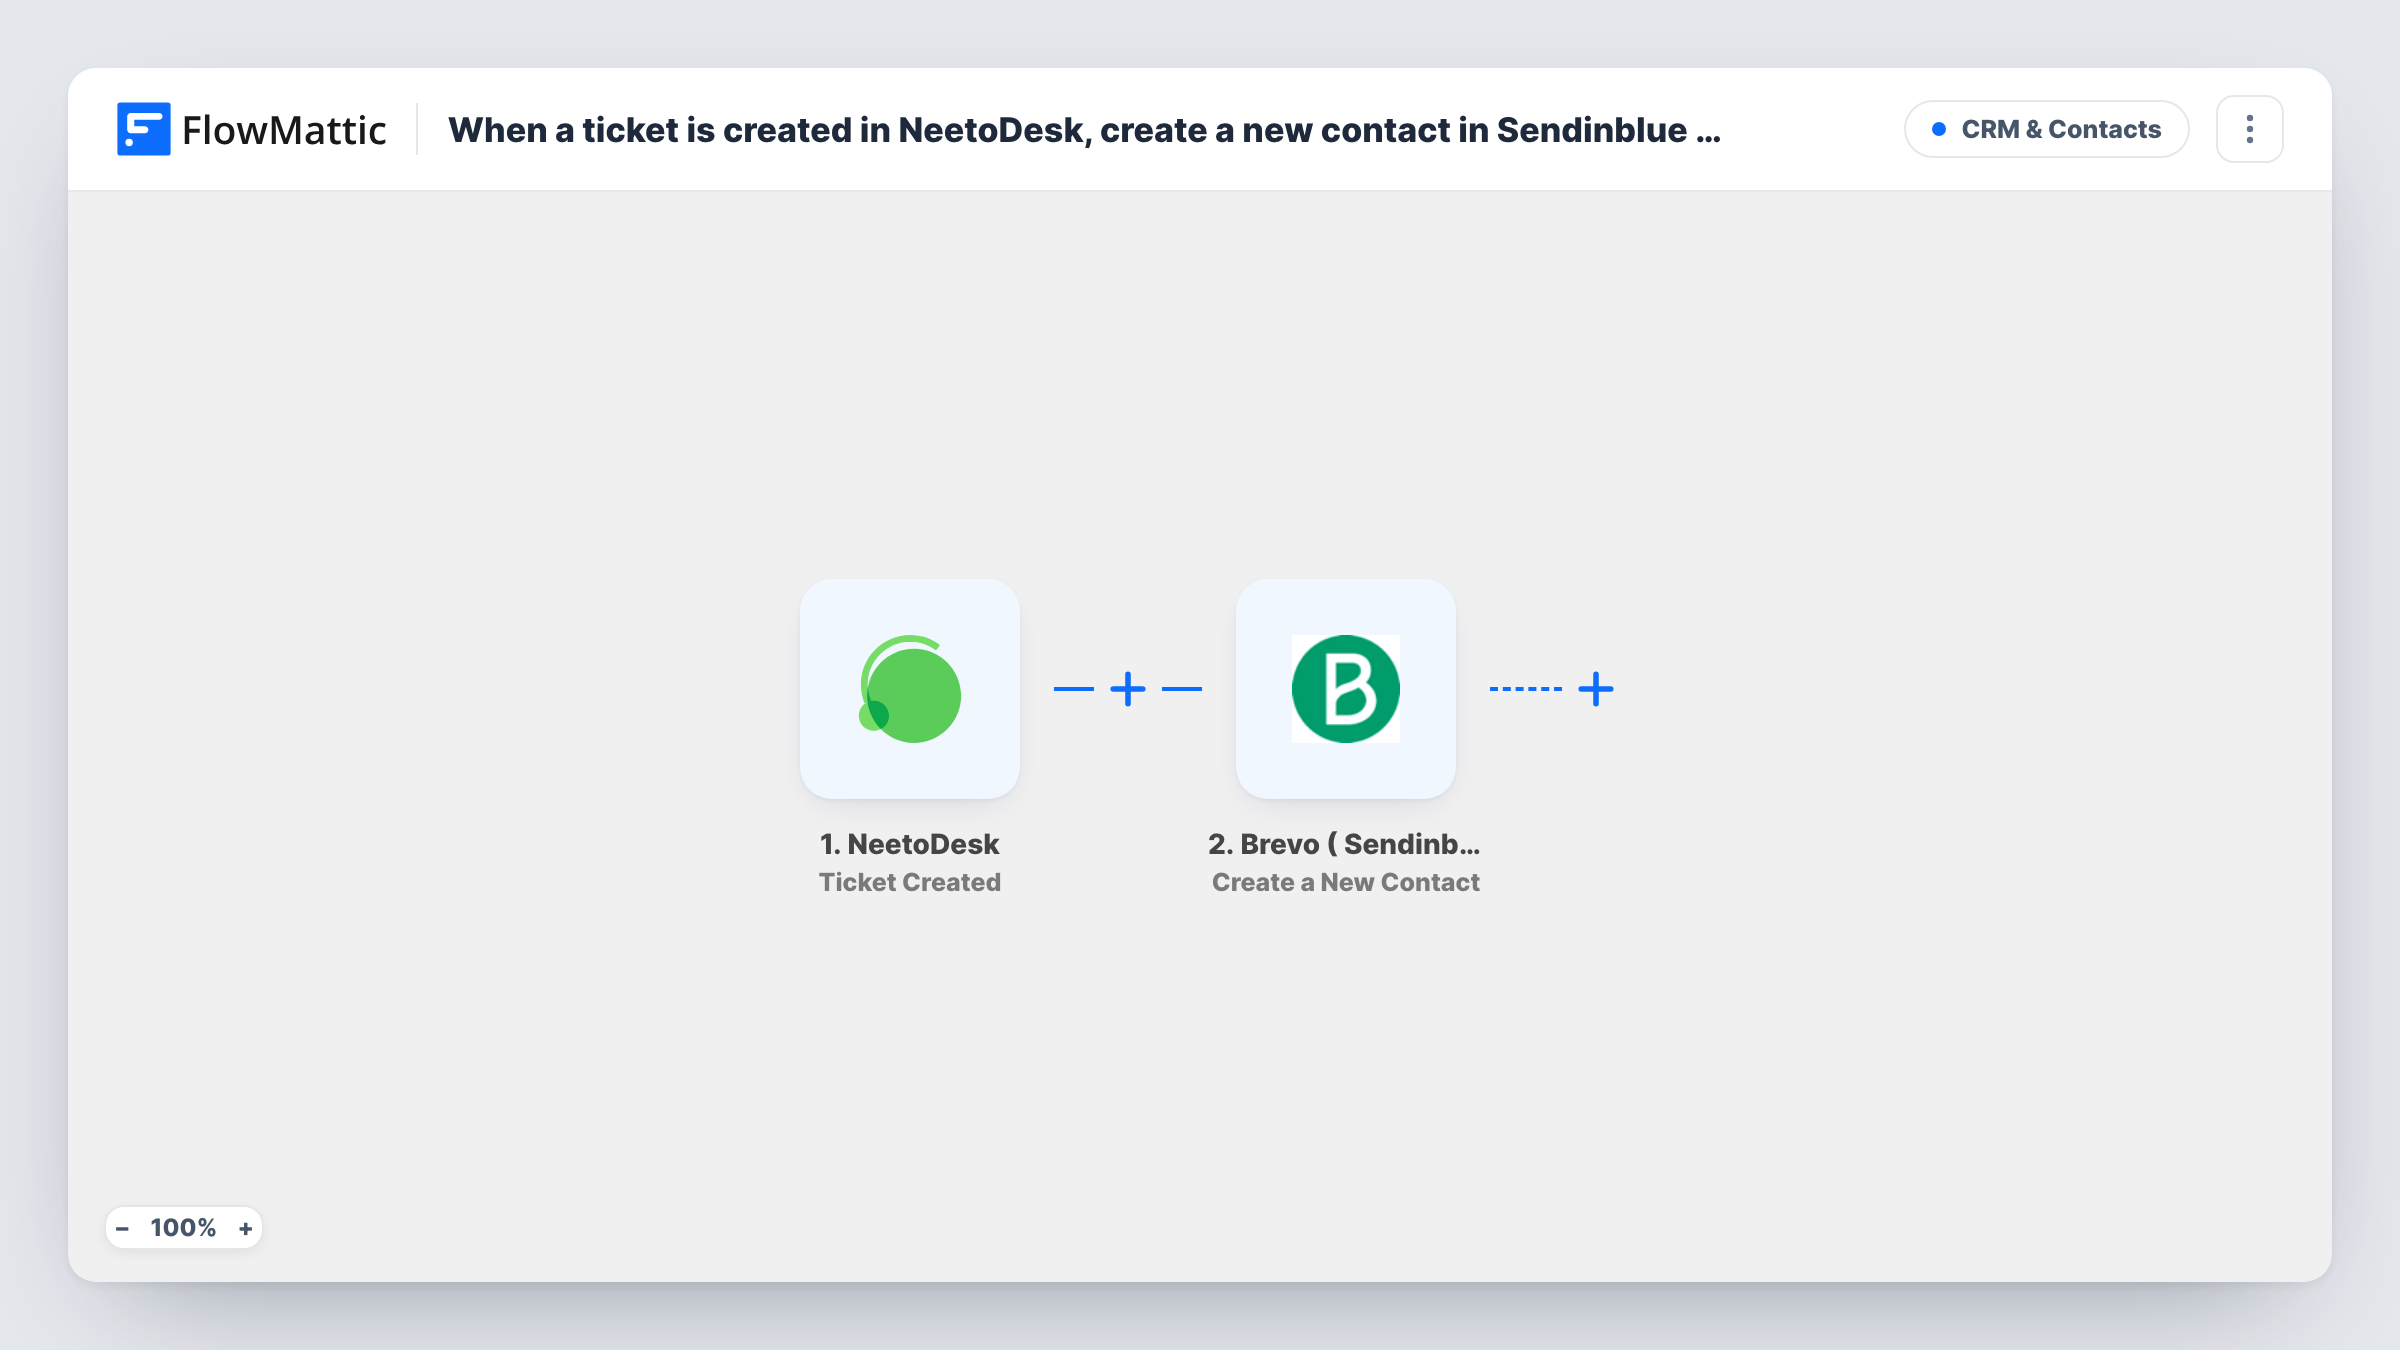
The NeetoDesk trigger fires when a new ticket is created. FlowMattic takes the details from that ticket event and passes them to Brevo ( Sendinblue ), where the Create a New Contact action adds a contact from the values you map, such as the requester's email address and name.
The ticket itself stays in NeetoDesk and nothing about it changes. Brevo is where you then decide what, if anything, these contacts receive, through your own lists and campaigns there. Every run appears in Task History, including Brevo's response, which helps when a contact isn't added as expected.
Product update emails for support users
People who raise tickets about a bug join Brevo, so you can email them when the fix ships through a campaign you build there.
SaaS onboarding help
New users who open a NeetoDesk ticket in their first week land in Brevo, where you keep them on your list of customers to check in with.
Store support contacts
Shoppers asking about orders are added to Brevo, so your store's newsletter can reach people who already talked to your team.
How this workflow runs
What happens at each step once the workflow is on, and what you need before you import it.
 NeetoDesk Ticket Created
Runs when a new ticket is created in NeetoDesk. The ticket's details, including who raised it, are passed on to map in the Brevo step.
- Brevo ( Sendinblue ) Create a New Contact
Creates a contact in Brevo from the ticket data. Map the requester's email address and any name values the ticket carries, and connect your Brevo account.
What you need
- FlowMatticCore
- NeetoDesk AccountAccount
- Brevo ( Sendinblue ) AccountAccount
After importing, map your own data. To keep the template universal, not every step is pre-filled. Open each step in the builder and connect your accounts and fields (channels, lists, sheets, recipients) before you switch the workflow on.
Make it yours
Changes worth making after you import it.
- Open a test ticket after import so FlowMattic captures the event's fields, then map the requester's email into the Brevo step before you go live.
- Add a Filter after the trigger if you only want some requesters in Brevo, for example tickets whose email does not belong to your own company domain.
- Add a Google Sheets Add New Row step after Brevo to keep a plain list of each requester and ticket subject sent across.
Questions about this workflow
What happens when someone opens a second NeetoDesk ticket?
The workflow runs again and asks Brevo to create the contact. Brevo may refuse an email address it already holds; Task History shows its response on that step.
Does this send an email to the ticket requester?
No. The workflow only creates the contact in Brevo. Whether they hear from you depends on the Brevo campaigns or automations you build for them.
Which NeetoDesk ticket details can go into Brevo?
Whatever the Ticket Created event carries. Check a test run in Task History to see the available values before you map them.
More CRM & Contacts workflows
Other ready-to-import templates from the same category.





Import this workflow into your WordPress site
Download the JSON, import it from the Workflows screen and connect your accounts. Every run stays on your server, with no per-task fees.
30-day money-back guarantee Unlimited workflows and runs Self-hosted