

When a new file is submitted to SendSafely Dropzone, add a row in Google Sheets
Each time someone submits a file through your SendSafely Hosted Dropzone, this workflow adds a row to a Google Sheets spreadsheet with the submission details you map, so you have a plain list of what came in.
 SendSafely
 Google Sheets
2 steps Setup ~5 min Used on 3.3k sites Free to import
What this workflow does
A SendSafely Hosted Dropzone gives clients and partners a secure place to send you files. When many people use it, you need a simple record of who sent something and when, outside the SendSafely dashboard. This workflow writes that record to a spreadsheet.
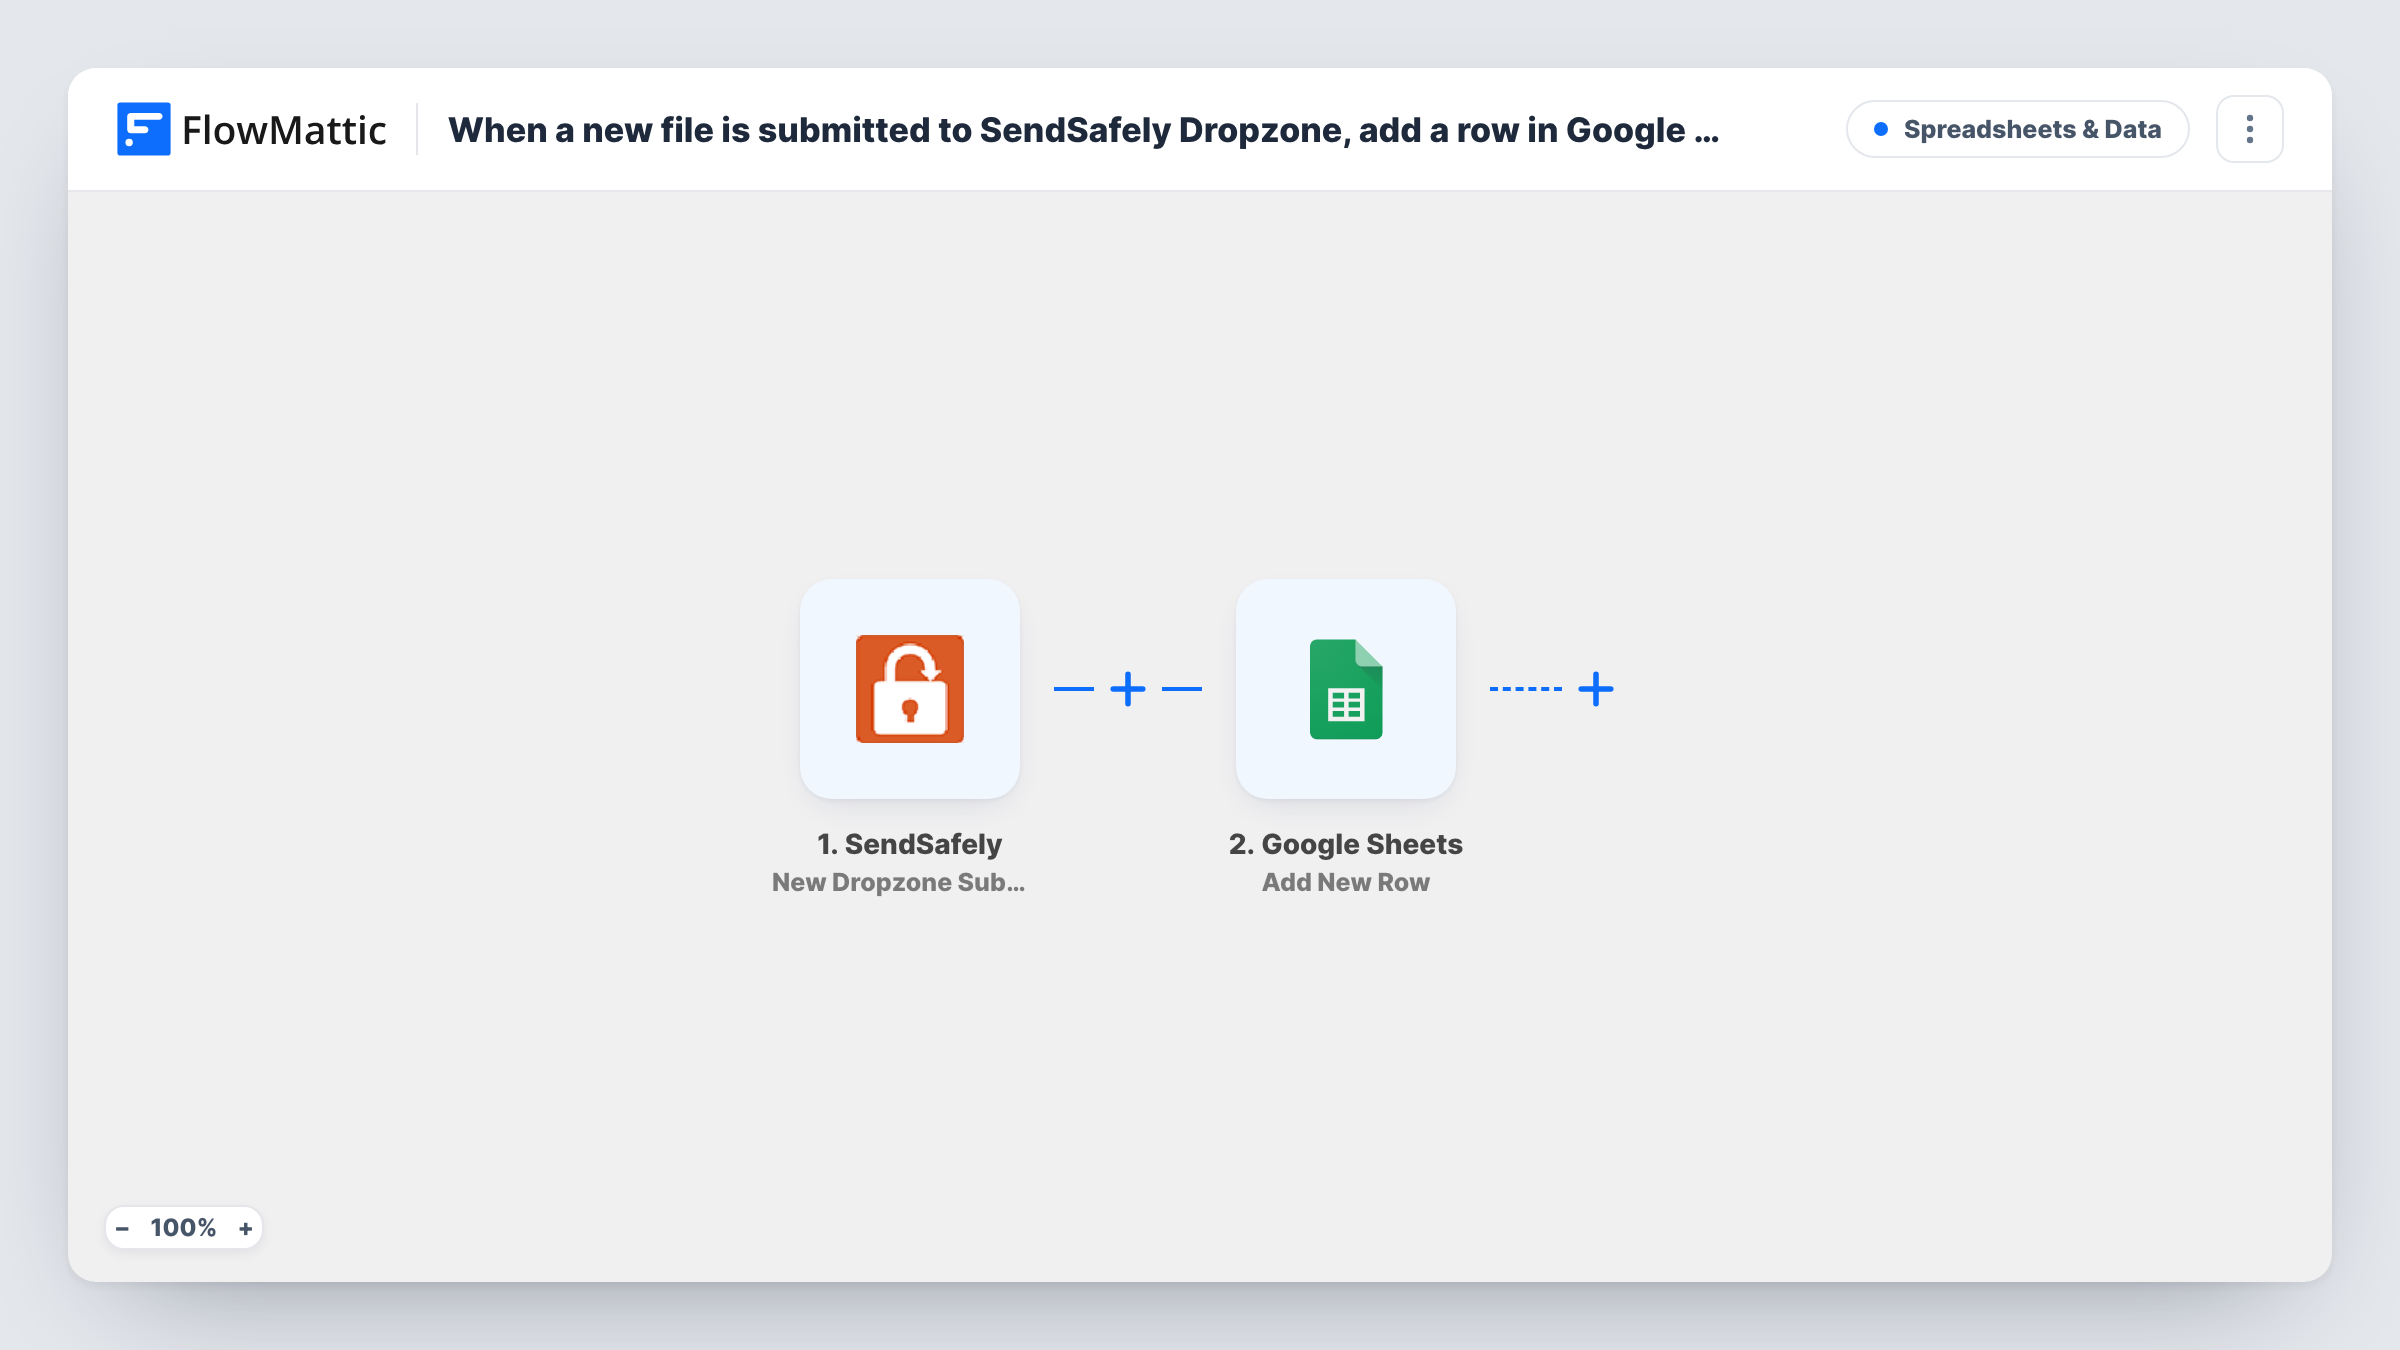
A run begins with the SendSafely trigger, New Dropzone Submission, each time a file comes in through your Hosted Dropzone. FlowMattic receives the submission data, and the Google Sheets step writes a fresh row to the spreadsheet you pick from the values you map.
The workflow logs details about the submission. It doesn't copy the files themselves into Google Sheets or anywhere else, so the files stay in SendSafely. Submit a test file after import to see which fields SendSafely provides, then decide which belong in the sheet. Keep in mind that whatever you map is visible to anyone who can open the spreadsheet.
Accounting firm collecting client documents
Clients upload tax papers through the Dropzone. Staff see a row per submission in a shared sheet and know which clients have sent their files.
Legal intake for sensitive evidence
Each upload to the firm's Dropzone gets a row, giving paralegals a list to check off as they review files in SendSafely.
HR receiving signed paperwork
New hires send ID scans and forms through the Dropzone, and HR tracks arrivals in a spreadsheet without opening each submission.
How this workflow runs
What happens at each step once the workflow is on, and what you need before you import it.
 SendSafely New Dropzone Submission
Starts a run whenever someone drops a file into your SendSafely Hosted Dropzone. The submission details are passed on to map into the sheet.
- Google Sheets Add New Row
Adds a row to the spreadsheet and sheet you choose, filled with the SendSafely submission values you map. Prepare column headers first and connect your Google account when you import.
What you need
- FlowMatticCore
- SendSafely AccountAccount
- Google Sheets AccountAccount
After importing, map your own data. To keep the template universal, not every step is pre-filled. Open each step in the builder and connect your accounts and fields (channels, lists, sheets, recipients) before you switch the workflow on.
Make it yours
Changes worth making after you import it.
- Add a checkbox or status column you fill in by hand, so the sheet works as a checklist for files your team has reviewed.
- Share the spreadsheet only with the people who need it. The Dropzone keeps files secure, but the row details sit in your Google account.
- Add a Slack or email step after the sheet if someone should hear about each new submission straight away.
Questions about this workflow
Are the SendSafely files copied into Google Sheets?
No. The sheet gets the details you map about each submission. You still open and download the files themselves inside SendSafely.
Which SendSafely Dropzone does the trigger listen to?
Your Hosted Dropzone, in the SendSafely account you connect. Submit a test file after import so FlowMattic captures the data it sends.
Will earlier Dropzone submissions be added?
No. Rows appear only for Dropzone uploads that happen once the workflow is switched on. Add older ones to the sheet by hand if you need a full history.
More Spreadsheets & Data workflows
Other ready-to-import templates from the same category.




Import this workflow into your WordPress site
Download the JSON, import it from the Workflows screen and connect your accounts. Every run stays on your server, with no per-task fees.
30-day money-back guarantee Unlimited workflows and runs Self-hosted