

When a form submission is received in Fluent Forms, create a new monitor in Better Uptime
Each Fluent Forms submission creates a new monitor in Better Uptime, using the URL and details from the form, so websites or endpoints people submit start being watched without anyone opening Better Uptime.
 Fluent Forms
 Better Uptime
2 steps Setup ~5 min Used on 1.4k sites Free to import
What this workflow does
Agencies and hosting teams often add uptime monitoring for each new client site. When the request comes through a form, someone still has to copy the address into Better Uptime. This workflow creates the monitor straight from the form entry.
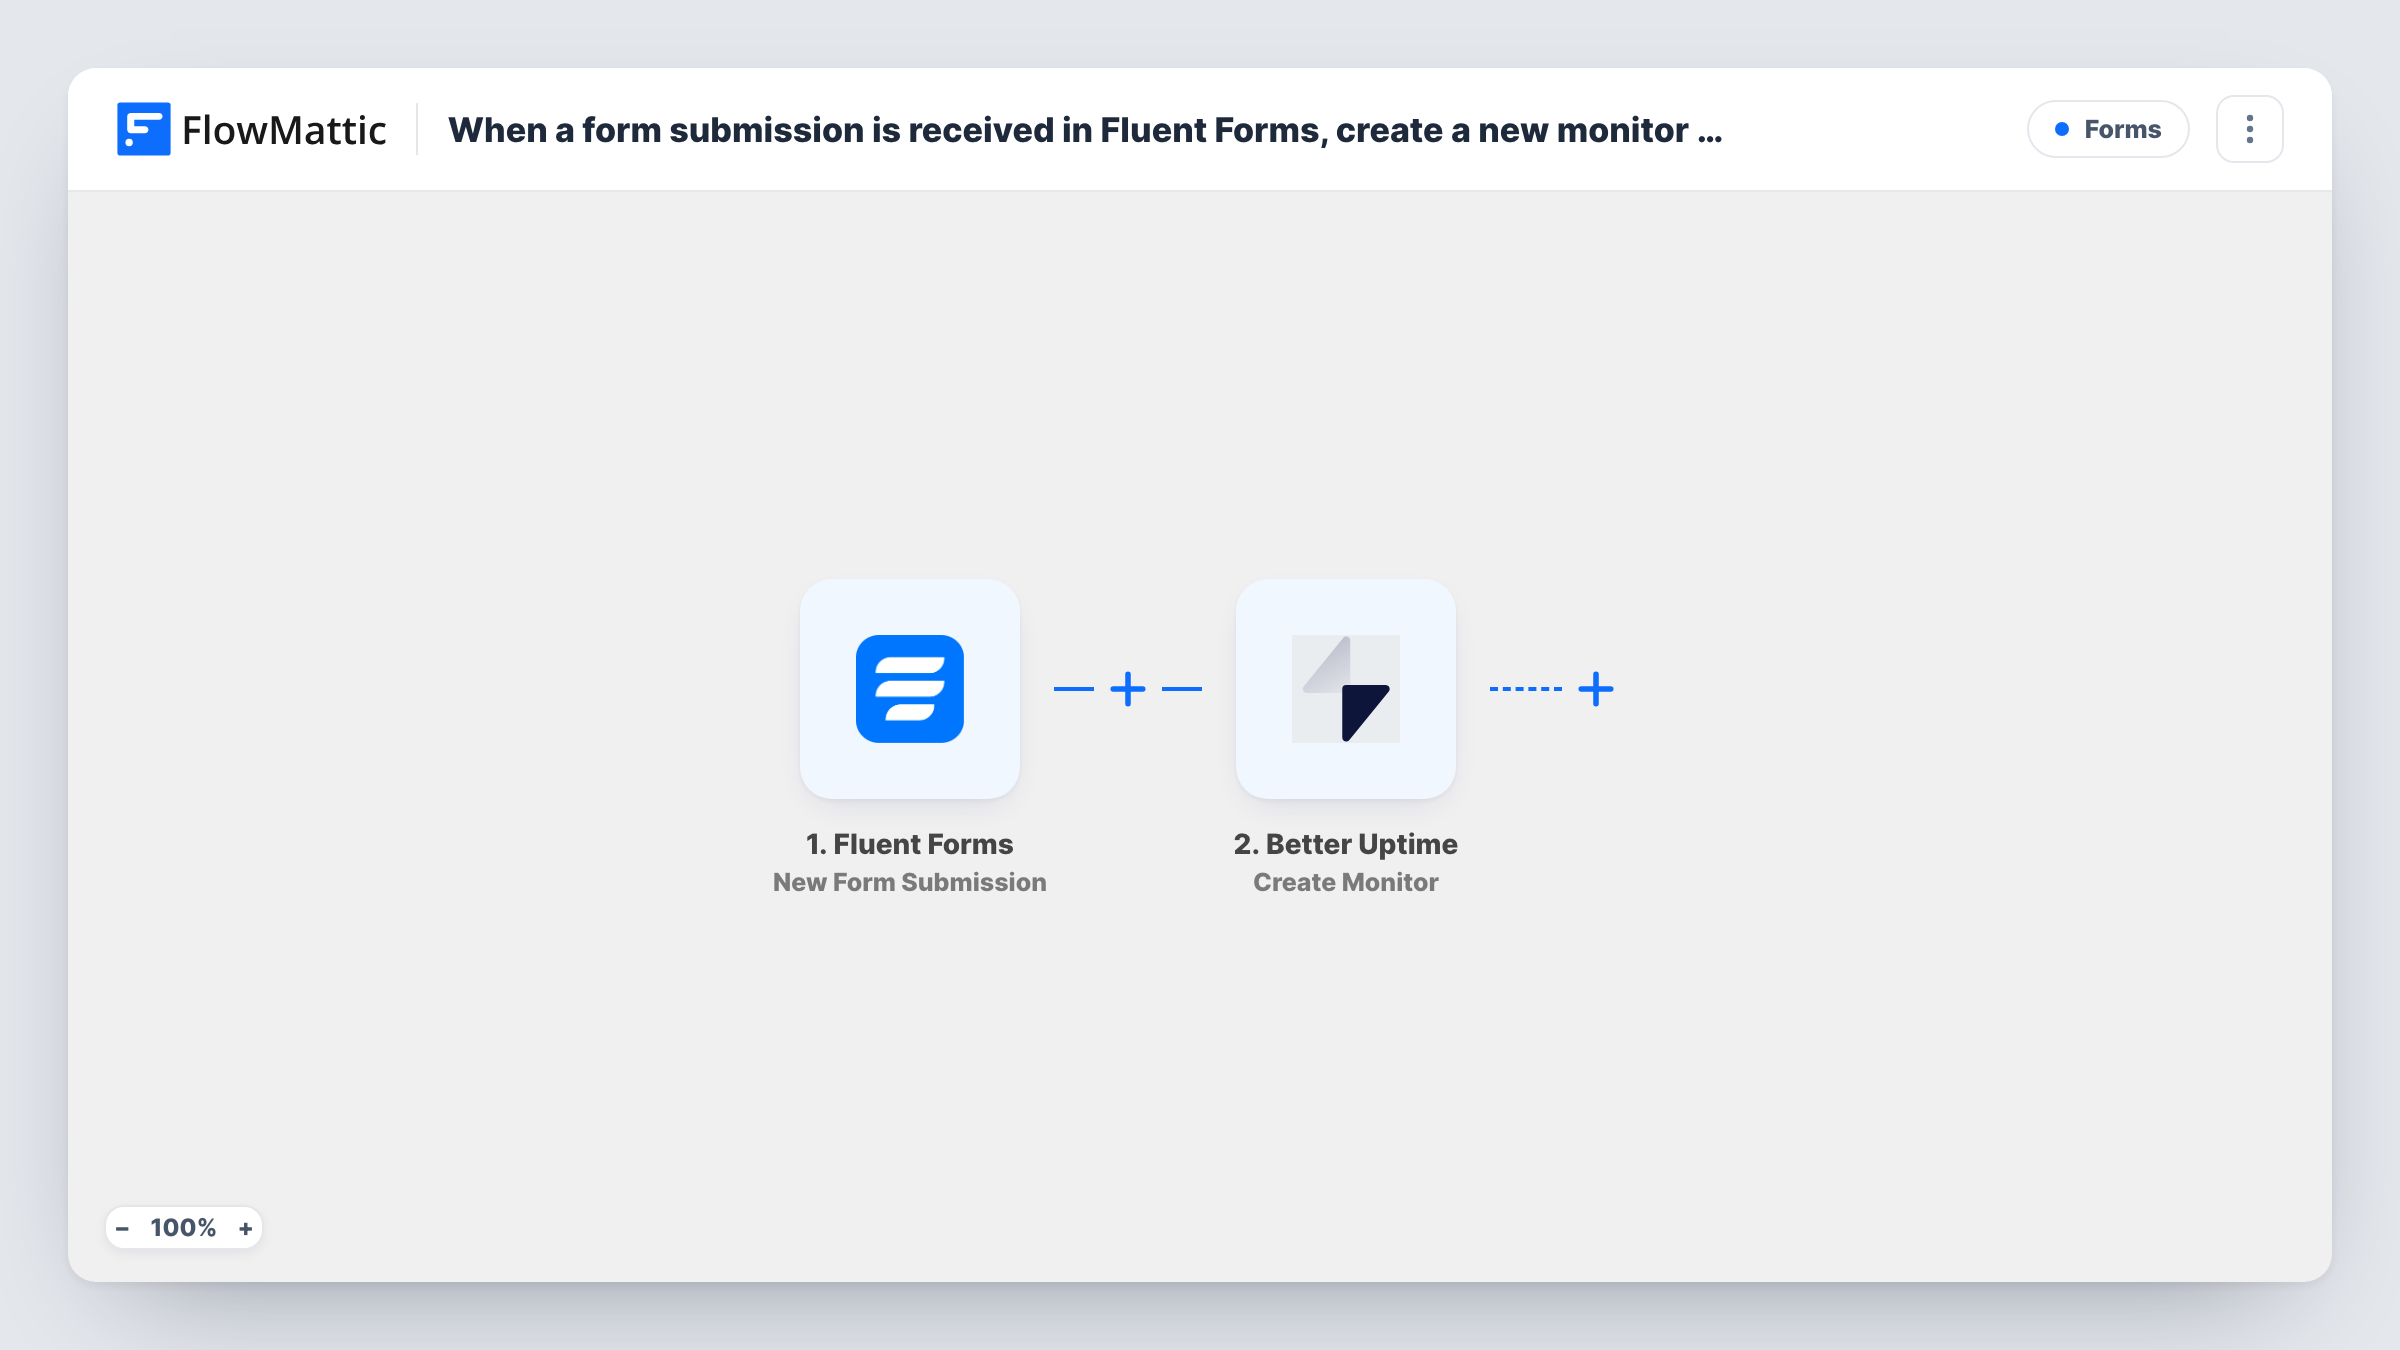
The Fluent Forms trigger, New Form Submission, fires when a new form submission is received on your WordPress site. FlowMattic passes the answers to Better Uptime, where Create Monitor creates a new monitor. You map the form's URL field into it, plus any other details your form collects.
Every submission creates a monitor, and nothing checks for duplicates or bad URLs first. A spam entry or a repeat request makes another monitor. Keep the form for trusted users, such as a client portal or an internal page. Each run and Better Uptime's reply show in Task History.
Client onboarding at a web agency
Your onboarding form asks for the new client's site address. Submitting it adds a Better Uptime monitor for that site.
Internal request form for developers
Developers launching a new service submit its health-check URL through a Fluent Forms page on the intranet, and monitoring starts from that entry.
Managed hosting sign-up
A hosting provider's setup form creates a monitor for each customer's domain as part of the order process.
How this workflow runs
What happens at each step once the workflow is on, and what you need before you import it.
 Fluent Forms New Form Submission
Starts as soon as someone sends your Fluent Forms monitoring request form. The submitted answers, such as the website address, become fields to map.
- Better Uptime Create Monitor
Creates a new monitor in Better Uptime from the form data. Map the URL field and any other values the step asks for, then connect your Better Uptime account.
What you need
- FlowMatticCore
- Fluent Forms PluginPlugin
- Better Uptime AccountAccount
After importing, map your own data. To keep the template universal, not every step is pre-filled. Open each step in the builder and connect your accounts and fields (channels, lists, sheets, recipients) before you switch the workflow on.
Make it yours
Changes worth making after you import it.
- Use Fluent Forms' URL field type for the website address, so the form rejects entries that aren't web addresses before Better Uptime sees them.
- Put the form behind a login or on a private page, since every submission creates a monitor.
- Add a Filter after the trigger that continues only when a confirmation checkbox is ticked, so test entries don't create monitors.
Questions about this workflow
What happens if the same URL is submitted twice?
The step creates a monitor each time, so you may end up with two monitors for one site. Better Uptime's reply in Task History shows what happened.
Which Better Uptime monitor settings can I set from the form?
Check the Create Monitor step after import to see the fields it offers, then map form answers into the ones you need. Run a test submission to confirm the result.
Is the Fluent Forms entry kept after the monitor is created?
Yes. The workflow runs after submission and doesn't change how Fluent Forms stores entries.
Can I remove a Better Uptime monitor with a form?
Not with this template. It only creates monitors.
More Forms workflows
Other ready-to-import templates from the same category.







Import this workflow into your WordPress site
Download the JSON, import it from the Workflows screen and connect your accounts. Every run stays on your server, with no per-task fees.
30-day money-back guarantee Unlimited workflows and runs Self-hosted