

Add the buyer to a Mailchimp audience when a Hitpay order is created
Whenever an order is created in Hitpay, this workflow adds the buyer to your Mailchimp audience, or updates their details if they are already a member, so customers end up on the list you email.
 Hitpay
 Mailchimp
2 steps Setup ~5 min Used on 2.3k sites Free to import
What this workflow does
Every Hitpay order tells you who bought from you, but that buyer won't reach your mailing list until someone copies them over. This workflow puts each buyer into Mailchimp as the order is created, ready for your next campaign.
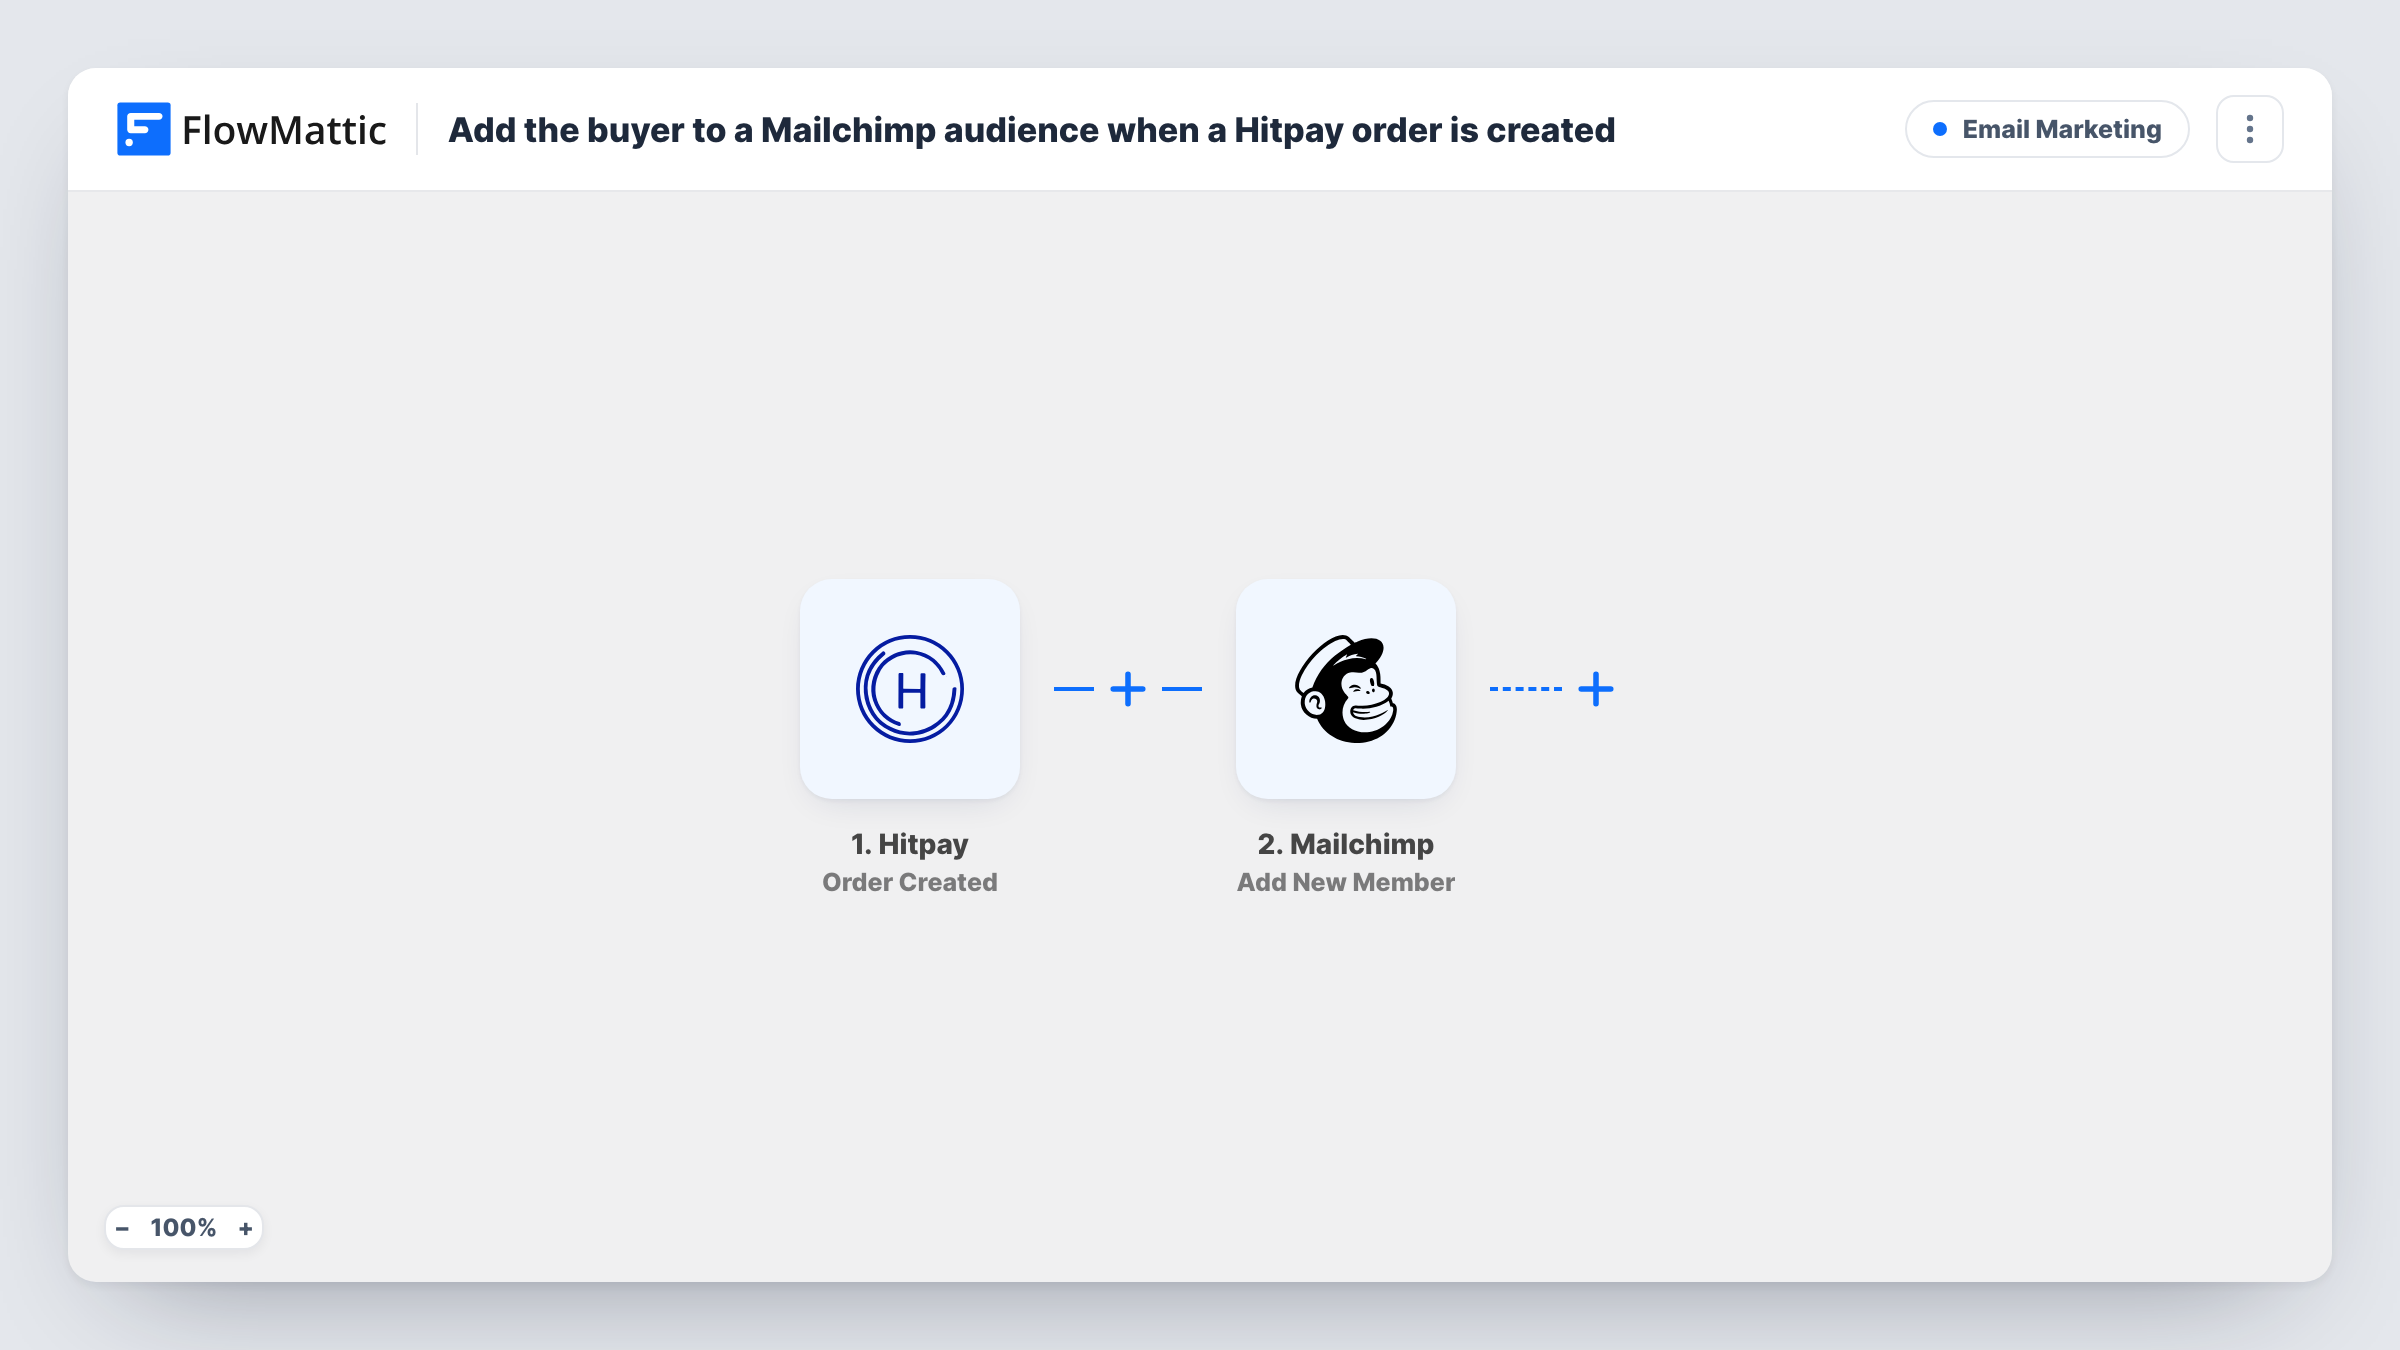
The Hitpay trigger is Order Created, which fires when an order is created successfully. FlowMattic receives the order data and makes its fields available to map. The Mailchimp step runs Add New Member, adding the buyer to the audience you choose or updating them if they are already on it. Map the buyer's email from the order, and their name if the order includes it.
The trigger fires for every order, so a repeat buyer starts a new run each time. Mailchimp updates that person instead of adding a second copy. Task History records each run so you can see what Hitpay sent and how Mailchimp answered.
Online shop newsletter
A small shop taking payments through Hitpay adds each buyer to its Mailchimp audience and sends them the monthly new-arrivals email.
Course or ebook sales
A creator selling a digital product through Hitpay keeps a Mailchimp audience of buyers to announce the next release.
Event ticket buyers
People who buy tickets through Hitpay are added to Mailchimp, so the organiser can email venue details and later event news.
How this workflow runs
What happens at each step once the workflow is on, and what you need before you import it.
 Hitpay Order Created
Fires each time an order is created successfully in Hitpay. Place a test order after connecting Hitpay and check which buyer fields, such as email and name, the order carries.
- Mailchimp Add New Member
Adds the buyer to the Mailchimp audience you pick, or updates the member if that email is already there. Map the buyer's email from the Hitpay order and connect your Mailchimp account.
What you need
- FlowMatticCore
- Hitpay AccountAccount
- Mailchimp AccountAccount
After importing, map your own data. To keep the template universal, not every step is pre-filled. Open each step in the builder and connect your accounts and fields (channels, lists, sheets, recipients) before you switch the workflow on.
Make it yours
Changes worth making after you import it.
- Look at a test order before mapping. If some orders arrive without an email, add a Filter after the trigger that continues only when the email is not empty.
- Put buyers of one product in their own audience by adding a Filter on the product or order description before the Mailchimp step.
- Only add buyers who agreed to marketing emails. If your checkout records that choice, check it with a Filter before Mailchimp.
Questions about this workflow
What happens when a returning customer places another Hitpay order?
The trigger runs again for the new order. Mailchimp's Add New Member updates the existing member rather than creating a duplicate.
Does every Hitpay order include the buyer's email?
Check a test order in the trigger to see what Hitpay sends. Mailchimp needs an email address, so orders without one can't be added; Task History shows the error on the Mailchimp step.
Will older Hitpay orders be added to Mailchimp?
No. The workflow reacts to orders created after it is turned on.
Can I use a Mailchimp tag to mark Hitpay buyers?
Check what the Add New Member step offers once your Mailchimp account is connected. If it has no tag option, keep Hitpay buyers in an audience used only for them.
More Email Marketing workflows
Other ready-to-import templates from the same category.




Import this workflow into your WordPress site
Download the JSON, import it from the Workflows screen and connect your accounts. Every run stays on your server, with no per-task fees.
30-day money-back guarantee Unlimited workflows and runs Self-hosted