

Record each new WooCommerce order in Supabase with customer and total details
Every new WooCommerce order is written to a Supabase table called orders, holding the order number, the billing customer’s name and email, and the order total, so you can query sales with SQL or your own apps.
 WooCommerce
 Supabase
2 steps Setup ~5 min Used on 1.5k sites Databases & Sync Free to import
What this workflow does
WooCommerce reports work inside WordPress, but a separate app, a BI tool or a custom dashboard is easier to feed from Postgres. Copying orders there by hand doesn't last. This workflow inserts each new order into Supabase as it is created.
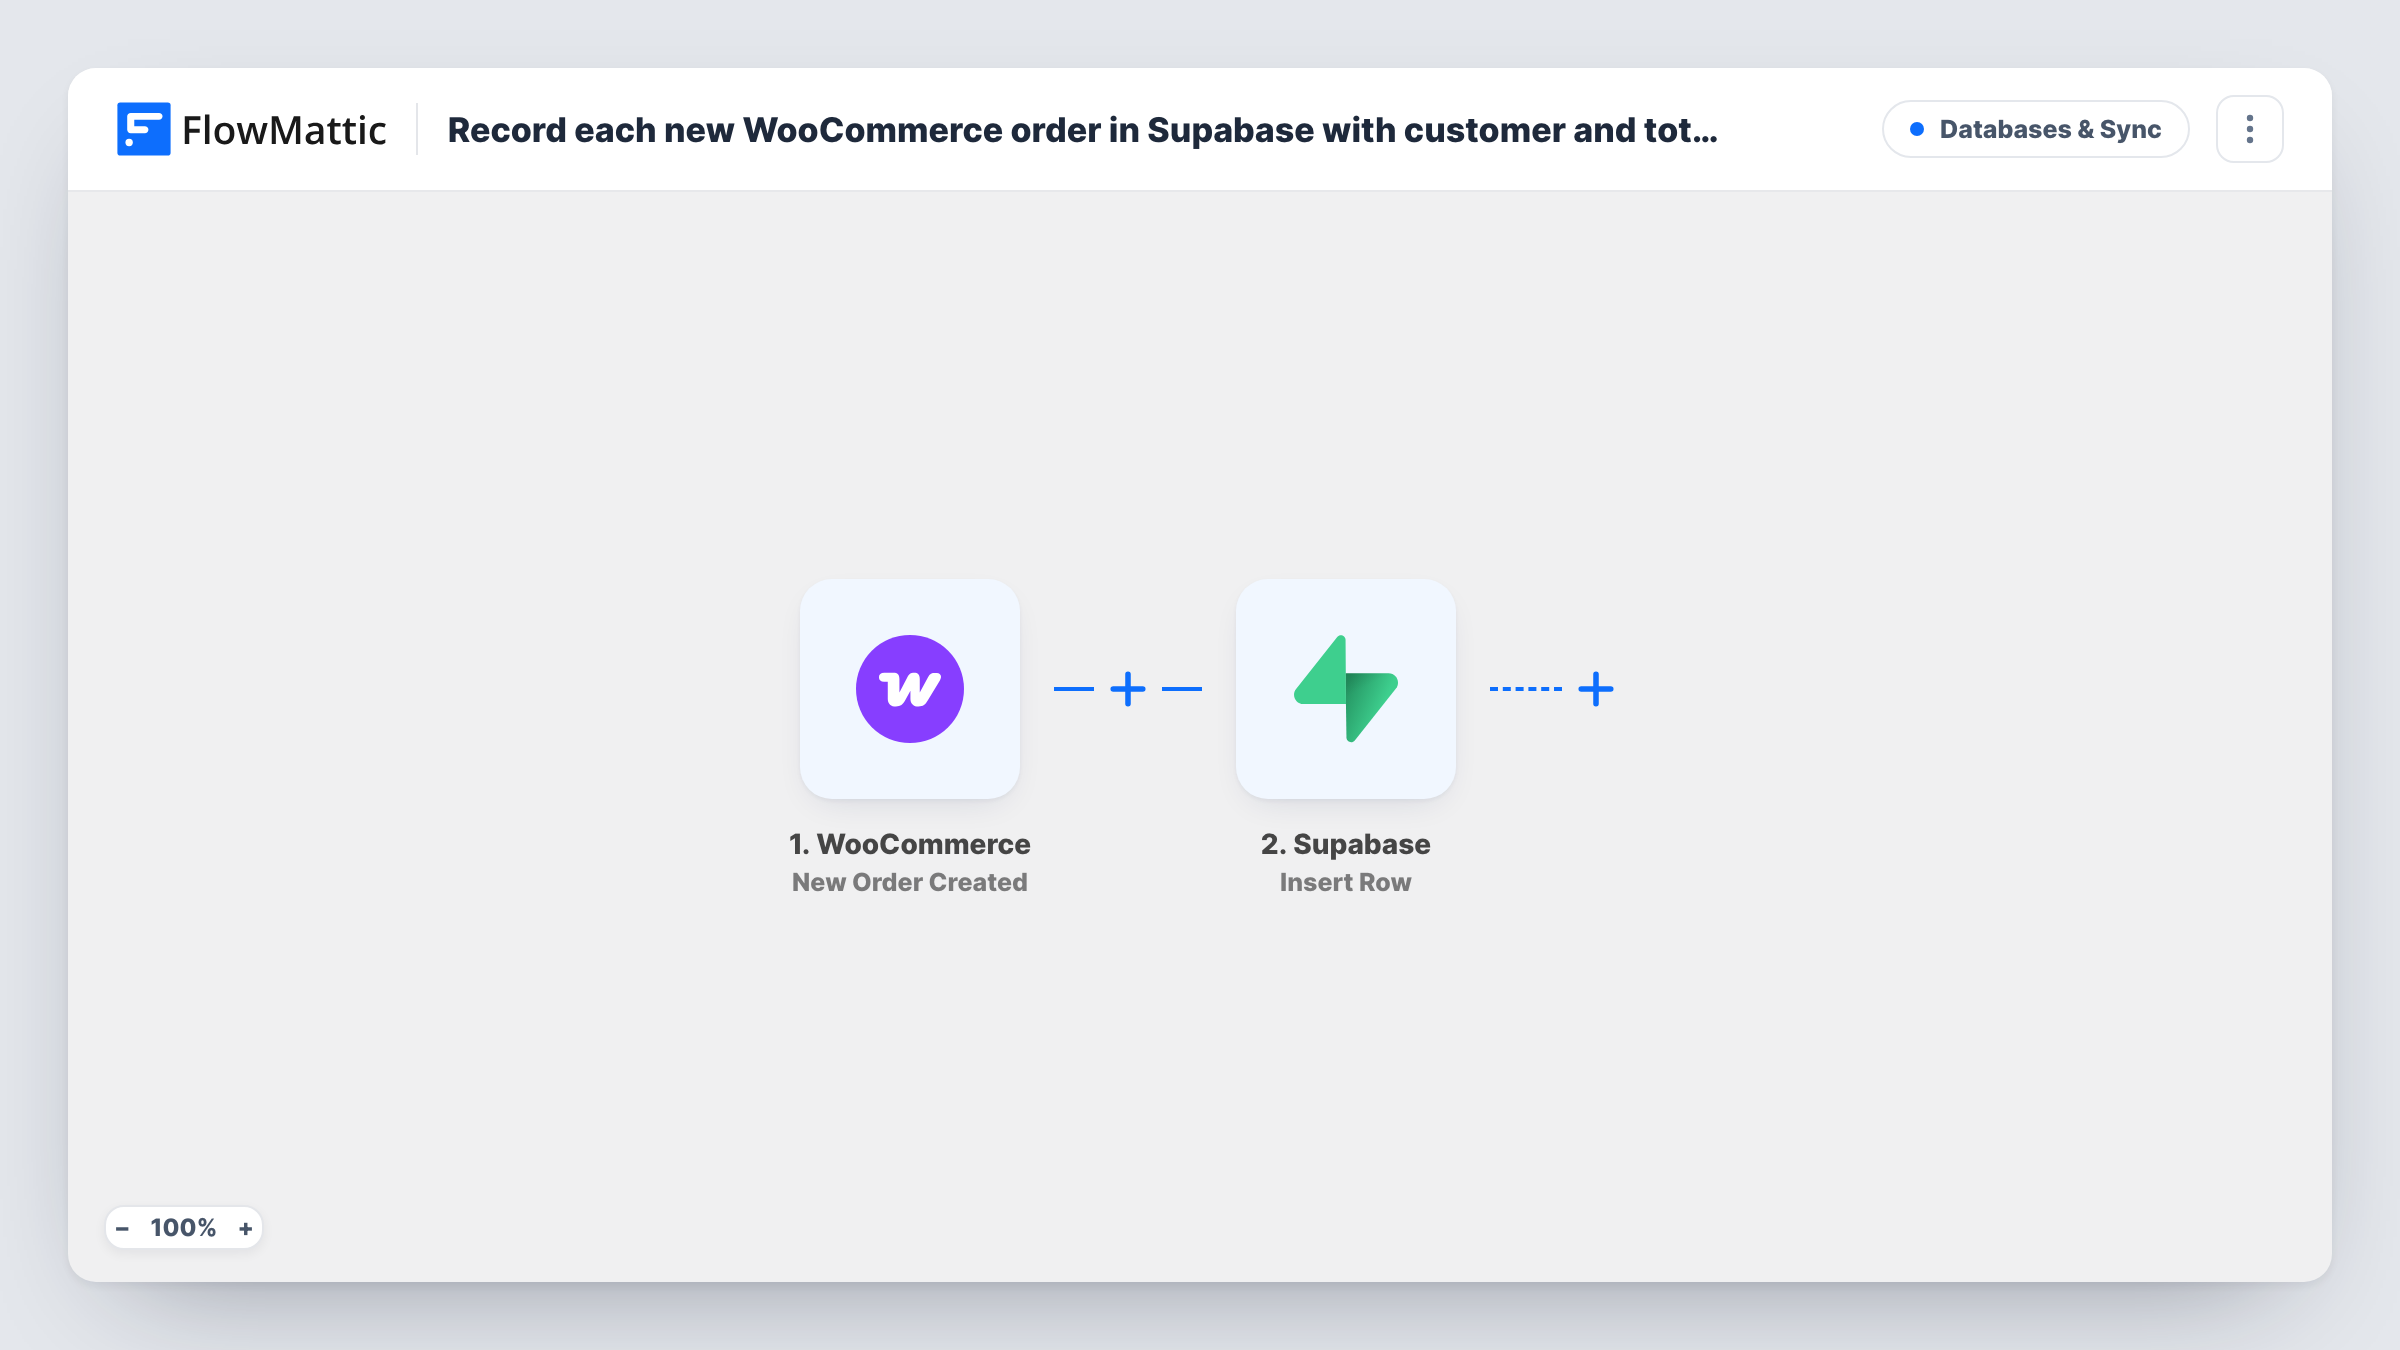
The WooCommerce trigger is New Order Created, which runs when a new order is created in your store. The order's details are then ready to map. Because it fires at creation, an order still waiting for payment is recorded too.
The Supabase step uses Insert Row on a table named orders. The JSON it sends is already mapped: order gets the order number, customer gets the billing first and last name, email gets the billing email and total gets the order total. Create that table with those columns, or edit the table name and JSON to fit your own schema. Each order adds one row, and Task History records what Supabase returned.
Custom sales dashboard on Postgres
A store owner builds a dashboard that reads the Supabase orders table, showing order totals by day without loading WooCommerce reports.
Sharing order data with a fulfilment app
A fulfilment tool built on Supabase reads new rows in the orders table, so packers see order numbers and customer names as orders are placed.
Customer lookups for a support team
Support staff search the orders table by email to find a customer's order numbers and totals without needing a WordPress admin login.
How this workflow runs
What happens at each step once the workflow is on, and what you need before you import it.
 WooCommerce New Order Created
Starts as soon as an order is created in WooCommerce, paid or not. The order number, billing details and total are passed on for the Supabase step.
- Supabase Insert Row
Inserts one row into the Supabase table orders with four prefilled columns: order, customer, email and total, all taken from the WooCommerce order. Connect your Supabase project and match the table to these columns.
What you need
- FlowMatticCore
- WooCommerce PluginPlugin
- Supabase AccountAccount
After importing, map your own data. To keep the template universal, not every step is pre-filled. Open each step in the builder and connect your accounts and fields (channels, lists, sheets, recipients) before you switch the workflow on.
Make it yours
Changes worth making after you import it.
- Want only paid orders in Supabase? Add a Filter after the trigger that continues when the order status is processing or completed.
- Add more keys to the Insert Row JSON, such as the order status or payment method, and create matching columns in the orders table.
- Place a test order after import and check Task History to confirm each of the four columns is filled the way you expect.
Questions about this workflow
Do I need an orders table in Supabase before importing?
Yes, or you change the step. As shipped, Insert Row writes to a table called orders with order, customer, email and total columns. Create it with those names, or edit the table name and JSON keys.
Are WooCommerce orders that are still unpaid recorded?
Yes. New Order Created runs when the order is created, so pending or failed orders get a row too. A Filter on the order status keeps only the ones you want.
What happens when a WooCommerce order changes status later?
Nothing in Supabase. The workflow only inserts on creation and never updates the row. Build a second workflow with Supabase's Update Row action if you need status changes reflected.
Will past WooCommerce orders be copied to Supabase?
No. Only orders created after you turn the workflow on reach the orders table. Older orders would need a separate export.
More Databases & Sync workflows
Other ready-to-import templates from the same category.





Import this workflow into your WordPress site
Download the JSON, import it from the Workflows screen and connect your accounts. Every run stays on your server, with no per-task fees.
30-day money-back guarantee Unlimited workflows and runs Self-hosted