FTP automation in WordPress: upload, download and watch folders
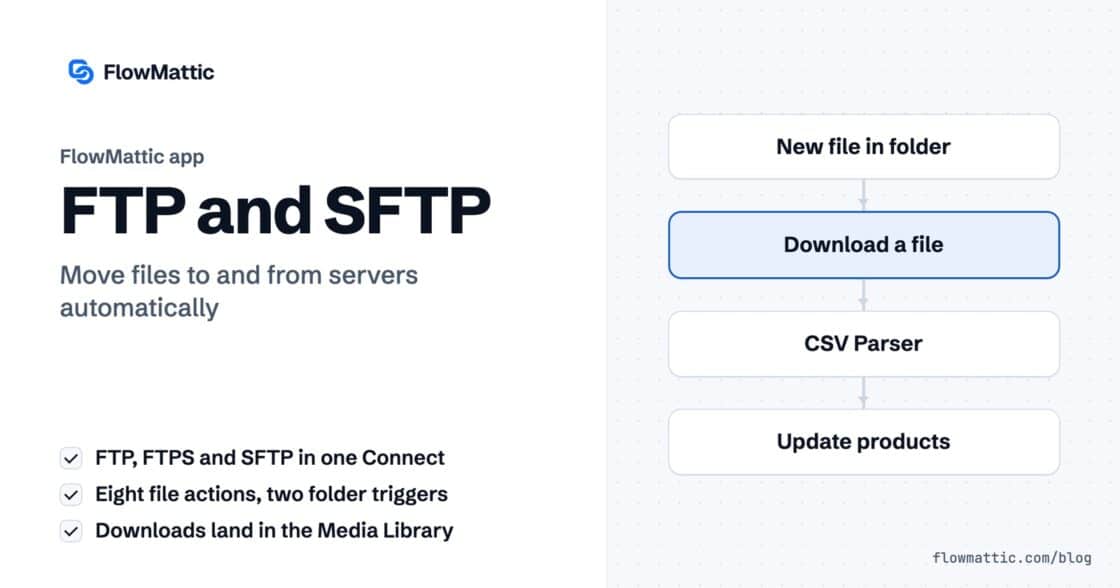
The FTP app uploads, downloads, moves and deletes files on FTP, FTPS and SFTP servers from any workflow, and starts workflows when…


API by FlowMattic is the step you reach for when an app has a REST API but no ready-made integration. It sends a WordPress HTTP request from inside a workflow: pick the method, enter the endpoint, add authentication, parameters and headers, and the response comes back as fields the next steps can use.
It suits developers who want to skip writing a plugin for one API call, agencies wiring a client’s internal tools into WordPress, and anyone whose favourite service is not yet among FlowMattic’s nearly 900 integrations. This guide covers every field on the step, how parameters turn into JSON, how responses and errors are handled, and seven workflows to copy.
API by FlowMattic is a built-in action app in the workflow builder. Its events are the HTTP methods: GET, POST, PUT, PATCH and DELETE. You add it like any other step, between a trigger and the actions that need the API’s answer.
The request leaves from your own WordPress server, so it runs as part of your workflow with no per-task fee. The text fields accept dynamic data, so a URL, a token or a body value can come from the trigger or any earlier step.
The step’s settings are grouped into four sections: Request, Request data, Response and Error handling.
https://api.example.com/v1/contacts.With FlowMattic Connect, the step applies whatever the Connect holds: an OAuth access token, a bearer token, basic credentials, or an API key added as a header or a query parameter.

On the Parameters tab, tick Send parameters with this request and add key and value rows with Add parameter. On the Headers tab, tick Send headers with this request and add rows with Add header. Authentication headers are added for you, so you do not repeat them here.
With the Custom JSON – Use Your Code content type, you write the whole body yourself in the Custom JSON box instead, with dynamic tags inside it.
Response Format decides how the reply is turned into fields. Simple (the default) flattens nested objects into individual fields, so data.id becomes data_id. Advanced keeps nested values as JSON text and returns a top-level list whole, which is what you want to feed an Iterator or forward to another service. The raw body is always available too.
Show Response Headers adds a response_headers field, useful for APIs that return tokens, pagination links or rate-limit counters in headers.
Any status code outside the 2xx range is an error. Treat Empty Response as Error (default No) also fails a call that returns nothing. When a call fails, the step can email someone (Send Email on Error and Email Recipient, which defaults to the admin email), post the error as JSON to an Error Webhook URL, and either carry on or stop the run with Continue Workflow on Error.
Then click Test. The test sends the real request and shows the response, and from then on every response field is available to later steps.
| Content Type | What is sent |
|---|---|
| JSON – With Parameters | Your parameter rows as a JSON body (application/json) |
| Custom JSON – Use Your Code | The Custom JSON box as the body, as written |
| Form Data | Parameter rows as multipart/form-data |
| URL Encoded Form Data | Parameter rows as application/x-www-form-urlencoded |
| Text | Parameter rows sent as plain fields, with text as the content type |
| HTML | Parameter rows with a text/html content type |
| Option | Default | What it does |
|---|---|---|
| Response Format | Simple | Simple flattens nested fields; Advanced keeps them as JSON |
| Show Response Headers | No | Adds a response_headers field |
| Treat Empty Response as Error | No | Fails the step when the body is empty |
| Send Email on Error | No | Emails the Email Recipient with the error type, code, endpoint and tips |
| Error Webhook URL | Empty | Posts the error details as JSON to Slack, Discord or any webhook |
| Continue Workflow on Error | Yes – Continue workflow | No – Stop workflow ends the run at this step |
With the JSON – With Parameters content type, values are typed for you:
true and false as booleans. The word null sends a JSON null.{"city":"Leeds"}, is sent as a nested object.customer[name] nests, items[0][sku] indexes and tags[] appends. Bracket values keep leading zeros, a leading plus and very long IDs as text.Acme Supplies ships through a warehouse with its own REST API. Each new order is posted as JSON with a bearer token, and the shipment ID that comes back is stored for support.
Flow: WooCommerce New Order Created → API by FlowMattic POST → WooCommerce Add Order Note
A marketing team looks up each new lead’s company details with a GET request to an enrichment API, then creates the CRM contact with the extra fields already filled in.
Flow: Form Builder New Form Submission → API by FlowMattic GET → HubSpot Create Contact
An agency pulls each client’s figures from a reporting API every Monday through a saved FlowMattic Connect, so the credentials live in one place and every report workflow reuses them.
Flow: Schedule Every Week → API by FlowMattic GET (FlowMattic Connect) → Send Email
A support desk without a native integration still has an API. Each parsed email becomes a ticket through a POST request, and the team gets the new ticket number in Slack.
Flow: Email Parser Email Received → API by FlowMattic POST → Slack Send Channel Message
When Amelia Okafor registers on the site, an internal staff portal that only accepts form-encoded requests gets her account through a URL Encoded Form Data POST.
Flow: WordPress New User → API by FlowMattic POST (URL Encoded Form Data) → Send Email
Set Response Format to Advanced and the array comes back whole, ready for an Iterator to process one item at a time, here writing each record to a sheet.
Flow: Schedule Every Day → API by FlowMattic GET (Advanced) → Iterator Loop Through Array → Google Sheets Add New Row
A SaaS team runs a classification model behind its own endpoint. Incoming requests are forwarded with a Custom JSON body, and the model’s answer goes straight back to the caller.
Flow: Webhook → API by FlowMattic POST (Custom JSON) → Webhook Response Set Webhook Response
01234 is sent as the number 1234. Use a bracket key or Custom JSON to keep it as text.FlowMattic/<version> user agent and Accept: application/json; your own headers are added on top.Add an API by FlowMattic step to a workflow, choose the method, and fill in the endpoint, content type, authentication, parameters and headers. The response becomes fields you can map into later steps, so each WordPress HTTP request feeds the rest of the workflow.
GET, POST, PUT, PATCH and DELETE. Bodies can be JSON built from rows, your own Custom JSON, multipart form data, URL-encoded form data, text or HTML.
Yes, through a FlowMattic Connect. Choose FlowMattic Connect under Authentication and pick the account; the step adds the Connect’s access token to the request.
Any non-2xx status marks the step as an error. Depending on your settings it emails a recipient, posts to an error webhook, and continues or stops the run. Fix the cause and re-execute the run from Task History.
API by FlowMattic sits alongside the other modules in the visual workflow builder. See FlowMattic pricing and send your first WordPress HTTP request to any REST API.
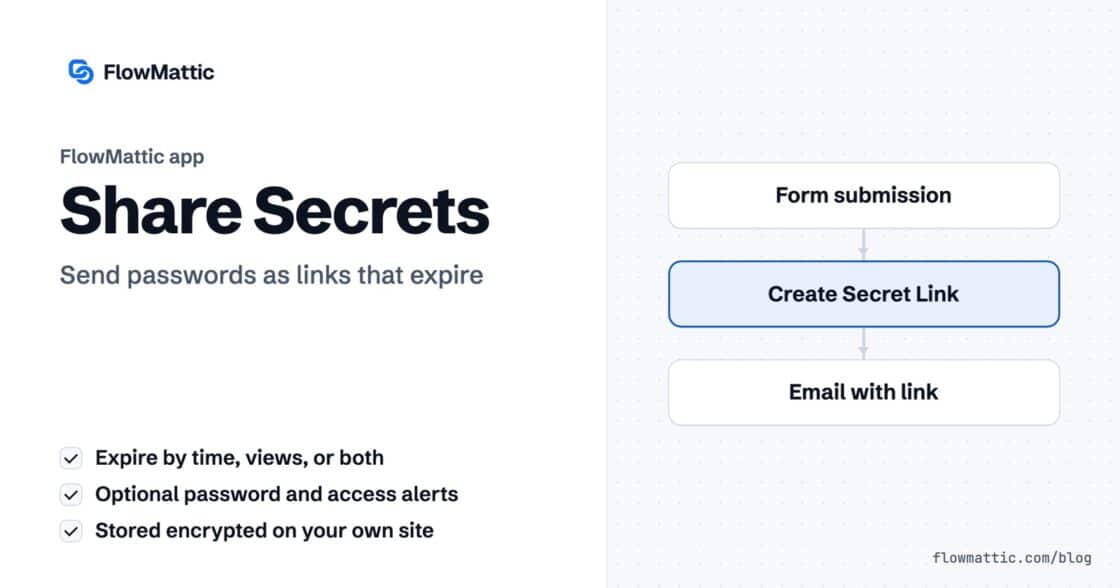
The FTP app uploads, downloads, moves and deletes files on FTP, FTPS and SFTP servers from any workflow, and starts workflows when…
Share Secrets turns a password or API key into a link that expires after a set time, a set number of views,…
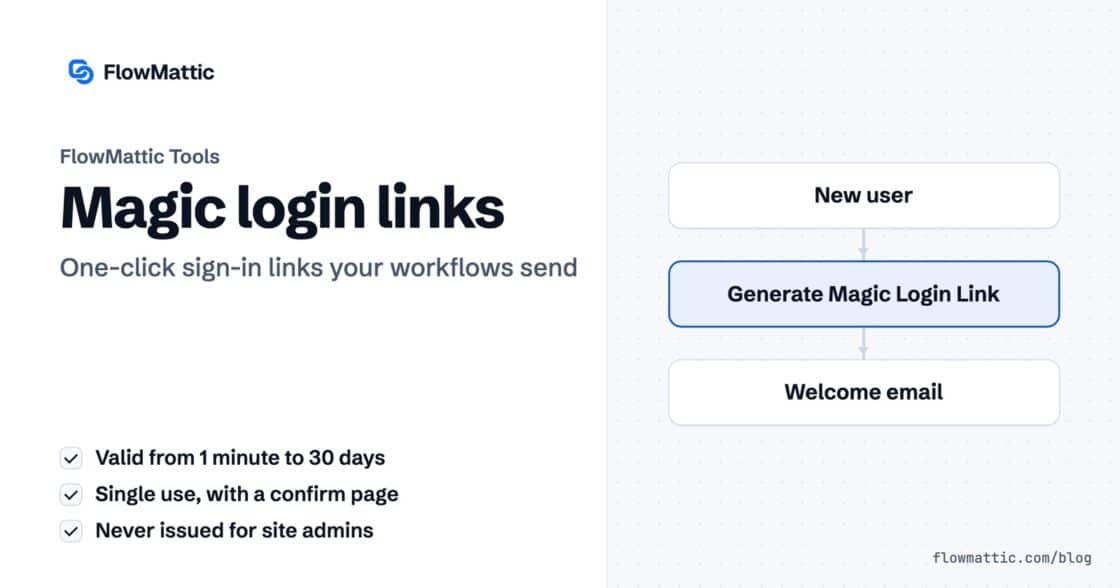
Generate Magic Login Link creates single-use sign-in links from any workflow, valid from 1 minute to 30 days, with a confirmation page…