

Log every completed CCAvenue payment to a Google Sheets spreadsheet
Each time a customer completes a CCAvenue payment, FlowMattic adds a row to your Google Sheets spreadsheet with the order and payment details you map, building a running payment ledger.
 CCAvenue
 Google Sheets
2 steps Setup ~5 min Used on 2.6k sites Free to import
What this workflow does
CCAvenue's dashboard shows transactions, but finance teams often want them in a spreadsheet they can sort, total and share with an accountant. This workflow writes each completed payment into Google Sheets as it happens, so the ledger is always current without a weekly export.
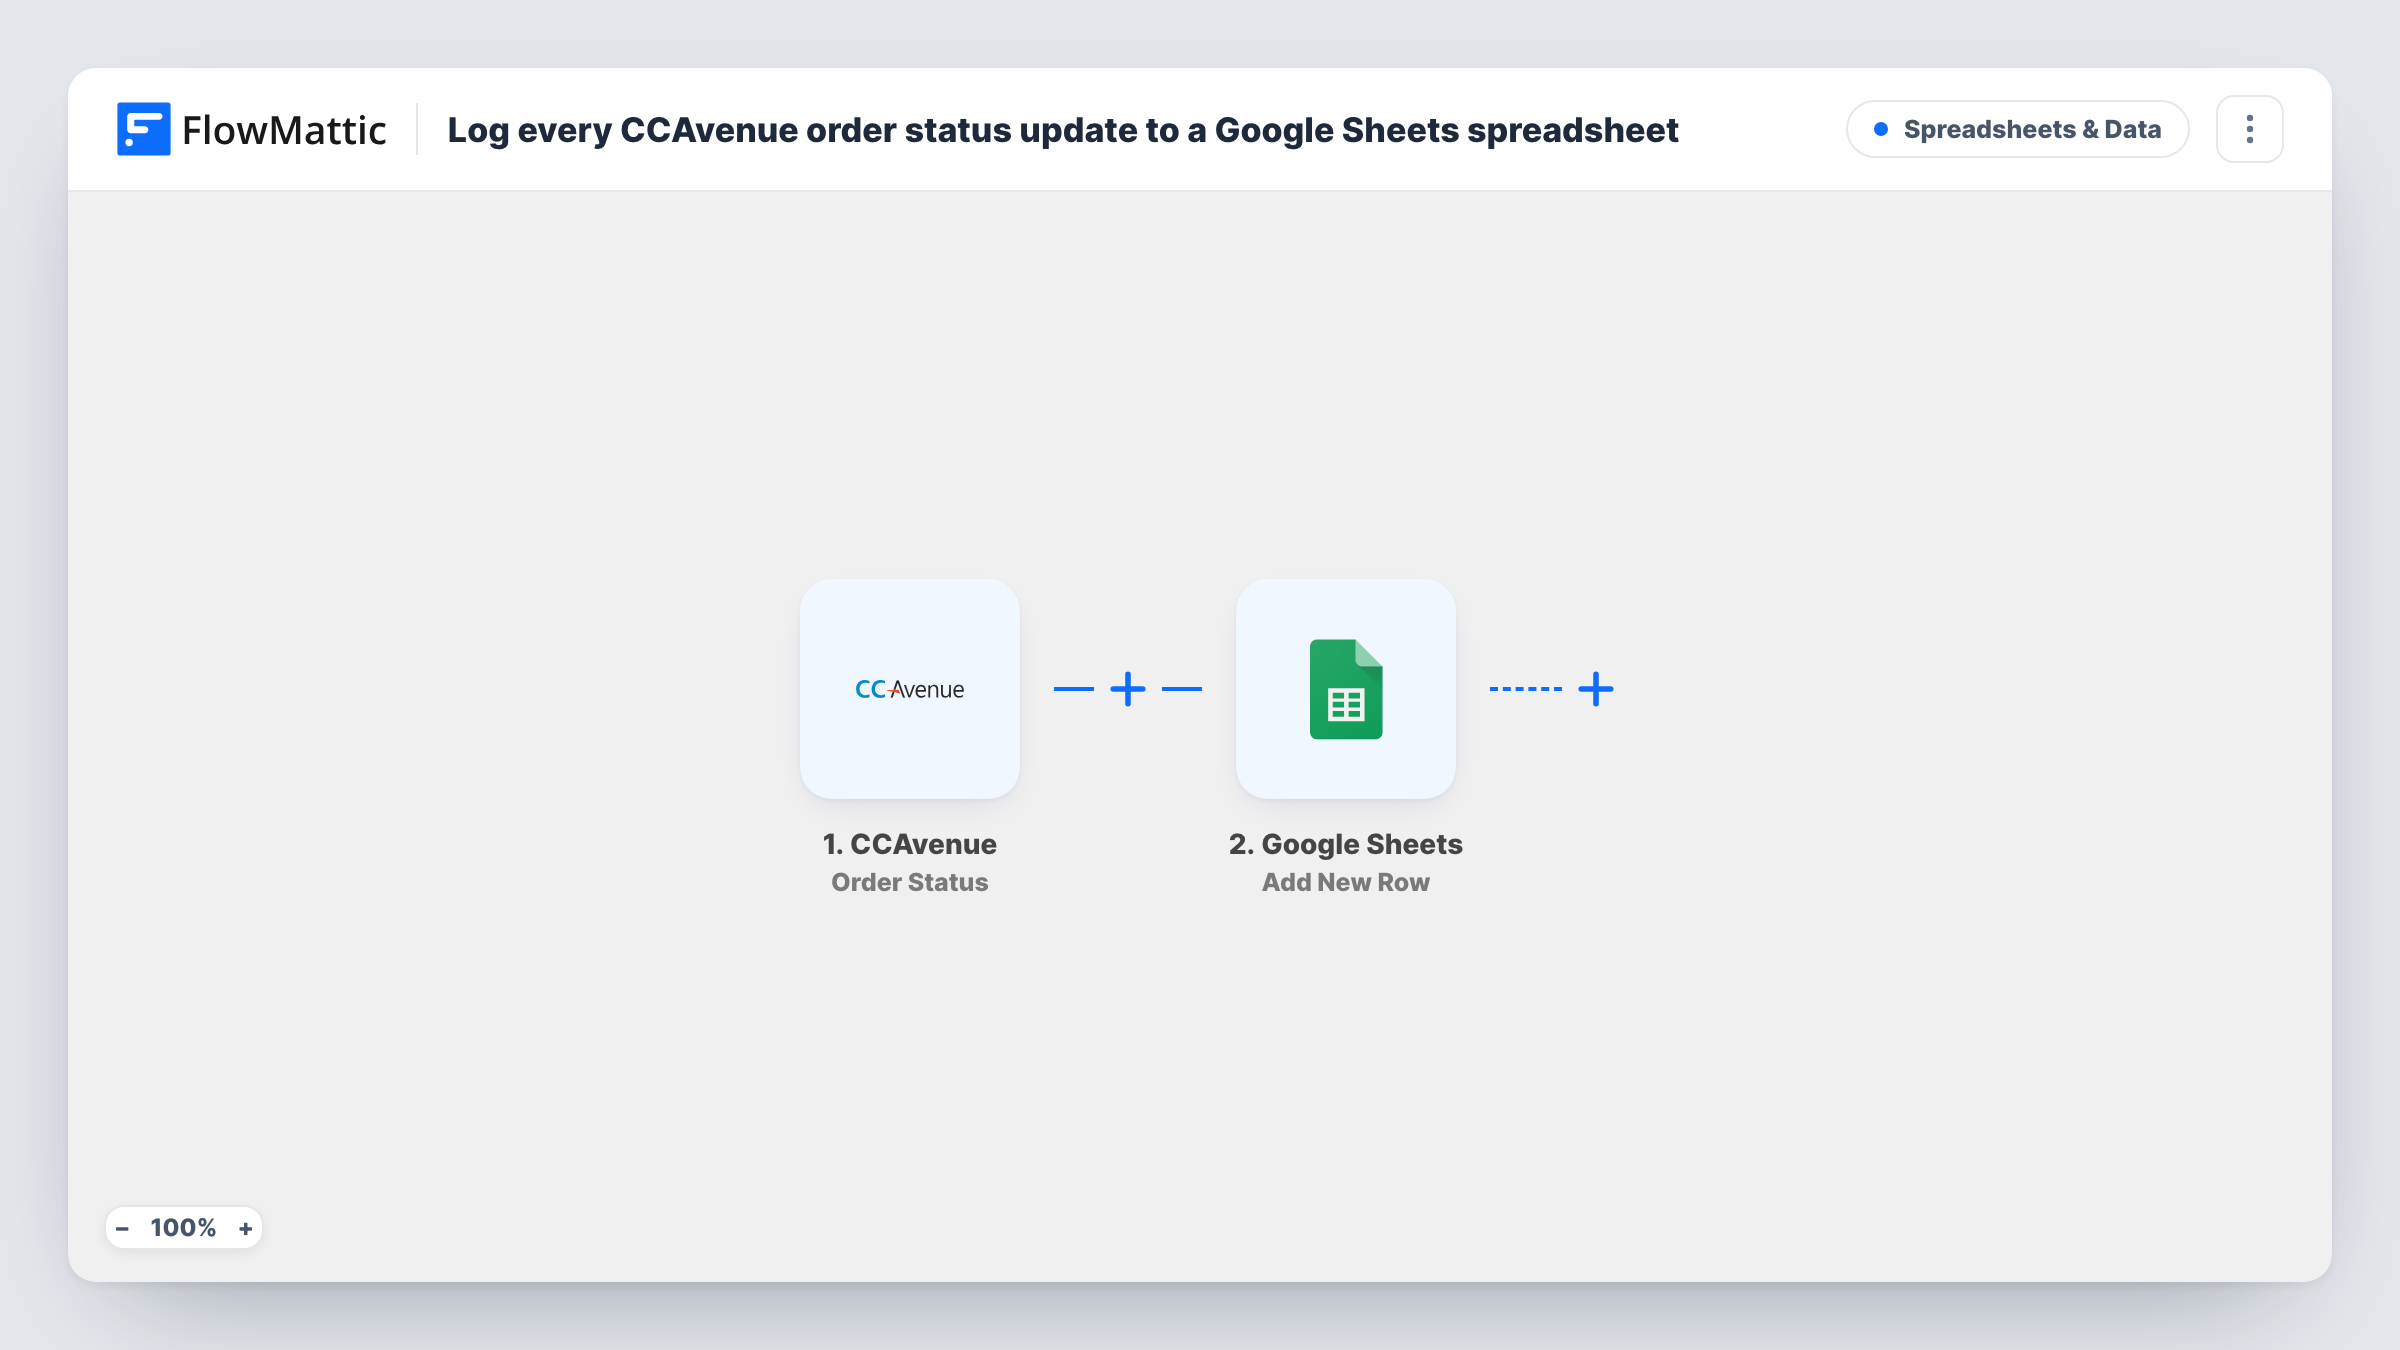
The CCAvenue Order Status trigger is described by FlowMattic as firing when a customer completes a payment. The payment's details, such as the order ID, amount and status, travel with the run; send a test payment to see exactly which values CCAvenue includes for your account.
The Google Sheets Add New Row step then appends one row per payment. It ships unmapped: after import you connect Google, pick the spreadsheet and sheet, and match CCAvenue values to your column headers. Set up the headers first, for example Order ID, Amount, Currency, Status and Date, so each value has a column to land in.
Mapping the order status into its own column is worth doing even for a completed-payments log, because it lets you confirm at a glance that every row came from a successful payment. Task History records each run if you ever need to compare a row with what CCAvenue sent.
Daily takings for a small online shop
A shop owner who takes payments through CCAvenue opens the Google Sheet each evening to total the day's completed payments.
Reconciliation sheet for the accountant
A services business shares a sheet of completed CCAvenue payments with its accountant, who matches each order ID against the bank statement.
Fee collection log for an institute
A coaching institute that collects course fees through CCAvenue keeps a sheet of each completed payment to see who has paid.
How this workflow runs
What happens at each step once the workflow is on, and what you need before you import it.
 CCAvenue Order Status
Starts a run each time one of your customers finishes paying through CCAvenue. The payment's order and amount details are passed on; a test payment shows the full set of values available.
- Google Sheets Add New Row
Appends a row to the Google Sheets spreadsheet you choose for each payment. The template maps no columns, so pick the sheet and map the CCAvenue values to your headers.
What you need
- FlowMatticCore
- CCAvenue AccountAccount
- Google Sheets AccountAccount
After importing, map your own data. To keep the template universal, not every step is pre-filled. Open each step in the builder and connect your accounts and fields (channels, lists, sheets, recipients) before you switch the workflow on.
Make it yours
Changes worth making after you import it.
- Map the order status into its own column, and if a test ever shows a status other than success, put a Filter between the CCAvenue trigger and the Google Sheets step that continues only on success.
- Type the column headers into the sheet before you set up the Google Sheets step, so every CCAvenue value has a named column to go into.
- Format the amount column as currency in Google Sheets, so totals and sums at the bottom of the sheet read correctly.
Questions about this workflow
Which CCAvenue payments are logged in Google Sheets?
Each one the Order Status trigger reports, which FlowMattic describes as payments completed by the customer. Map the status into a column so you can confirm it for every row.
Does each CCAvenue payment get its own row?
Yes. Add New Row appends one new row per run, so every completed payment is a separate line in the order it arrived.
Are recurring CCAvenue payments included?
FlowMattic's CCAvenue integration has a separate Order Status for Recurring Payments trigger. Use it in a copy of this workflow if you also want recurring charges in the sheet.
More Spreadsheets & Data workflows
Other ready-to-import templates from the same category.




Import this workflow into your WordPress site
Download the JSON, import it from the Workflows screen and connect your accounts. Every run stays on your server, with no per-task fees.
30-day money-back guarantee Unlimited workflows and runs Self-hosted