

Log every ClickPost shipment update to a Google Sheets order tracker
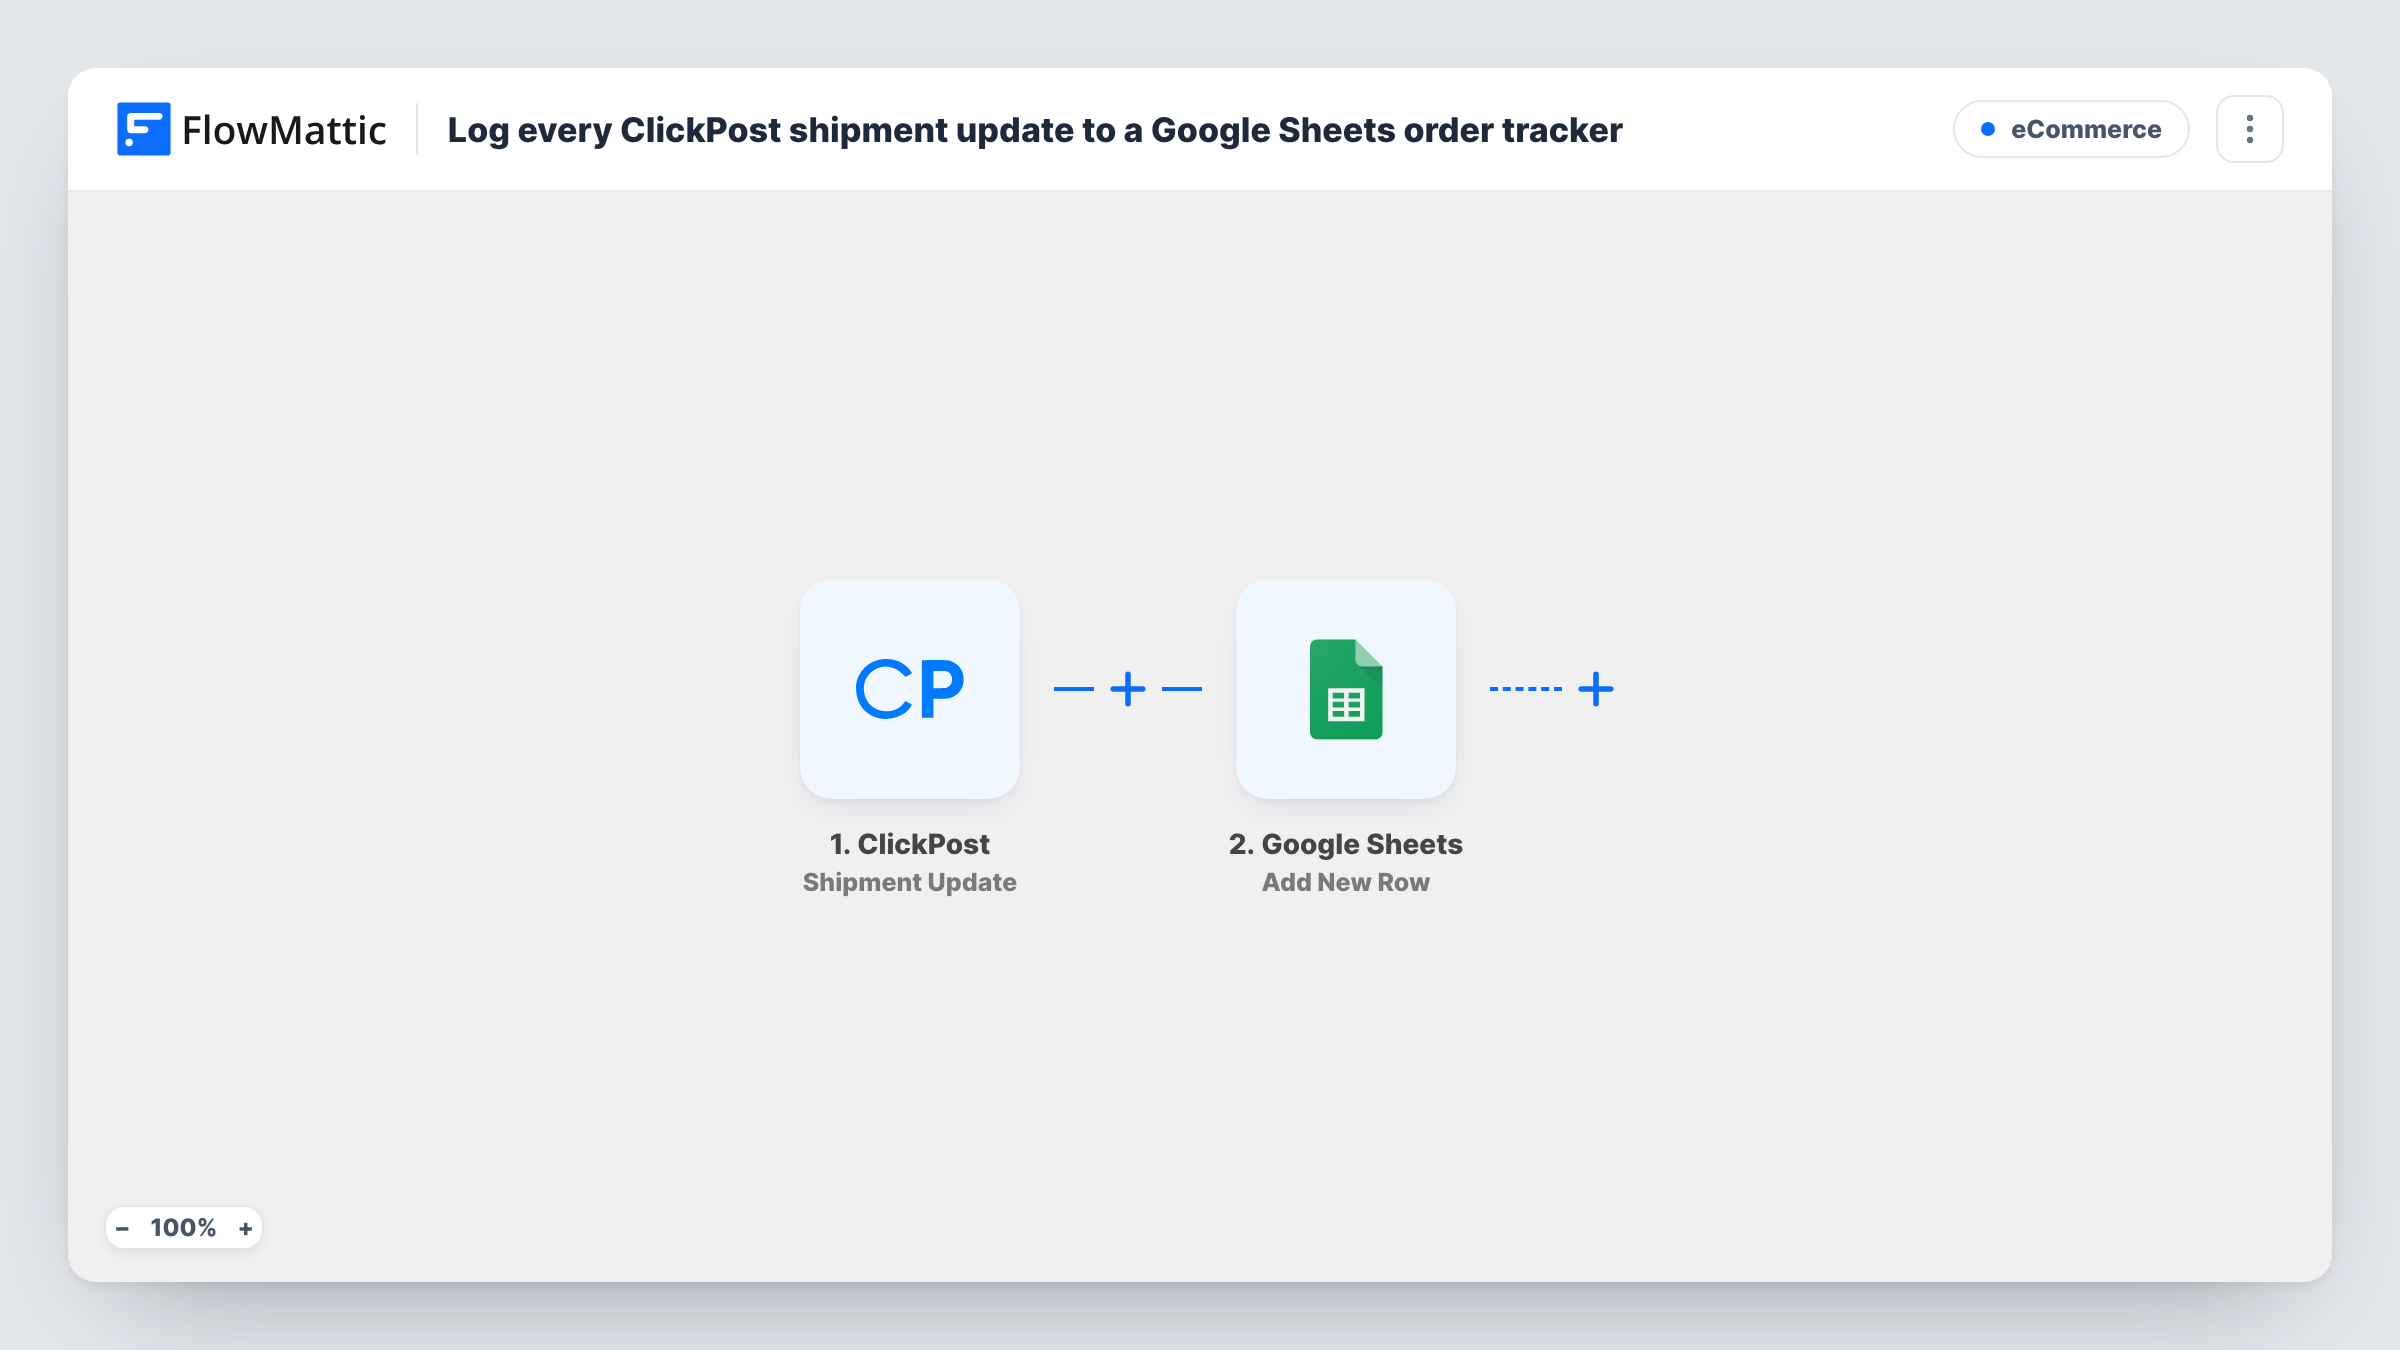
Whenever ClickPost reports a shipment update, this workflow adds a row to your Google Sheets order tracker, building a running log of each shipment’s status changes that your team can sort and filter.
 ClickPost
 Google Sheets
2 steps Setup ~5 min Used on 404 sites Free to import
What this workflow does
Customers ask where their order is, and answering means opening the courier's tracking page or the ClickPost dashboard. A spreadsheet that collects every update gives your support and operations staff one place to look, and it keeps a history you can sort by order, courier or date.
Each time a shipment changes, the ClickPost trigger starts a run and hands the update's data to FlowMattic. A test run shows which values arrive, such as the shipment's identifiers and its new status. The second step uses the Add New Row action in Google Sheets to write those values into the columns you choose.
The step adds a row, it doesn't change one. A parcel that moves through pickup, transit and delivery will appear on several rows, one per update, so the sheet works as a log rather than a single line per order. Sort or filter by the order or tracking number to see one shipment's path. Task History lists each run if you need to check what ClickPost sent.
Answering where-is-my-order questions
Support staff search the sheet for a customer's order number and read the latest status row instead of logging into ClickPost or the carrier's site.
Reviewing courier performance
An operations lead filters the log by courier and compares the times between pickup and delivery rows to see which partner is slower.
Sharing delivery progress with a wholesale client
A brand shares a filtered view of the sheet with a retail partner, who sees status updates for their orders without a ClickPost login.
How this workflow runs
What happens at each step once the workflow is on, and what you need before you import it.
 ClickPost Shipment Update
Fires when ClickPost reports that a shipment has been updated. The update's details become available to map into the sheet. Use a test run to see exactly which fields ClickPost sends.
- Google Sheets Add New Row
Appends a row to the Google Sheets spreadsheet you choose, holding the mapped shipment data. Give the sheet a header column for each ClickPost value you want to keep, then map them one by one.
What you need
- FlowMatticCore
- ClickPost AccountAccount
- Google Sheets AccountAccount
After importing, map your own data. To keep the template universal, not every step is pre-filled. Open each step in the builder and connect your accounts and fields (channels, lists, sheets, recipients) before you switch the workflow on.
Make it yours
Changes worth making after you import it.
- Add a column for the time of each update, mapped from the ClickPost data if it includes one, so you can sort a shipment's rows in the order they happened.
- Want only certain events in the sheet, such as deliveries and failed attempts? Add a Filter after the trigger that continues only when the status field matches those values.
- Freeze the header row and turn on a filter view in Google Sheets so your team can narrow the log to one order or one courier quickly.
Questions about this workflow
Does each ClickPost update overwrite the shipment's previous row?
No. The Google Sheets step always adds a new row, so every update is kept as its own line. If you want one row per order, you would need to change the action to one that finds and updates a row.
Which ClickPost shipments trigger a new row?
Any shipment update that ClickPost sends to FlowMattic starts a run. Without a Filter, every one of those updates adds a row to the sheet.
Do I need to create the tracker spreadsheet first?
Yes. Create the sheet with a header row before you map the step, so the columns appear in FlowMattic and you can match each one to a ClickPost value.
Will past shipment updates from ClickPost be added?
No. Only updates that arrive after you turn the workflow on are logged. Earlier history stays in ClickPost.
More E-Commerce workflows
Other ready-to-import templates from the same category.





Import this workflow into your WordPress site
Download the JSON, import it from the Workflows screen and connect your accounts. Every run stays on your server, with no per-task fees.
30-day money-back guarantee Unlimited workflows and runs Self-hosted