

Log every New Relic alert event in a Google Sheets spreadsheet
Whenever a New Relic incident is opened, acknowledged or closed, this workflow adds a Google Sheets row with the details you map, giving you a lasting record of alert activity outside New Relic.
 New Relic
 Google Sheets
2 steps Setup ~5 min Used on 2.3k sites Free to import
What this workflow does
Alert notifications scroll past in chat and email, and a month later nobody can say how often a service paged the team or how long incidents stayed open. A spreadsheet with one line per alert event answers those questions. This template writes that line for you.
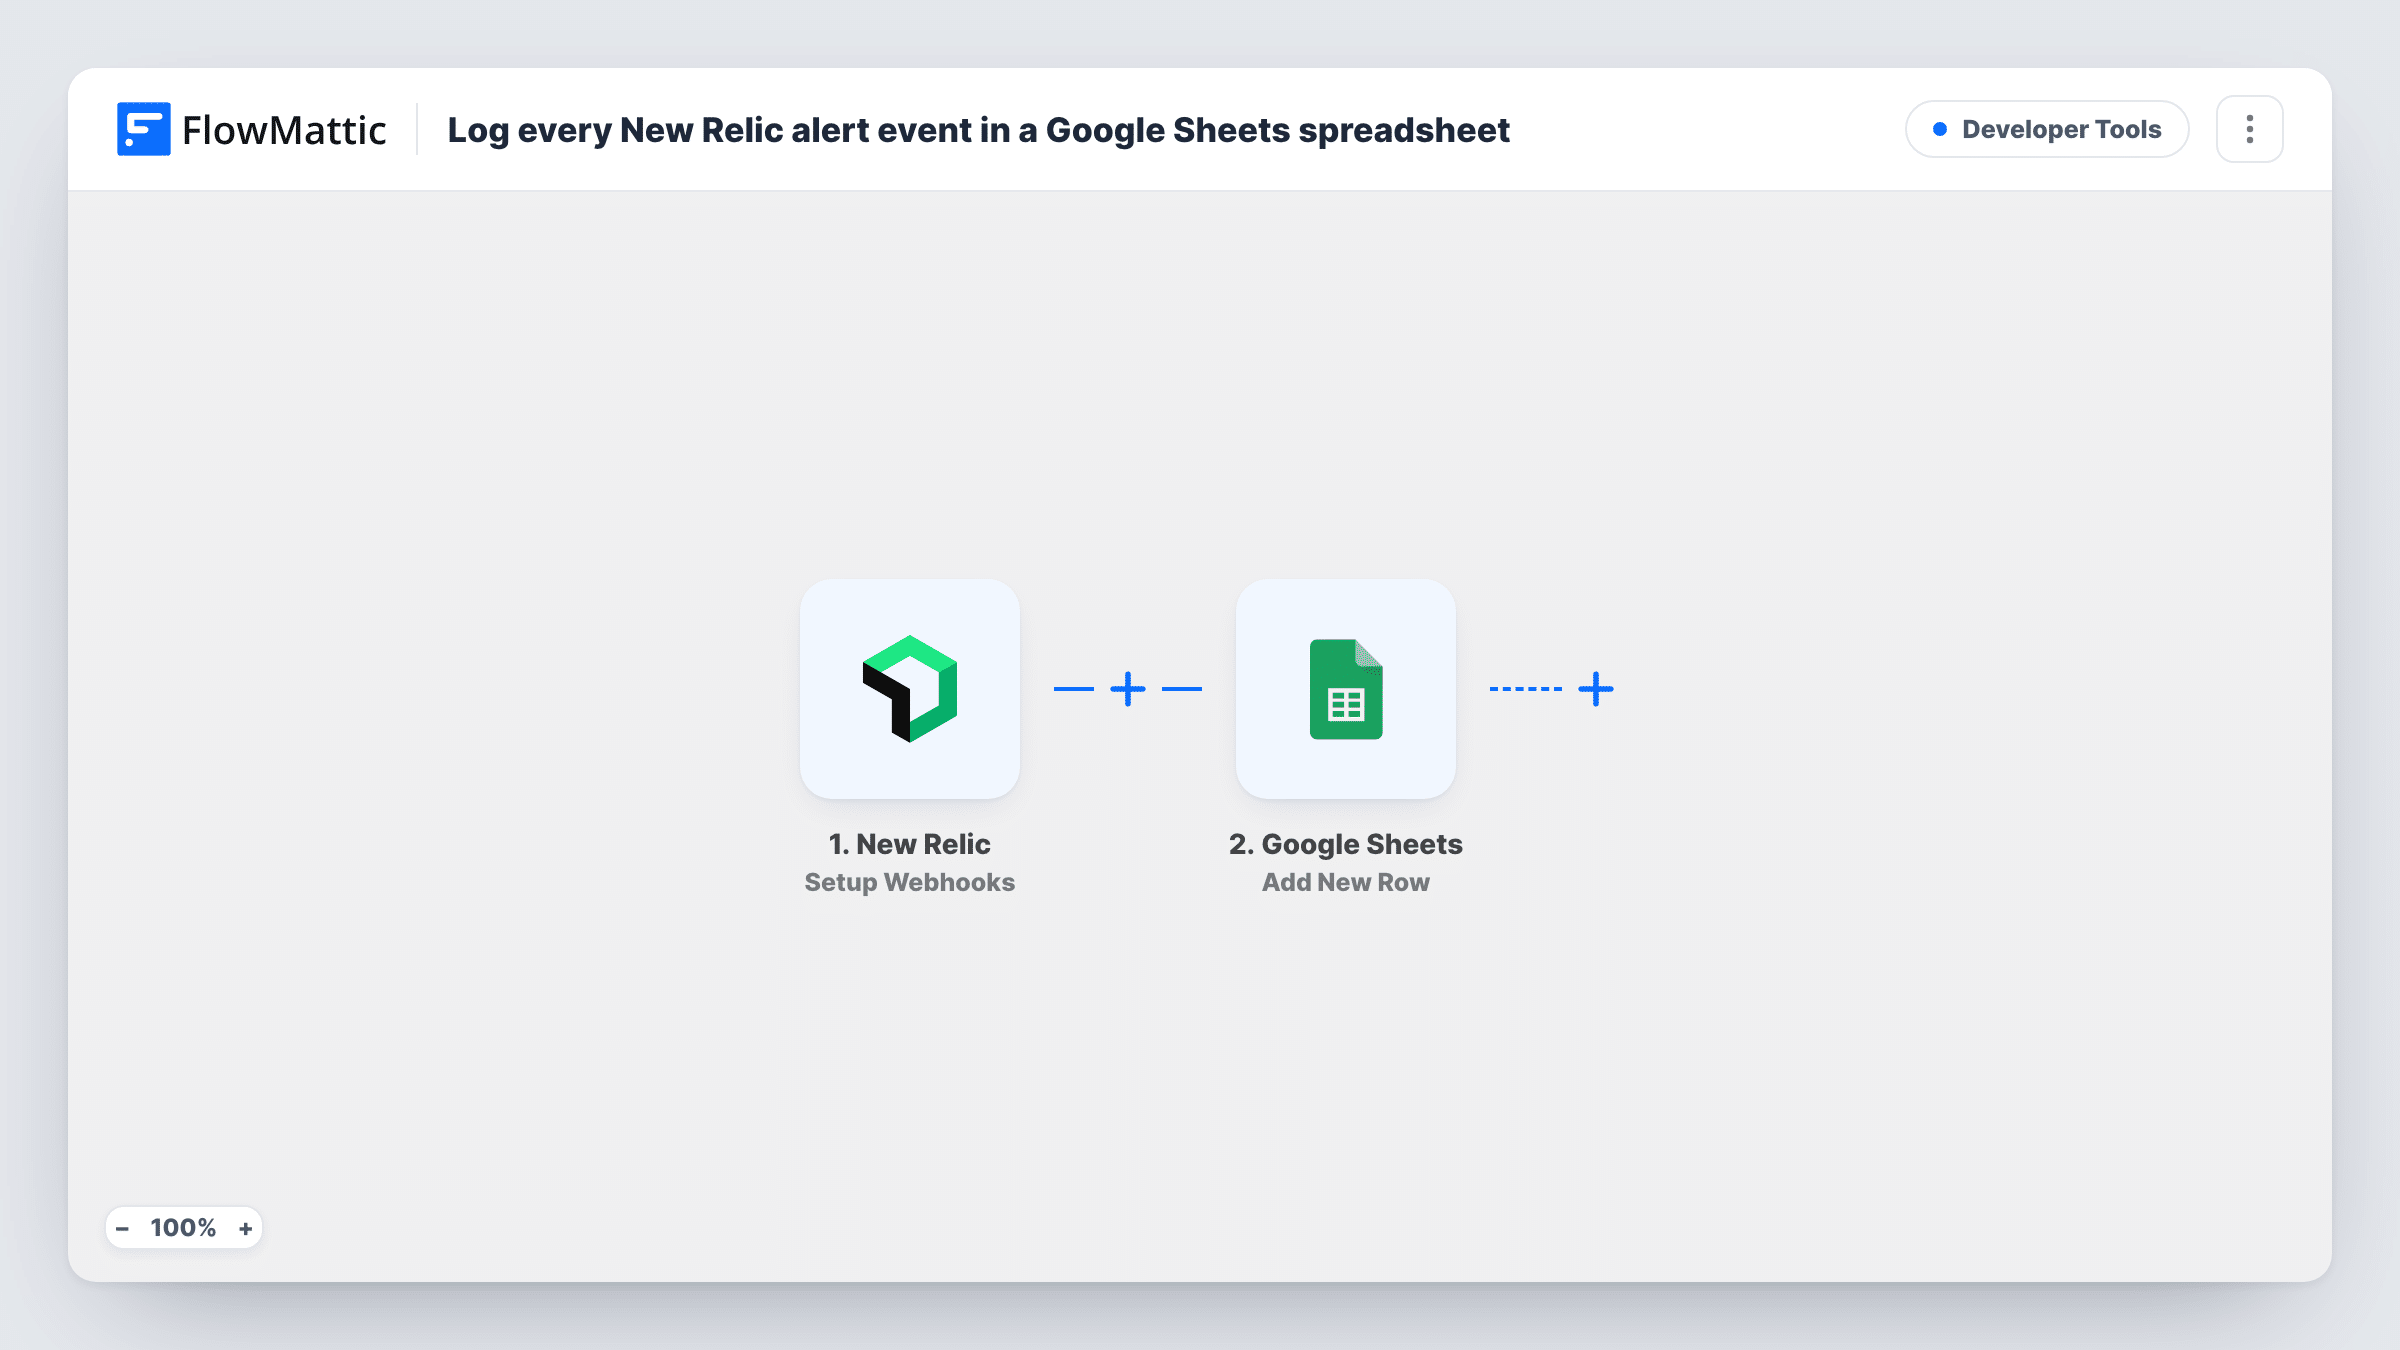
The New Relic trigger, Setup Webhooks, fires when an incident is opened, acknowledged or closed. Each of those changes is a separate event, so one incident usually produces several rows over its life. The data New Relic sends with the event becomes available to map. The Google Sheets step adds a new row and fills your columns from those values, such as the incident state, policy or timestamp where New Relic includes them.
No Filter sits between the steps, so every open, acknowledge and close event lands in the sheet. That gives you the full timeline, which you can sort by incident to work out response times. Task History keeps a record of each run, including the payload New Relic delivered.
Monthly incident review
An engineering lead filters the sheet by month to count incidents per policy and spot the alerts that fire most often.
Measuring time to acknowledge
Because opened and acknowledged events each get a row, you can compare their timestamps per incident to see how quickly the on-call person responded.
Sharing uptime history with stakeholders
Managers without a New Relic login read the shared Google Sheet to see when incidents opened and closed.
How this workflow runs
What happens at each step once the workflow is on, and what you need before you import it.
 New Relic Setup Webhooks
Fires when a New Relic incident is opened, acknowledged or closed. The event data New Relic sends, including the incident's details, is passed to the sheet step for mapping.
- Google Sheets Add New Row
Adds one row per alert event to your Google Sheets spreadsheet. Map each column to a value from the New Relic payload and connect your Google account.
What you need
- FlowMatticCore
- New Relic AccountAccount
- Google Sheets AccountAccount
After importing, map your own data. To keep the template universal, not every step is pre-filled. Open each step in the builder and connect your accounts and fields (channels, lists, sheets, recipients) before you switch the workflow on.
Make it yours
Changes worth making after you import it.
- Include a column for the incident state and one for the incident ID if New Relic sends them, so you can group the opened, acknowledged and closed rows that belong together.
- Only want newly opened incidents in the log? Add a Filter after the trigger that continues when the state value equals the one a test incident shows for an open event.
- Trigger a test alert in New Relic after import so FlowMattic captures a real payload, then map the sheet columns from the values you see.
Questions about this workflow
Will one New Relic incident create more than one row?
Usually, yes. The trigger fires separately when an incident is opened, acknowledged and closed, so each of those events becomes its own row in Google Sheets.
Which New Relic alert details can I log in the sheet?
Any value New Relic includes in the webhook event. The exact fields depend on how notifications are set up in your New Relic account, so check a test event before you map columns.
Are past New Relic incidents added to the sheet?
No. Only events that happen after the workflow is active are logged. Earlier incidents stay in New Relic.
Do I need to configure anything in New Relic?
Yes. New Relic has to send its incident events to FlowMattic. Follow the trigger's setup instructions in FlowMattic to connect it, then fire a test alert to confirm events arrive.
More Developer Tools workflows
Other ready-to-import templates from the same category.





Import this workflow into your WordPress site
Download the JSON, import it from the Workflows screen and connect your accounts. Every run stays on your server, with no per-task fees.
30-day money-back guarantee Unlimited workflows and runs Self-hosted