

Record each Cardly QR code scan as a row in an Airtable base
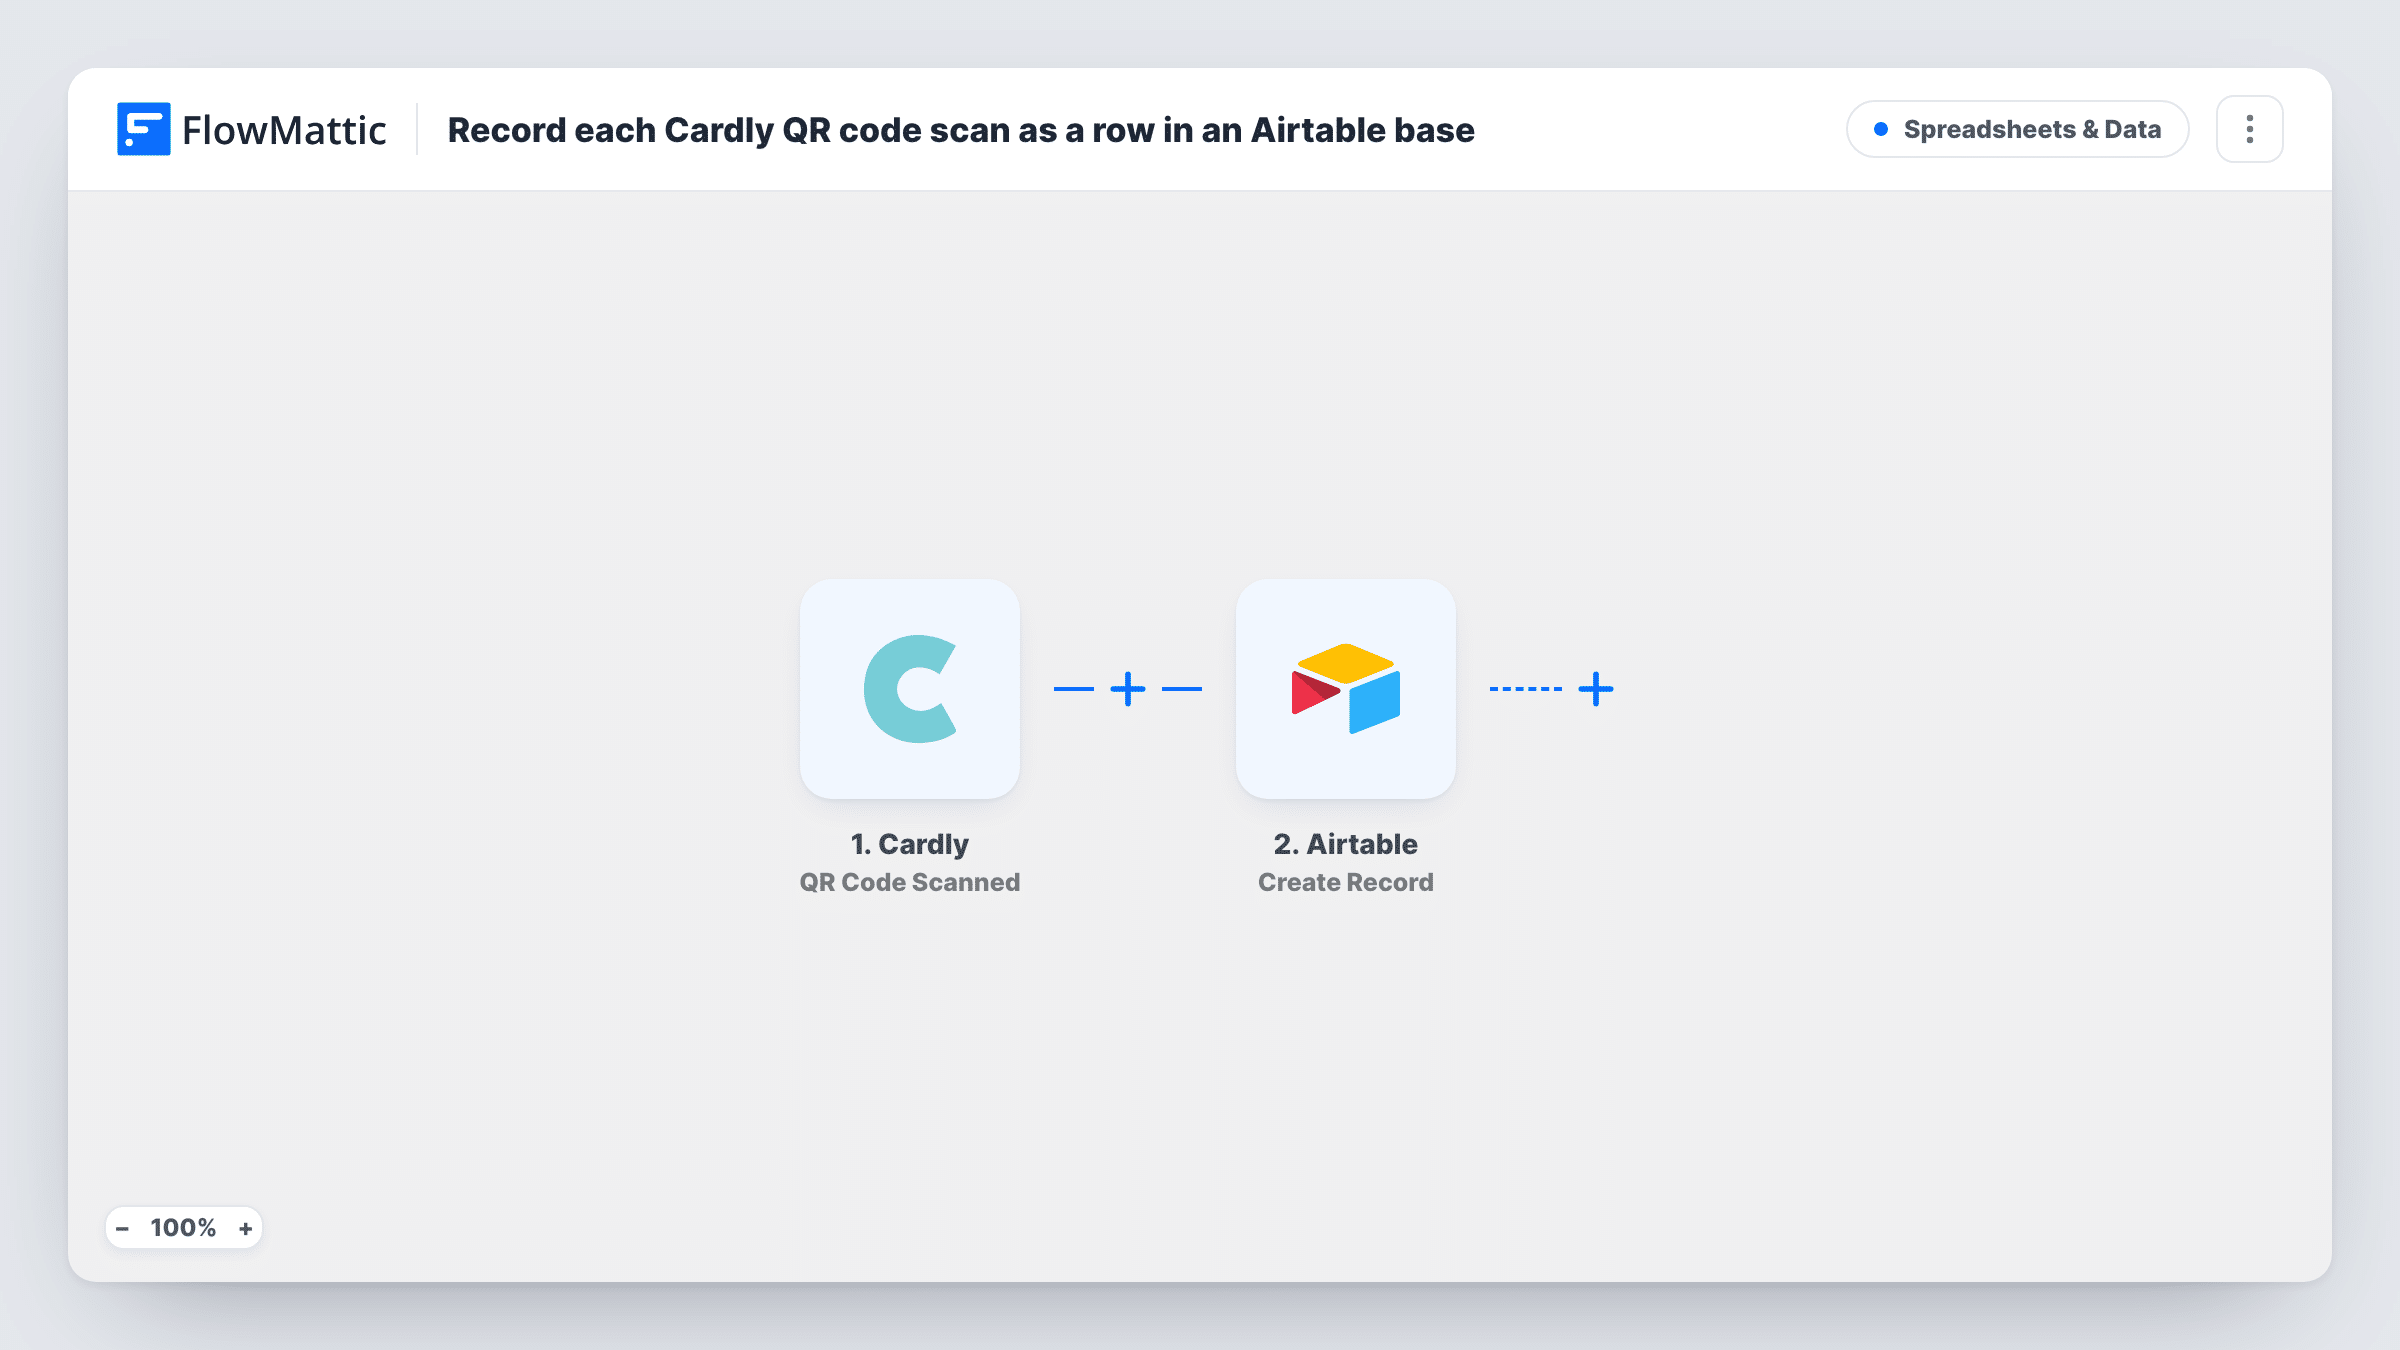
Each time someone scans the QR code on one of your Cardly cards, this workflow creates a record in Airtable with the recipient details Cardly sends, so you can see who engaged with your mail.
 Cardly
 Airtable
2 steps Setup ~5 min Used on 1.3k sites Free to import
What this workflow does
A QR code on a printed card is one of the few ways to tell that a piece of direct mail was picked up and acted on. Cardly reports those scans, but sales and marketing teams usually want them alongside their own campaign notes. This workflow logs every scan as an Airtable record.
The Cardly trigger, QR Code Scanned, fires when a QR code on one of your cards is scanned. FlowMattic's description says the event provides details of the recipient, which become values you can map. The Airtable step then creates a new record in the base and table you choose.
Each scan creates its own record, so a recipient who scans twice appears twice. That gives you a true count of scans, and you can group by recipient in Airtable to see unique people. Send a test scan to see which values Cardly includes, and use Task History to check each record.
Follow-up list for sales reps
A rep opens the Airtable view each morning and calls prospects whose Cardly card was scanned the day before, while the card is still on their desk.
Comparing direct mail campaigns
Map the campaign or template into its own field, then group the Airtable table to compare how many scans each Cardly campaign produced.
Thank-you card engagement
A business sends thank-you cards with a QR code to a review page, and the Airtable table shows which customers scanned it.
How this workflow runs
What happens at each step once the workflow is on, and what you need before you import it.
 Cardly QR Code Scanned
Fires when a QR code on one of your Cardly cards is scanned. The recipient details in the event are passed on; scan a test card to see them.
- Airtable Create Record
Creates a record in the Airtable base and table you pick for each scan. Map the Cardly recipient values to your Airtable fields, add a scan date field, and connect your Airtable account.
What you need
- FlowMatticCore
- Cardly AccountAccount
- Airtable AccountAccount
After importing, map your own data. To keep the template universal, not every step is pre-filled. Open each step in the builder and connect your accounts and fields (channels, lists, sheets, recipients) before you switch the workflow on.
Make it yours
Changes worth making after you import it.
- Add a Status field in Airtable for your sales team, such as To call and Called. The workflow fills only the fields you map, so the team can update the rest.
- Add a Slack or email step after Airtable if a rep should hear about each scan as it happens, not only when they open the base.
- Map the scan time into a date field so your Airtable views can show the most recent scans first.
Questions about this workflow
Does a second Cardly QR scan by the same person create another Airtable record?
Yes. Each scan fires the trigger and creates its own record. Group by recipient in Airtable when you want to count unique people.
What recipient details does Cardly send with a QR scan?
FlowMattic's trigger description says the event includes details of the recipient. Scan a test card after import to see the exact values before you map the Airtable fields.
Are past Cardly QR scans copied to Airtable?
No. Only scans that happen after the workflow is turned on create records.
More Spreadsheets & Data workflows
Other ready-to-import templates from the same category.




Import this workflow into your WordPress site
Download the JSON, import it from the Workflows screen and connect your accounts. Every run stays on your server, with no per-task fees.
30-day money-back guarantee Unlimited workflows and runs Self-hosted