

When Joonbot records a new user response, store the data in Google Sheets
Each time your Joonbot chatbot sends a webhook to FlowMattic with a visitor’s answers, this workflow writes them to a new Google Sheets row, so chatbot responses build into one shared log.
 Joonbot
 Google Sheets
2 steps Setup ~5 min Used on 489 sites Free to import
What this workflow does
A website chatbot collects useful answers, from contact details to what visitors are looking for, but they are easiest to review and share in a spreadsheet. This workflow saves each Joonbot response to Google Sheets as it arrives.
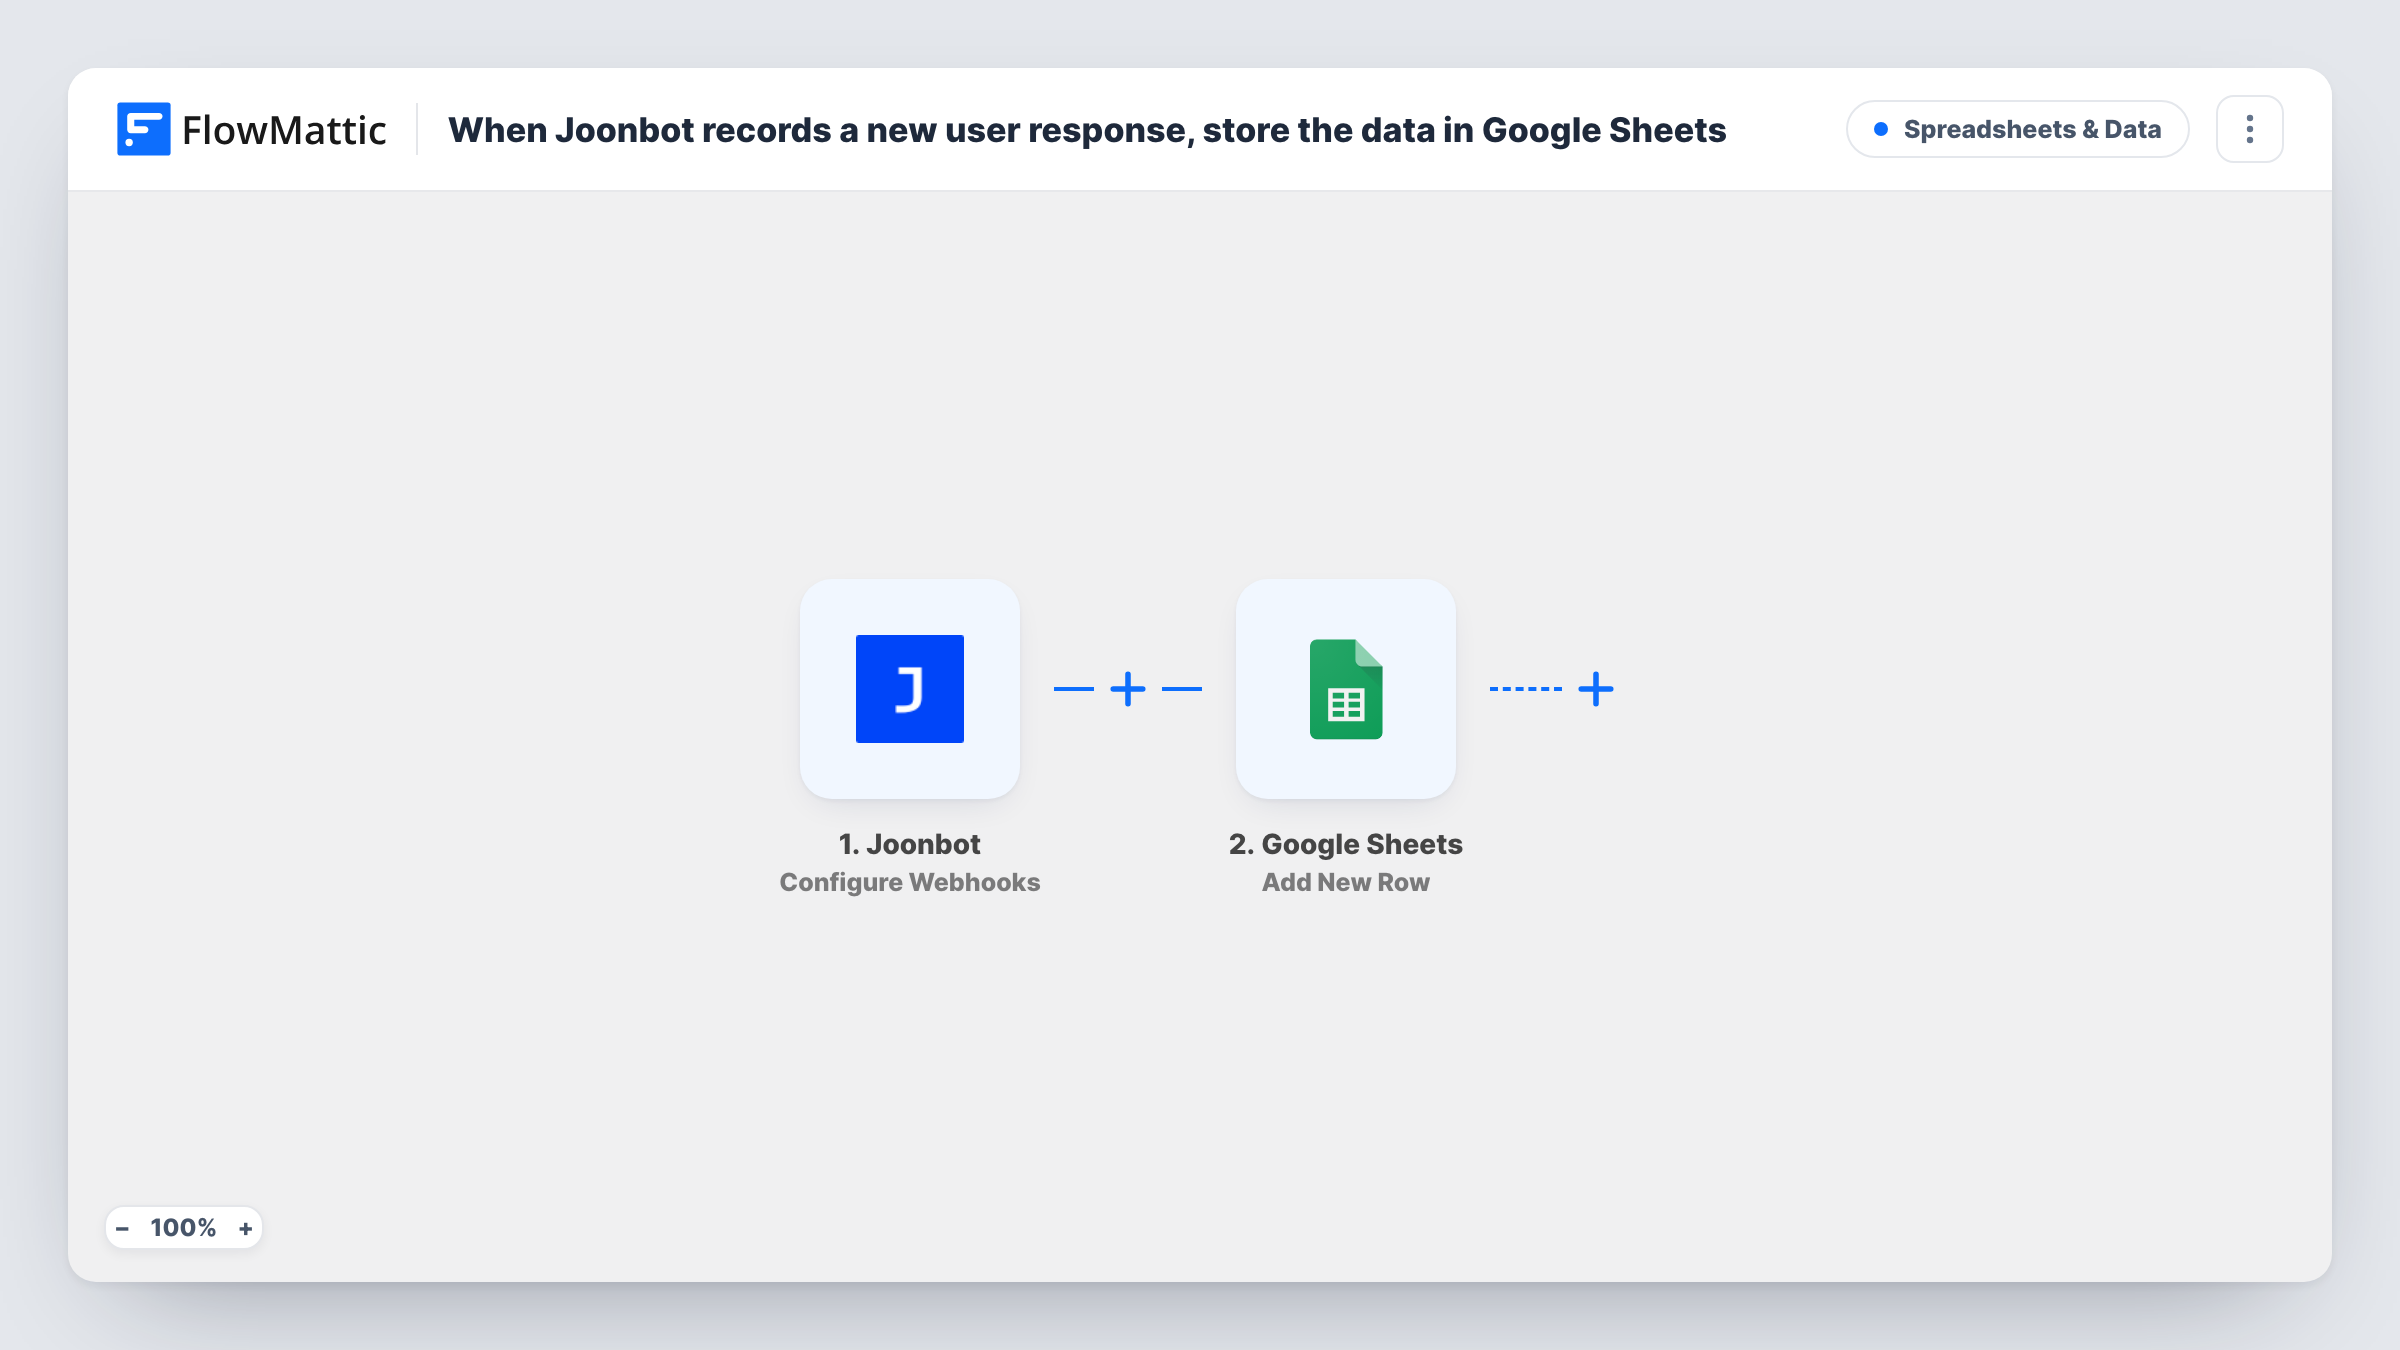
The Joonbot trigger is Configure Webhooks. You add the workflow's URL to your bot's webhook settings in Joonbot, and the bot then sends the data it collected to FlowMattic. Each webhook call starts one run.
The Google Sheets step runs Add New Row, writing the response to the spreadsheet you choose with each answer mapped to a column. Every webhook Joonbot sends adds a row, with no filtering, so if your bot sends more than one webhook per conversation you will see more than one row. A test conversation shows how often yours sends.
Lead capture log
A Joonbot on your pricing page asks for name, email and company size. Each answer set lands in a sheet the sales team works through.
Customer feedback survey
A feedback bot asks visitors to rate their experience. The sheet collects every rating and comment for your monthly review.
Appointment request intake
A clinic's chatbot asks for the preferred day and reason for the visit, and staff call back from the Google Sheets list.
How this workflow runs
What happens at each step once the workflow is on, and what you need before you import it.
 Joonbot Configure Webhooks
Receives the webhook your Joonbot sends to the workflow's URL. The answers the bot collected become values you can map to sheet columns.
- Google Sheets Add New Row
Stores the Joonbot response as a row in your chosen spreadsheet. Connect your Google account, pick the sheet and map each Joonbot answer to a column.
What you need
- FlowMatticCore
- Joonbot AccountAccount
- Google Sheets AccountAccount
After importing, map your own data. To keep the template universal, not every step is pre-filled. Open each step in the builder and connect your accounts and fields (channels, lists, sheets, recipients) before you switch the workflow on.
Make it yours
Changes worth making after you import it.
- Have a test conversation with your bot after adding the webhook URL in Joonbot, so FlowMattic captures the answer fields you need to map.
- Add a Filter after the trigger that continues only when the email answer is not empty, if you want the sheet to hold only visitors who left contact details.
- Add a date column and map the time from the webhook, if Joonbot sends it, so you can sort the sheet by when each conversation happened.
Questions about this workflow
Where do I put the FlowMattic webhook URL in Joonbot?
In your bot's webhook settings in Joonbot. Paste the URL FlowMattic shows for the Configure Webhooks trigger, then run a test conversation.
Does every Joonbot conversation add a Google Sheets row?
Every webhook Joonbot sends adds one. A visitor who leaves before the bot sends its webhook isn't recorded. A test shows when your bot sends.
Which Joonbot answers can I store in the sheet?
The ones your bot includes in its webhook. Check the captured data from a test conversation in FlowMattic and map the answers you want to columns.
Can the same Joonbot data also go to my CRM?
Yes. Add a CRM step after the Google Sheets step and map the same answers, such as FluentCRM's Create or Update Contact matched by email.
More Spreadsheets & Data workflows
Other ready-to-import templates from the same category.




Import this workflow into your WordPress site
Download the JSON, import it from the Workflows screen and connect your accounts. Every run stays on your server, with no per-task fees.
30-day money-back guarantee Unlimited workflows and runs Self-hosted