

When a ticket is created in Freshdesk, send ticket details to Zapier
Each time a ticket is created in Freshdesk, this workflow sends the ticket’s details to Zapier, where a Zap you build can pass them on to the other apps your support team uses.
 Freshdesk
 Zapier
2 steps Setup ~5 min Used on 788 sites Free to import
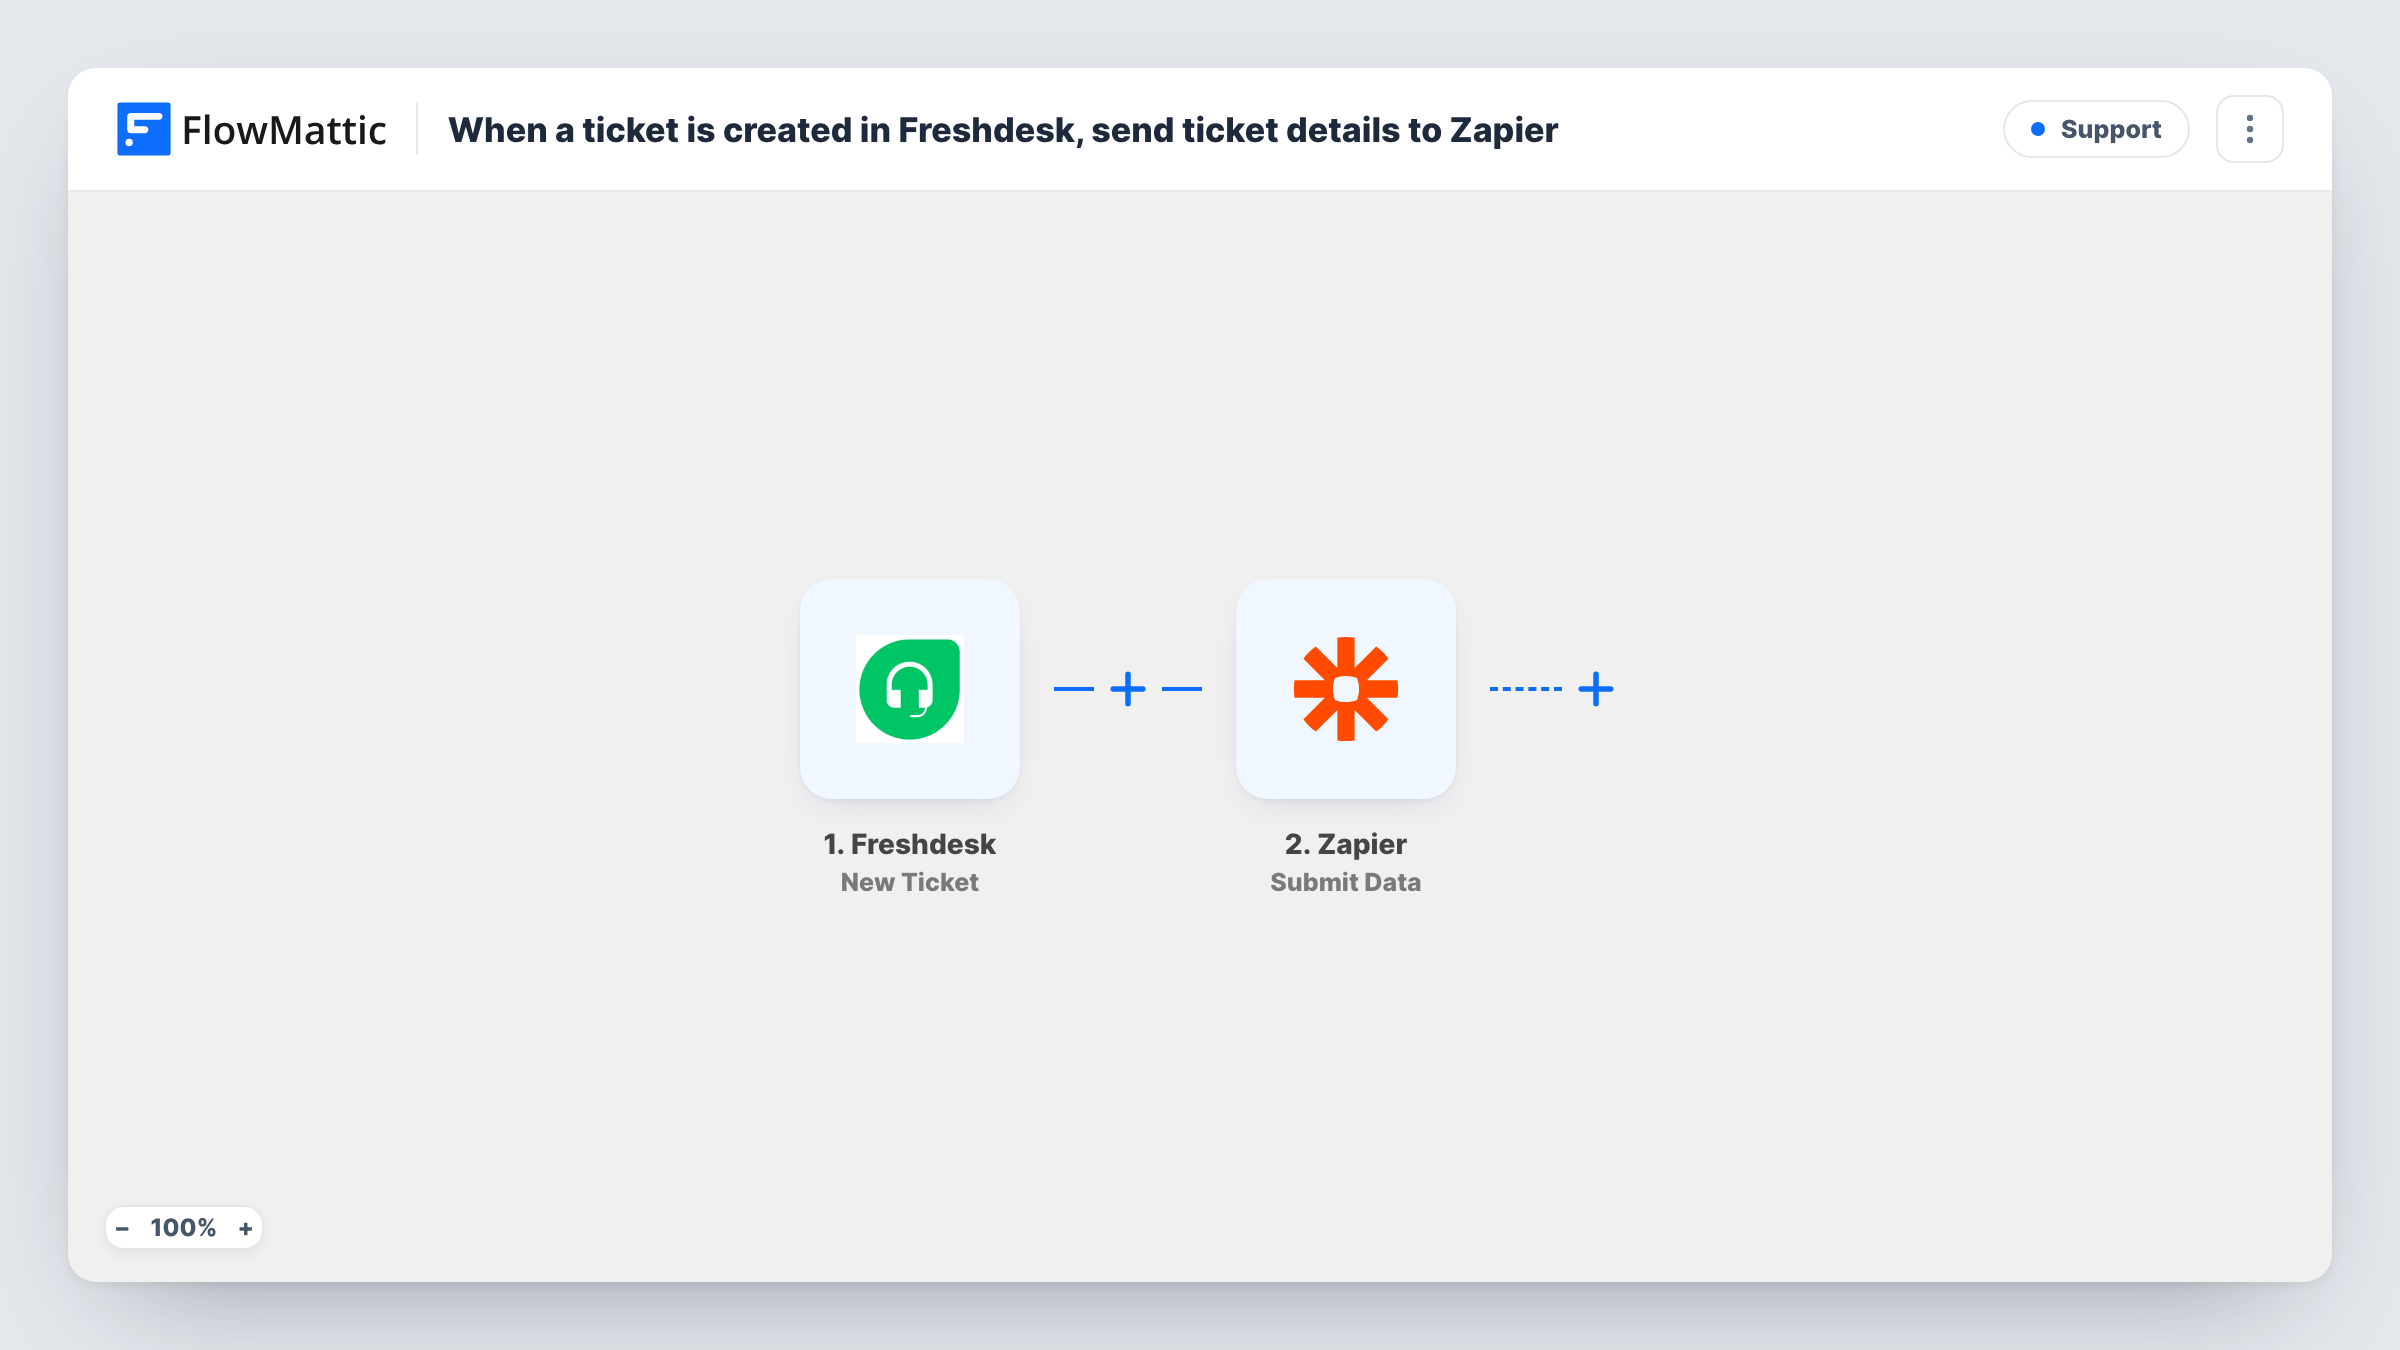
What this workflow does
Some teams run part of their tooling through Zapier and want new support tickets to reach it as they arrive. This FlowMattic workflow sits between the two: it watches your helpdesk for new tickets and hands each one to Zapier, so the Zapier side can decide where the data goes next.
The Freshdesk trigger runs once for every new ticket in your Freshdesk account. The ticket data it receives becomes available to map in the next step. The Zapier step then uses the Submit Data action to send the fields you mapped to Zapier.
What happens after that is up to the Zap that receives the data. This template does not build it for you, so set it up in your Zapier account before you turn the workflow on. Each run of the FlowMattic workflow is logged in Task History, where you can see the ticket data that was sent and spot an error on the Zapier step.
Feed tickets into a Zap you already run
You have a Zap that posts alerts to your team's chat app. New Freshdesk tickets now reach it through this workflow, and the Zap handles the posting.
Hand ticket data to an app only Zapier connects
When a tool your team relies on is reachable only through a Zapier integration, this workflow gets each new Freshdesk ticket to Zapier so a Zap can deliver it there.
Move Freshdesk work from Zapier to WordPress in stages
Let FlowMattic catch new tickets on your WordPress site while the downstream steps stay in Zapier, then rebuild those steps in FlowMattic one at a time.
How this workflow runs
What happens at each step once the workflow is on, and what you need before you import it.
 Freshdesk New Ticket
Runs each time a new ticket is created in your Freshdesk account. The ticket details it receives are passed on so you can map them in the Zapier step. Connect your Freshdesk account on import.
- Zapier Submit Data
Sends the ticket details you map here to Zapier with the Submit Data action. A Zap on your Zapier account must be set up to receive the data. Run a test after import to confirm the fields arrive as expected.
What you need
- FlowMatticCore
- Freshdesk AccountAccount
- Zapier AccountAccount
After importing, map your own data. To keep the template universal, not every step is pre-filled. Open each step in the builder and connect your accounts and fields (channels, lists, sheets, recipients) before you switch the workflow on.
Make it yours
Changes worth making after you import it.
- Add a Filter between the two steps if only some tickets should reach Zapier, for example tickets whose priority or type matches a value you choose.
- Create one test ticket in Freshdesk after import. FlowMattic then captures its fields, and you can map the ones your Zap needs in the Zapier step.
- If the Zap only passes tickets to one app that FlowMattic also connects, you can add that app as a step in this workflow instead and drop the Zapier step.
Questions about this workflow
Do I need a Zap ready before importing this Freshdesk workflow?
You need one before the data is useful. FlowMattic sends the ticket details to Zapier, and a Zap on your account has to receive them and do something with them. Build the Zap, then run a test ticket through.
Will tickets created before I turn this on be sent to Zapier?
No. The Freshdesk trigger fires on new tickets, so only tickets created after the workflow is turned on are sent.
Which Freshdesk ticket fields go to Zapier?
The ones you map in the Zapier step. Create a test ticket after import so the trigger captures the available fields, then choose what to send.
Where do I see whether a ticket reached Zapier?
Task History in FlowMattic shows each run, the data the Zapier step sent and any error the step returned. Your Zap's own history in Zapier shows what it received.
More Support workflows
Other ready-to-import templates from the same category.





Import this workflow into your WordPress site
Download the JSON, import it from the Workflows screen and connect your accounts. Every run stays on your server, with no per-task fees.
30-day money-back guarantee Unlimited workflows and runs Self-hosted