

When a form is submitted on Weblium, add the customer information to Airtable
When a visitor submits a contact form on your Weblium website, this workflow saves their details as a new record in an Airtable base, so every customer enquiry sits in one organised table.
 Weblium
 Airtable
2 steps Setup ~5 min Used on 3.3k sites Free to import
What this workflow does
Weblium gives you a website with contact forms, but the entries are hard to sort, assign or report on where they land. Airtable lets you add status fields, owners and views to the same data. This workflow puts each Weblium submission into Airtable as it arrives.
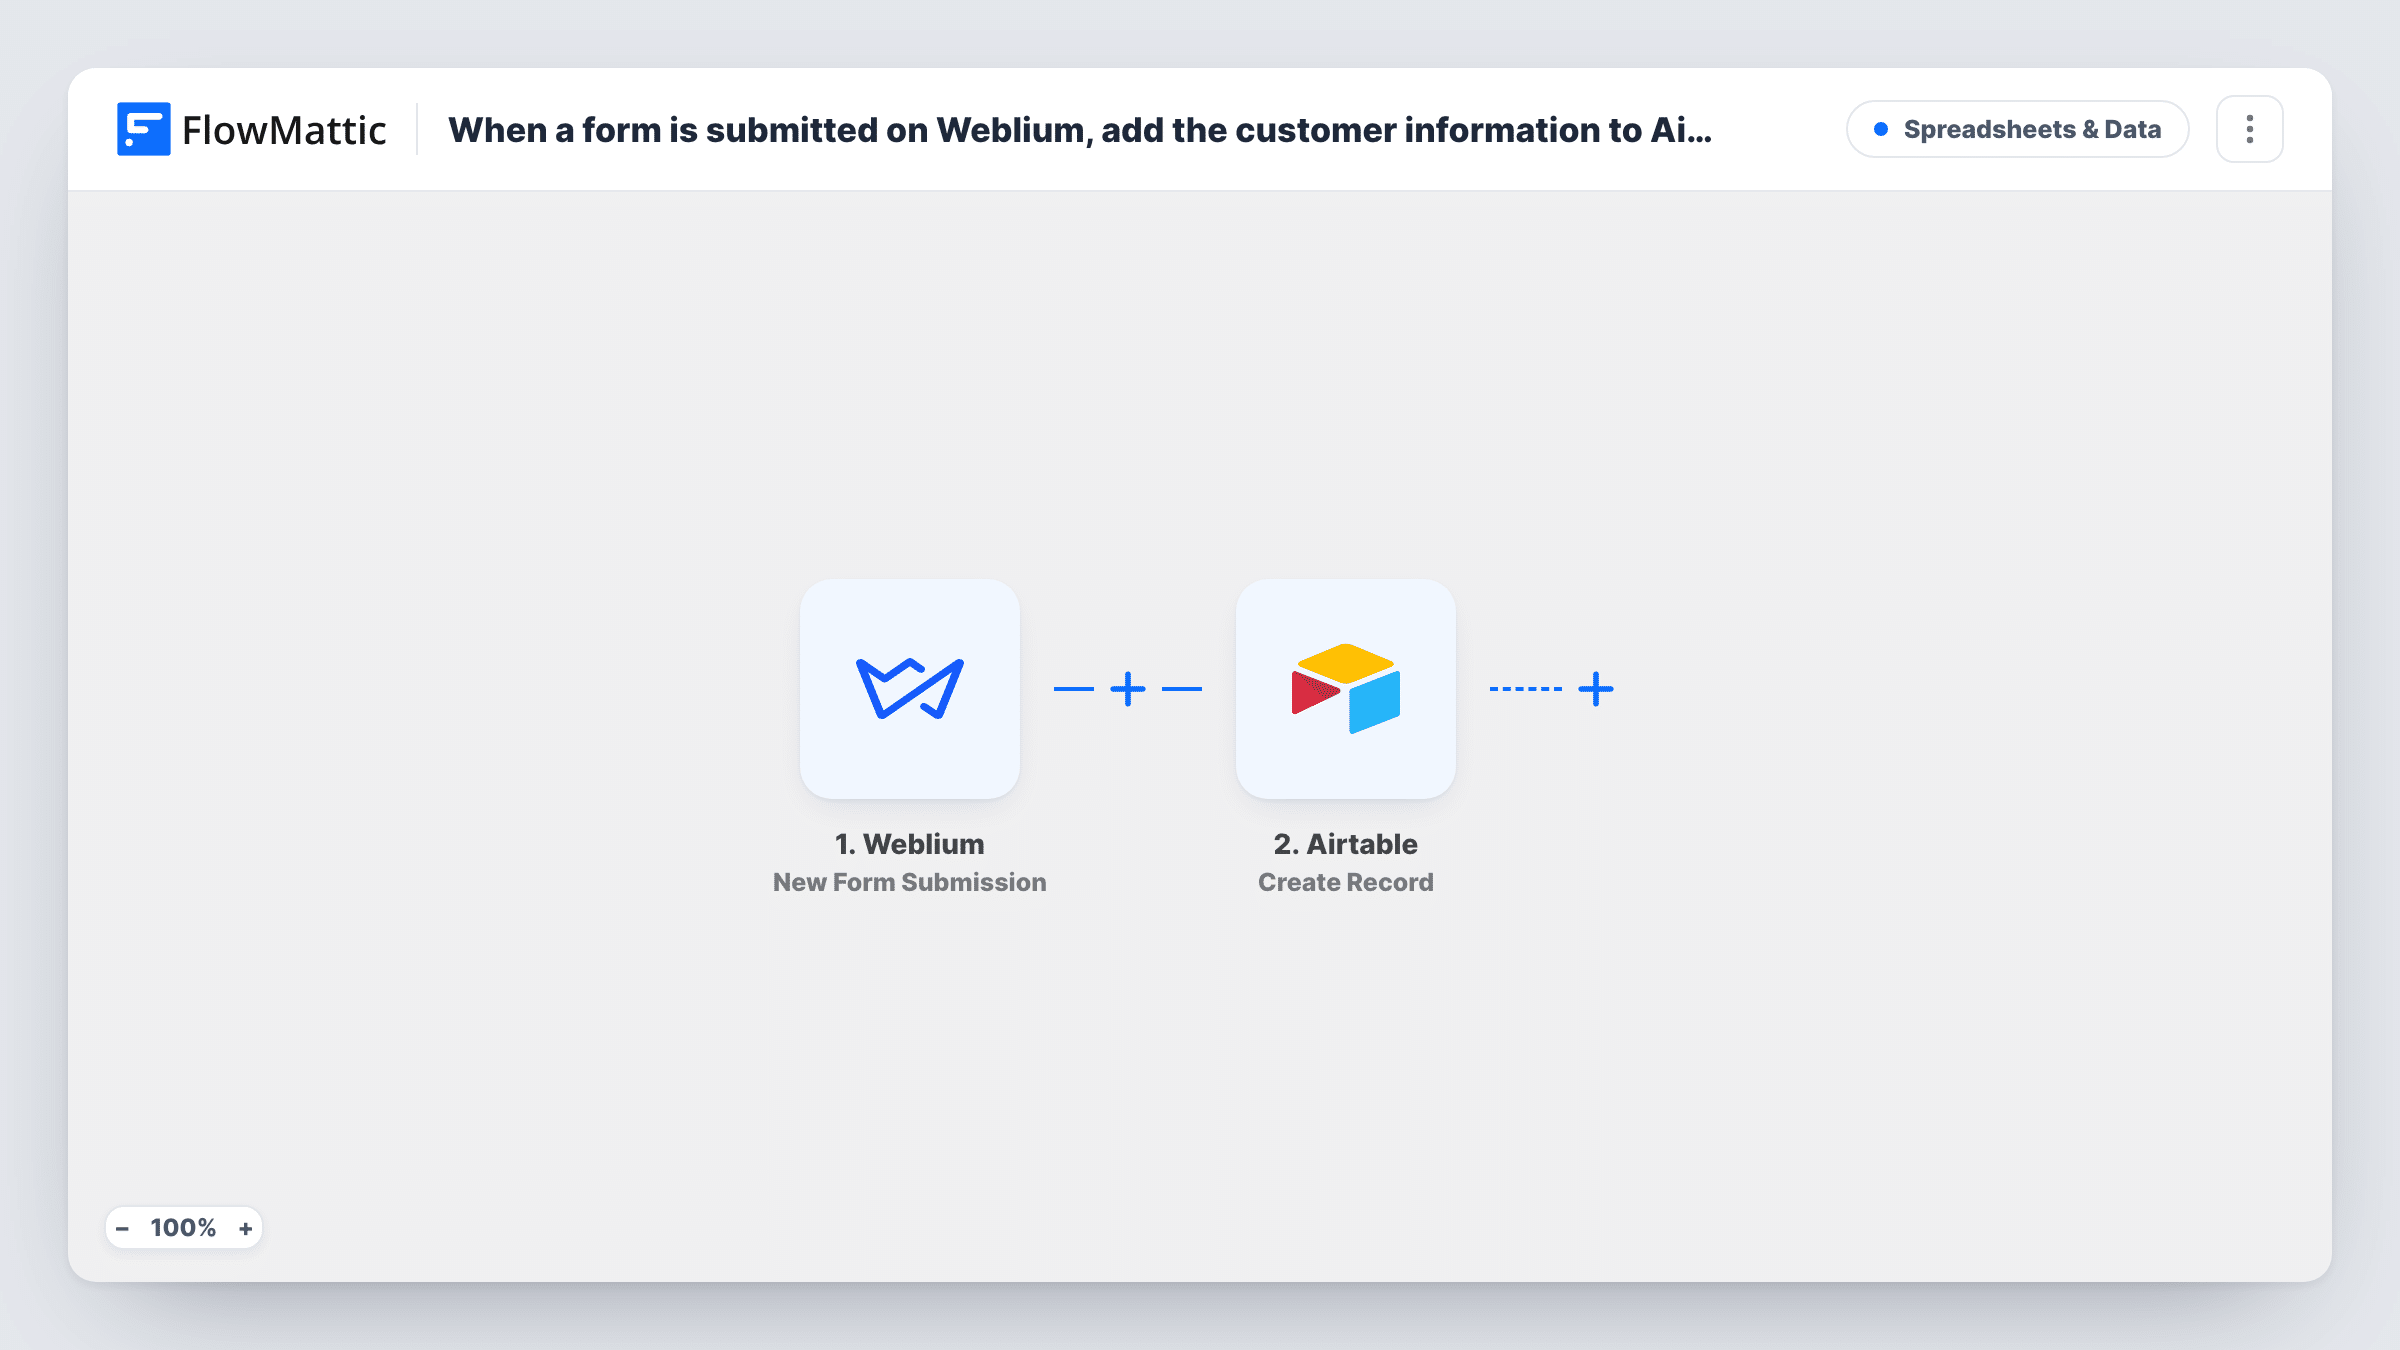
The Weblium trigger starts a run when a contact form on your site is sent. FlowMattic then calls Airtable with Create Record, which adds one new record to the base and table you choose. Each form value you map fills the matching Airtable field.
Every submission creates its own record, so a person who writes in twice appears twice. If something goes wrong, Task History shows the run, the values sent and Airtable's answer.
Enquiry board for a small shop
Questions from a Weblium shop site become Airtable records, and staff use a status field to mark which ones have been answered.
Booking requests for a studio
A photography studio's Weblium form asks for date and package. Each request lands in Airtable where a calendar view shows the requested dates.
Client intake for a consultant
New client details from the Weblium contact page go to an Airtable intake table that links to projects once the work is agreed.
How this workflow runs
What happens at each step once the workflow is on, and what you need before you import it.
 Weblium New Form Submission
Starts the workflow when a contact form on your Weblium website is submitted. Everything the visitor entered is available to map into Airtable.
- Airtable Create Record
Adds one Airtable record per Weblium entry, in the base and table you point it at. Map each Weblium form value to an Airtable field, then send a test entry to confirm the record looks right.
What you need
- FlowMatticCore
- Weblium AccountAccount
- Airtable AccountAccount
After importing, map your own data. To keep the template universal, not every step is pre-filled. Open each step in the builder and connect your accounts and fields (channels, lists, sheets, recipients) before you switch the workflow on.
Make it yours
Changes worth making after you import it.
- Add a Created time field in Airtable so each record carries the date it arrived without mapping anything extra.
- Use a Filter after the trigger to keep empty or test submissions out of the base, for example by requiring the email value to contain an @.
- Add a single select Status field in Airtable with a default value so your team can track each enquiry from new to done.
Questions about this workflow
Does a repeat Weblium visitor update their old Airtable record?
No. Create Record always adds a new record, so the same person submitting twice gives two records. Airtable's own tools can help you spot duplicates.
Do my Airtable field names need to match the Weblium form?
No. You map each form value to whichever Airtable field you want in the Create Record step, so the names can differ.
Can I send the Weblium entry somewhere else too?
Yes. Add another action after the Airtable step, such as an email or chat message, and map the same form values into it.
More Spreadsheets & Data workflows
Other ready-to-import templates from the same category.




Import this workflow into your WordPress site
Download the JSON, import it from the Workflows screen and connect your accounts. Every run stays on your server, with no per-task fees.
30-day money-back guarantee Unlimited workflows and runs Self-hosted