

When a form submission is received in Gravity Forms, create a status page in Better Uptime
Every Gravity Forms submission creates a new status page in Better Uptime from the answers you map, so a request form can set up status pages without you logging in to Better Uptime each time.
 Gravity Forms
 Better Uptime
2 steps Setup ~5 min Used on 1.8k sites Free to import
What this workflow does
If you build status pages for clients or for internal teams, each one starts with the same setup in Better Uptime. A request form lets people ask for one in a consistent way, and this workflow turns each request into the page itself. You collect the details once, in Gravity Forms, and Better Uptime receives them as a new status page.
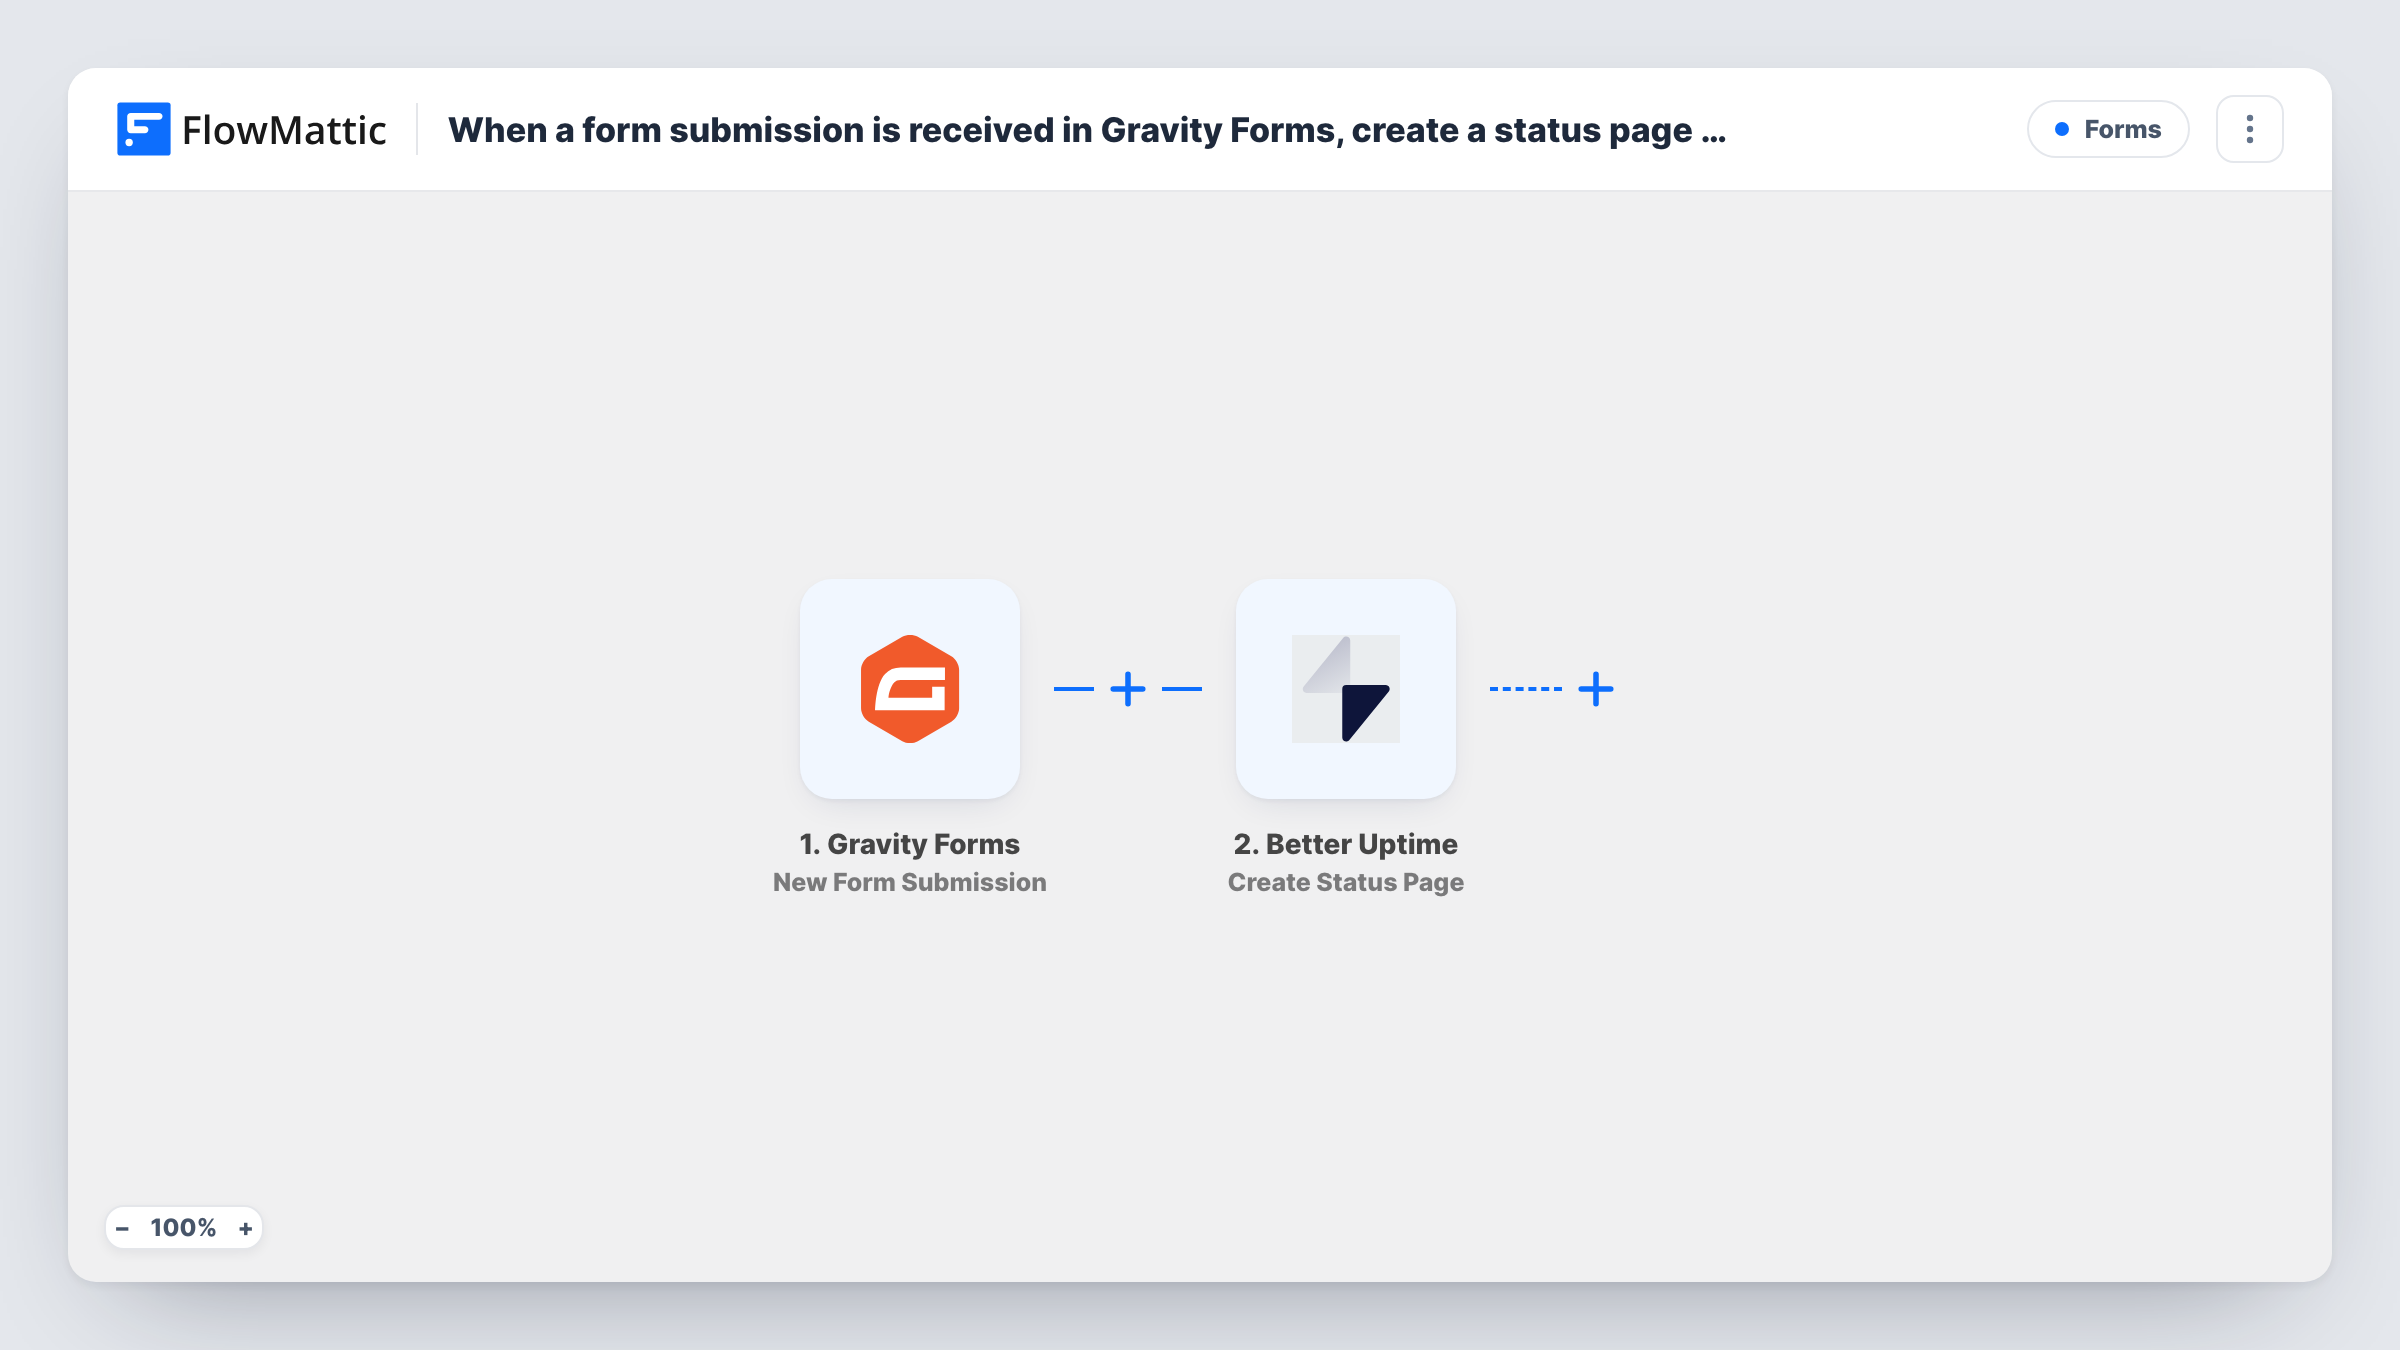
The Gravity Forms trigger runs when someone submits the form you choose on your WordPress site. FlowMattic then calls the Create Status Page action in Better Uptime, filling it with the form answers you map, such as a company name for the page.
The page is created with whatever the form provides and nothing more. Monitors, sections and resources are separate Better Uptime actions, so a new page starts without them unless you add those steps. Because there is no check in between, every submission makes a page, including test entries. Task History shows the Better Uptime response for each run, which is where you see a rejected request.
Agency onboarding for new clients
A new hosting client fills in an internal onboarding form with their company name. Better Uptime gets a status page for them, ready for you to attach their monitors.
Internal teams requesting their own page
Product teams in a larger company submit a short form when they launch a service, and each request becomes its own Better Uptime status page.
A consistent setup for every page
Instead of typing details by hand, staff use one Gravity Forms form whose fields match what Better Uptime needs, so pages are created the same way each time.
How this workflow runs
What happens at each step once the workflow is on, and what you need before you import it.
 Gravity Forms New Form Submission
Runs when a visitor or staff member submits the selected Gravity Forms form. Submit one test entry after import so FlowMattic captures the answers you will map into Better Uptime.
- Better Uptime Create Status Page
Creates a new status page in Better Uptime. Connect your account and map the form answers into the page details, then check a test run to see what Better Uptime accepts and returns.
What you need
- FlowMatticCore
- Gravity Forms PluginPlugin
- Better Uptime AccountAccount
After importing, map your own data. To keep the template universal, not every step is pre-filled. Open each step in the builder and connect your accounts and fields (channels, lists, sheets, recipients) before you switch the workflow on.
Make it yours
Changes worth making after you import it.
- Keep this form off public pages, or add a Filter after the trigger, for example one that continues only when an approval field is set to Yes. Otherwise anyone who submits it creates a page.
- Add a Create Status Page Section step after this one so each new page starts with a section, mapping the ID that Create Status Page returns.
- Make the fields Better Uptime needs required in Gravity Forms, so an incomplete entry doesn't reach the Create Status Page step.
Questions about this workflow
Does the new Better Uptime status page include monitors?
No. The template only creates the page. Better Uptime's Create Monitor, Create Status Page Section and Create Status Page Resource are separate actions you can add as further steps.
What if two Gravity Forms entries ask for the same status page?
The workflow has no duplicate check, so it calls Create Status Page for each entry. Better Uptime may reject a page whose details clash with an existing one, and Task History shows that response.
Which Gravity Forms form starts the workflow?
The one you choose in the trigger. Pick a dedicated request form so other forms on your site don't create status pages.
More Forms workflows
Other ready-to-import templates from the same category.







Import this workflow into your WordPress site
Download the JSON, import it from the Workflows screen and connect your accounts. Every run stays on your server, with no per-task fees.
30-day money-back guarantee Unlimited workflows and runs Self-hosted