

Create a HubSpot CRM contact for each new Upnify client
Each time a client is created in Upnify, this workflow creates a matching contact in HubSpot CRM from the client details you map, so your marketing tools can reach new accounts.
 Upnify
 HubSpot CRM
2 steps Setup ~5 min Used on 2.2k sites Free to import
What this workflow does
Some teams sell in Upnify and run email, forms and reporting in HubSpot. When the two don't talk, every new client has to be typed in twice, and the HubSpot side falls behind. This workflow adds the contact in HubSpot for you when the client is created.
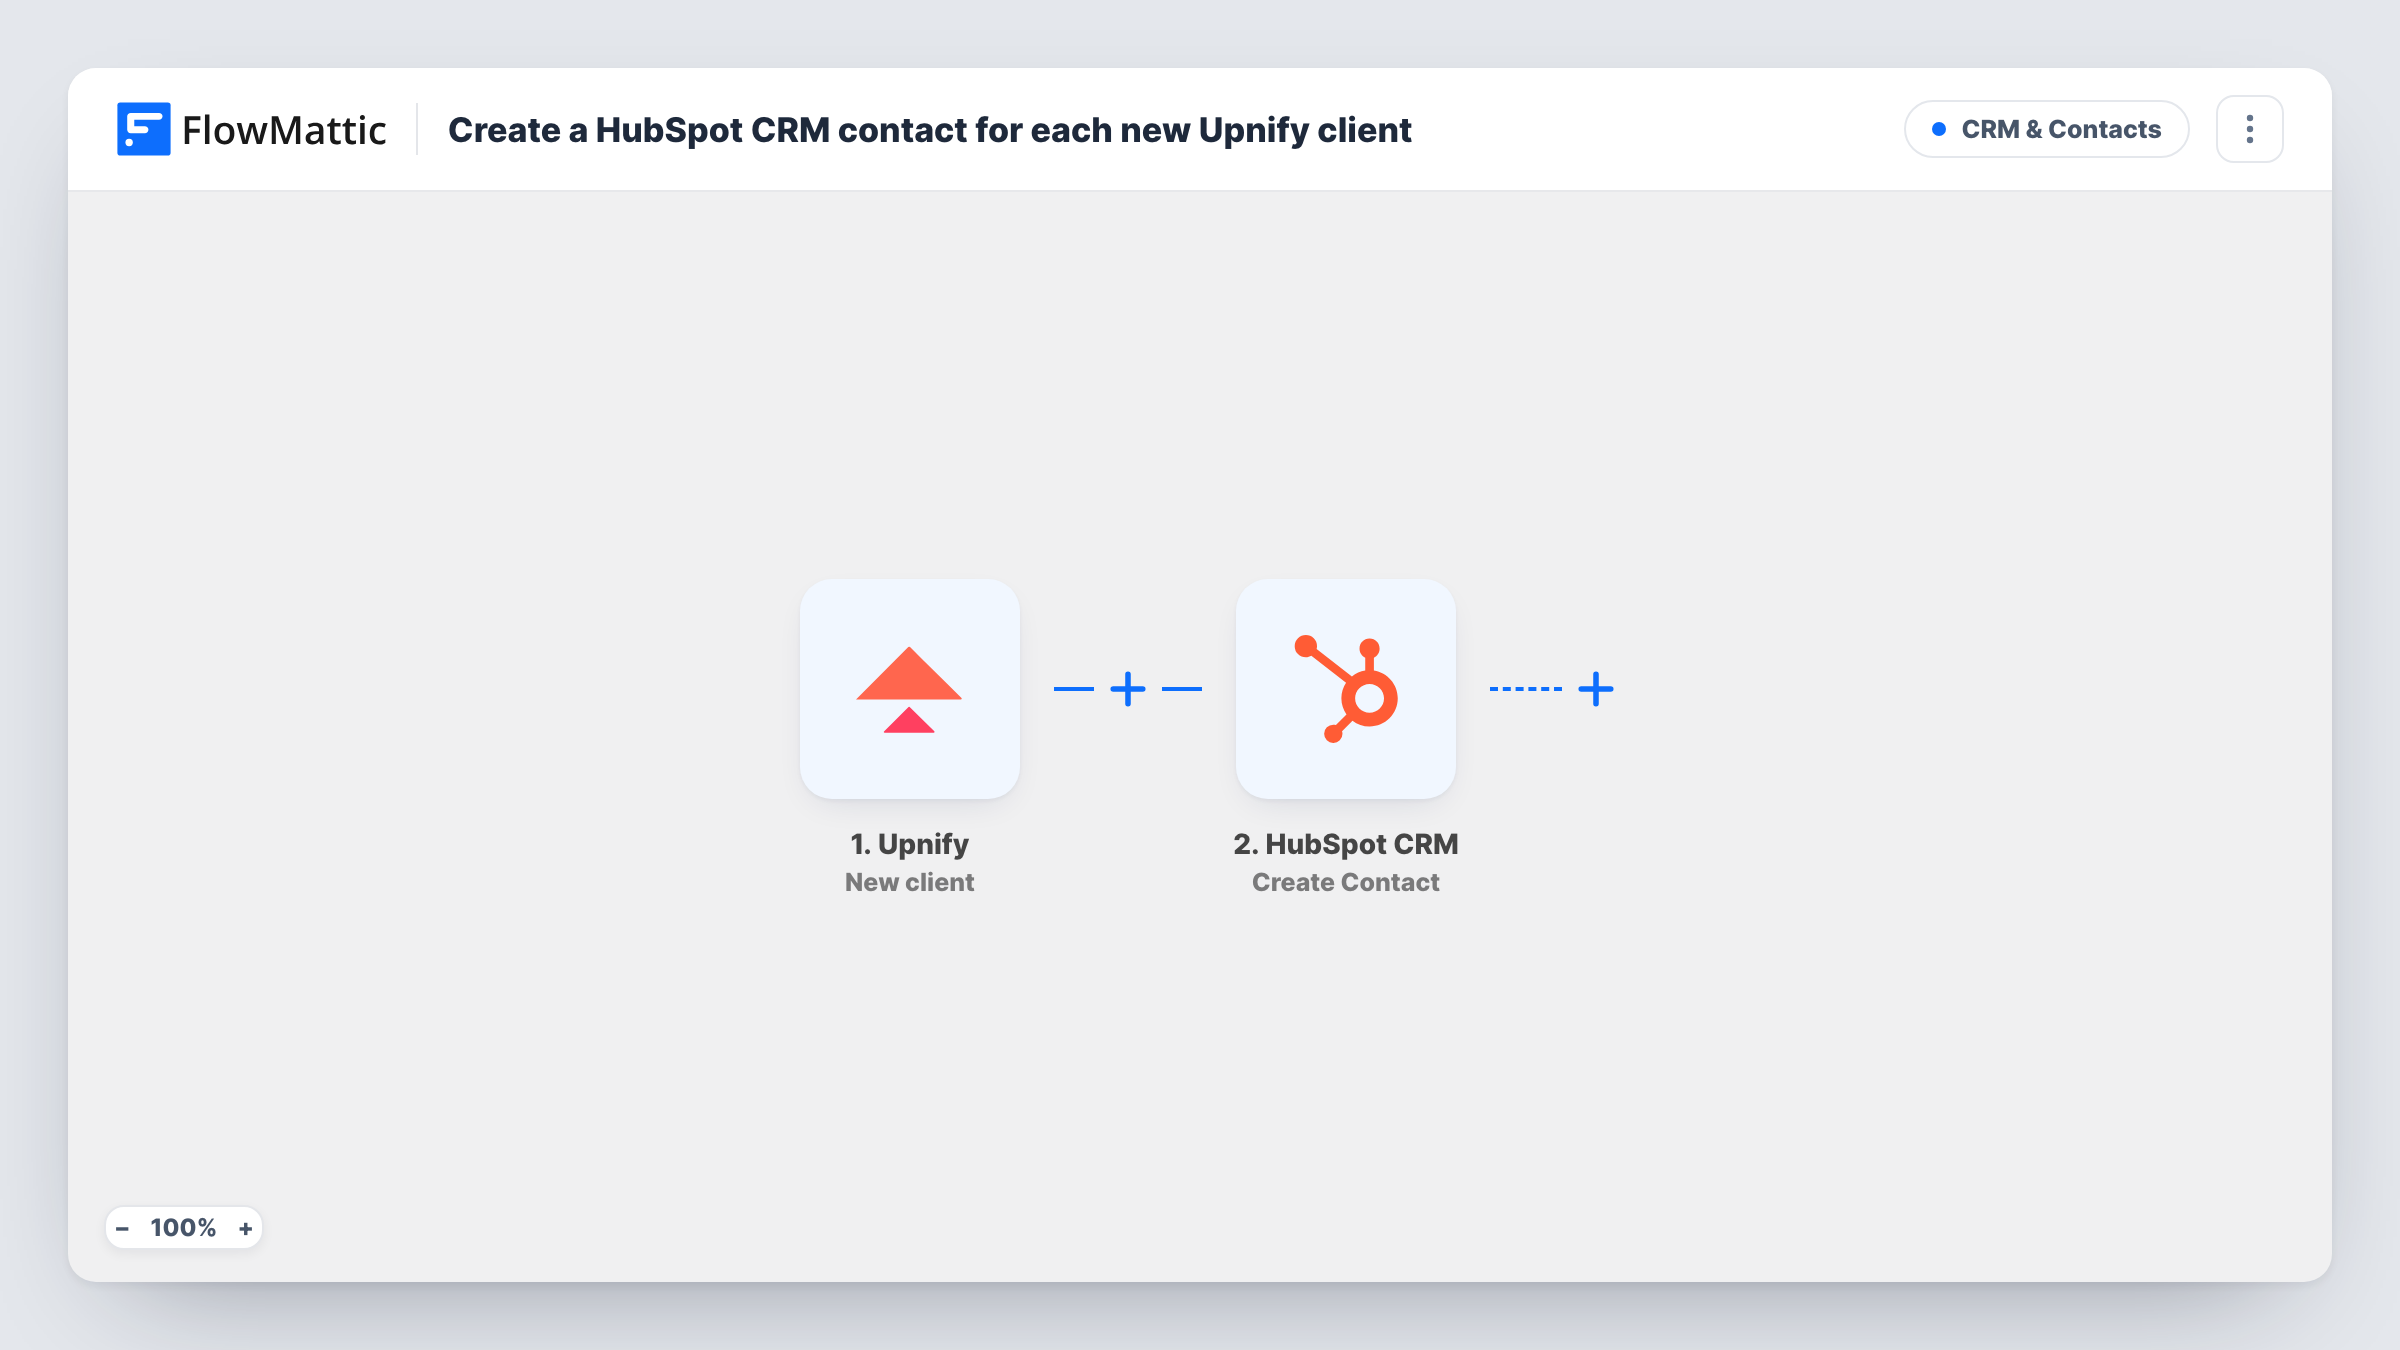
Each run begins the moment someone on your team adds a client in Upnify, through its New client trigger. FlowMattic passes the client data to HubSpot CRM, and Create Contact adds a contact using the fields you map, such as email, first name, last name and phone.
The HubSpot step adds contacts and never checks for an existing one first. HubSpot may refuse a contact whose email it already holds, and Task History then records HubSpot's reply for that run. Later edits to the client in Upnify aren't sent, because the trigger fires on creation only.
Sales in Upnify, newsletters in HubSpot
Reps close accounts in Upnify. Each new client appears as a HubSpot contact, ready to be added to the onboarding emails your marketer runs there.
Reporting on new accounts
Leadership reviews contact growth in HubSpot dashboards. New Upnify clients are counted there without a weekly import.
Moving from Upnify to HubSpot gradually
While you trial HubSpot, every client your team still adds in Upnify is copied across, so the new CRM keeps up during the switch.
How this workflow runs
What happens at each step once the workflow is on, and what you need before you import it.
 Upnify New client
Runs as soon as a client record is added in Upnify. The client's details are passed to the HubSpot step, where you choose which ones to map.
- HubSpot CRM Create Contact
Creates a contact in HubSpot CRM from the Upnify client data. Map the email and name fields at least, connect your HubSpot account, and run a test with a sample client.
What you need
- FlowMatticCore
- Upnify AccountAccount
- HubSpot CRM AccountAccount
After importing, map your own data. To keep the template universal, not every step is pre-filled. Open each step in the builder and connect your accounts and fields (channels, lists, sheets, recipients) before you switch the workflow on.
Make it yours
Changes worth making after you import it.
- Before turning the workflow on, create a test client in Upnify with your own email and confirm the new HubSpot contact shows the fields you mapped.
- Map an Upnify field such as the client's source or salesperson into a HubSpot contact property, so marketing can see where each contact came from.
- Add a Filter after the trigger that stops clients with no email, since a HubSpot contact without one is hard to reach or deduplicate.
Questions about this workflow
What if the Upnify client is already a HubSpot contact?
The HubSpot step won't merge into an existing record. HubSpot may reject the duplicate email, and Task History then shows its response, while the Upnify client is unaffected.
Are Upnify client edits copied to HubSpot?
No. The workflow runs only when a client is created. For edits, a separate workflow on Upnify's Client Edited trigger would be needed, with a step that finds the HubSpot contact first.
Do I need a paid HubSpot plan for this workflow?
The step uses HubSpot's contact records, which every HubSpot CRM account has. Connect the account you want the contacts in when you import.
More CRM & Contacts workflows
Other ready-to-import templates from the same category.





Import this workflow into your WordPress site
Download the JSON, import it from the Workflows screen and connect your accounts. Every run stays on your server, with no per-task fees.
30-day money-back guarantee Unlimited workflows and runs Self-hosted