

Create a HubSpot CRM contact when a new Quickbase contact record is added
When a new contact record is added in Quickbase, this workflow creates a matching contact in HubSpot CRM, so your sales and marketing team can work with it without retyping.
 Quickbase
 HubSpot CRM
2 steps Setup ~5 min Used on 1.2k sites Free to import
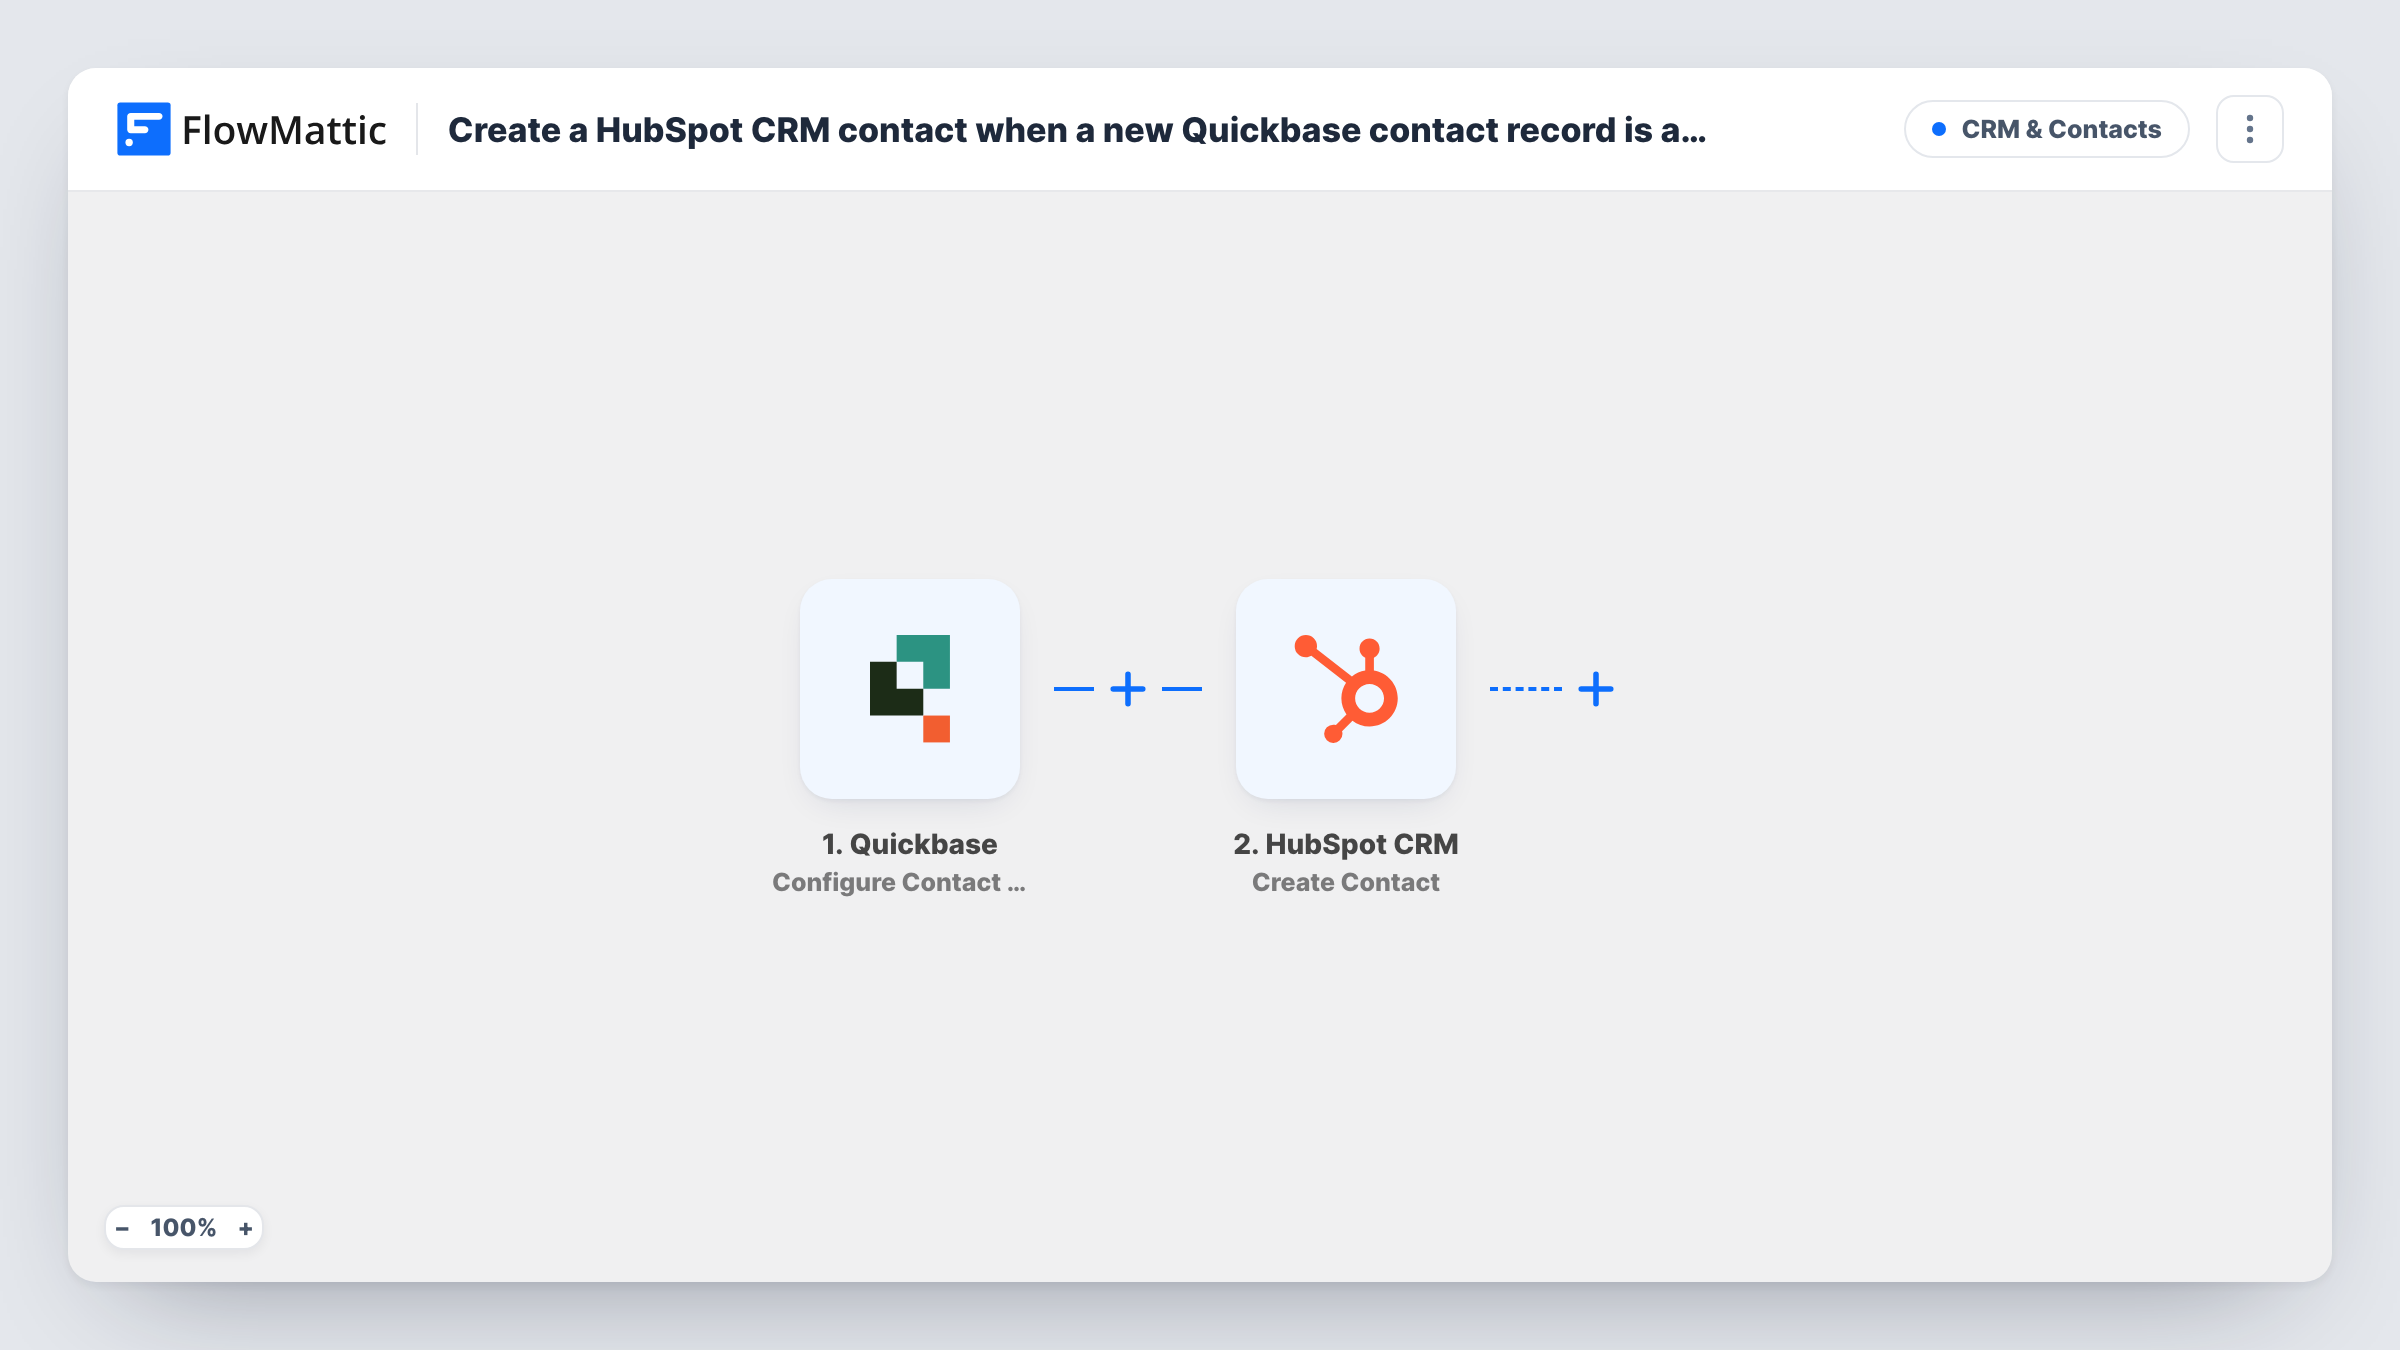
What this workflow does
Teams that track operations in Quickbase and run sales or email in HubSpot often keep two contact lists by hand. This workflow sends each contact your team adds in Quickbase straight into HubSpot as a new contact, so both systems start from the same details.
The run starts with the Quickbase trigger Configure Contact Webhooks. FlowMattic describes it as covering contacts that are added, deleted or modified. You decide which of those reach the workflow when you set up the webhook in Quickbase, so tick only the added event. Selecting modified or deleted as well would start a run for every edit and every deletion, and each of those runs would try to create a HubSpot contact.
Next, a Create Contact action in HubSpot CRM adds the person. That action ships unmapped, so after import you connect HubSpot and map the Quickbase values, such as the name and email, into the contact. Create a test record in Quickbase first and use Task History to see exactly which values the webhook delivers.
This HubSpot action never searches for a person who is already there, and it never edits one. If someone with the same email is already in HubSpot, HubSpot may refuse the new contact, and Task History shows the response it returned.
Field team logs a contact, sales sees it in HubSpot
Your service staff record new customer contacts in a Quickbase app on site. Each one appears in HubSpot as a contact, where the sales team can pick it up and follow up.
Keep Quickbase as the place contacts are entered
Your operations team already enters contacts in Quickbase and doesn't use HubSpot. This flow gives marketing the same new contacts in HubSpot without asking anyone to enter them twice.
New supplier contacts in HubSpot
Procurement adds supplier contacts in Quickbase. Mapping them into HubSpot lets the partnerships team see and email each new supplier contact from their CRM.
How this workflow runs
What happens at each step once the workflow is on, and what you need before you import it.
 Quickbase Configure Contact Webhooks
Runs each time the Quickbase contact webhook calls FlowMattic. The trigger can cover added, modified or deleted contacts, so create the webhook in Quickbase with only the added event and edits won't start runs.
- HubSpot CRM Create Contact
Creates a new contact in HubSpot CRM from the Quickbase record. Nothing is mapped in the template, so after import you connect your HubSpot account and map the contact's values from the trigger into it.
What you need
- FlowMatticCore
- Quickbase AccountAccount
- HubSpot CRM AccountAccount
After importing, map your own data. To keep the template universal, not every step is pre-filled. Open each step in the builder and connect your accounts and fields (channels, lists, sheets, recipients) before you switch the workflow on.
Make it yours
Changes worth making after you import it.
- Map the email from Quickbase into the HubSpot contact. HubSpot uses the email address to tell contacts apart, so a contact created without one is harder to match up later.
- Add a Filter between the Quickbase trigger and the HubSpot step that continues only when the email field is not empty. Use the name of your own Quickbase email field; the one in your table may differ.
- To put each new contact on a HubSpot static list, add HubSpot's Add Contact To List after the Create Contact step and map the contact ID from its result. Check a test run to find that ID.
Questions about this workflow
What happens if the Quickbase contact is already in HubSpot CRM?
The step makes a fresh contact every run and has no update behaviour. HubSpot may refuse a contact whose email is already in use, and the run's Task History entry shows HubSpot's reply so you can see what happened.
Will updating a Quickbase contact change it in HubSpot?
No. With only the added event selected in the Quickbase webhook, edits don't run the workflow. If you select modified too, each edit runs Create Contact again rather than updating the HubSpot record.
Which Quickbase fields can I map into the HubSpot contact?
Any value the Quickbase webhook sends. Add a test contact in Quickbase, open the run in Task History, and map the values you see into the Create Contact step.
Do I need special HubSpot access to use this Quickbase workflow?
You need a HubSpot CRM account that can create contacts, connected to FlowMattic on import, and a Quickbase table of contacts you can create a webhook on.
More CRM & Contacts workflows
Other ready-to-import templates from the same category.




Import this workflow into your WordPress site
Download the JSON, import it from the Workflows screen and connect your accounts. Every run stays on your server, with no per-task fees.
30-day money-back guarantee Unlimited workflows and runs Self-hosted