

Verify each email in a CSV uploaded in Contact Form 7 with Reoon and add every row to FluentCRM
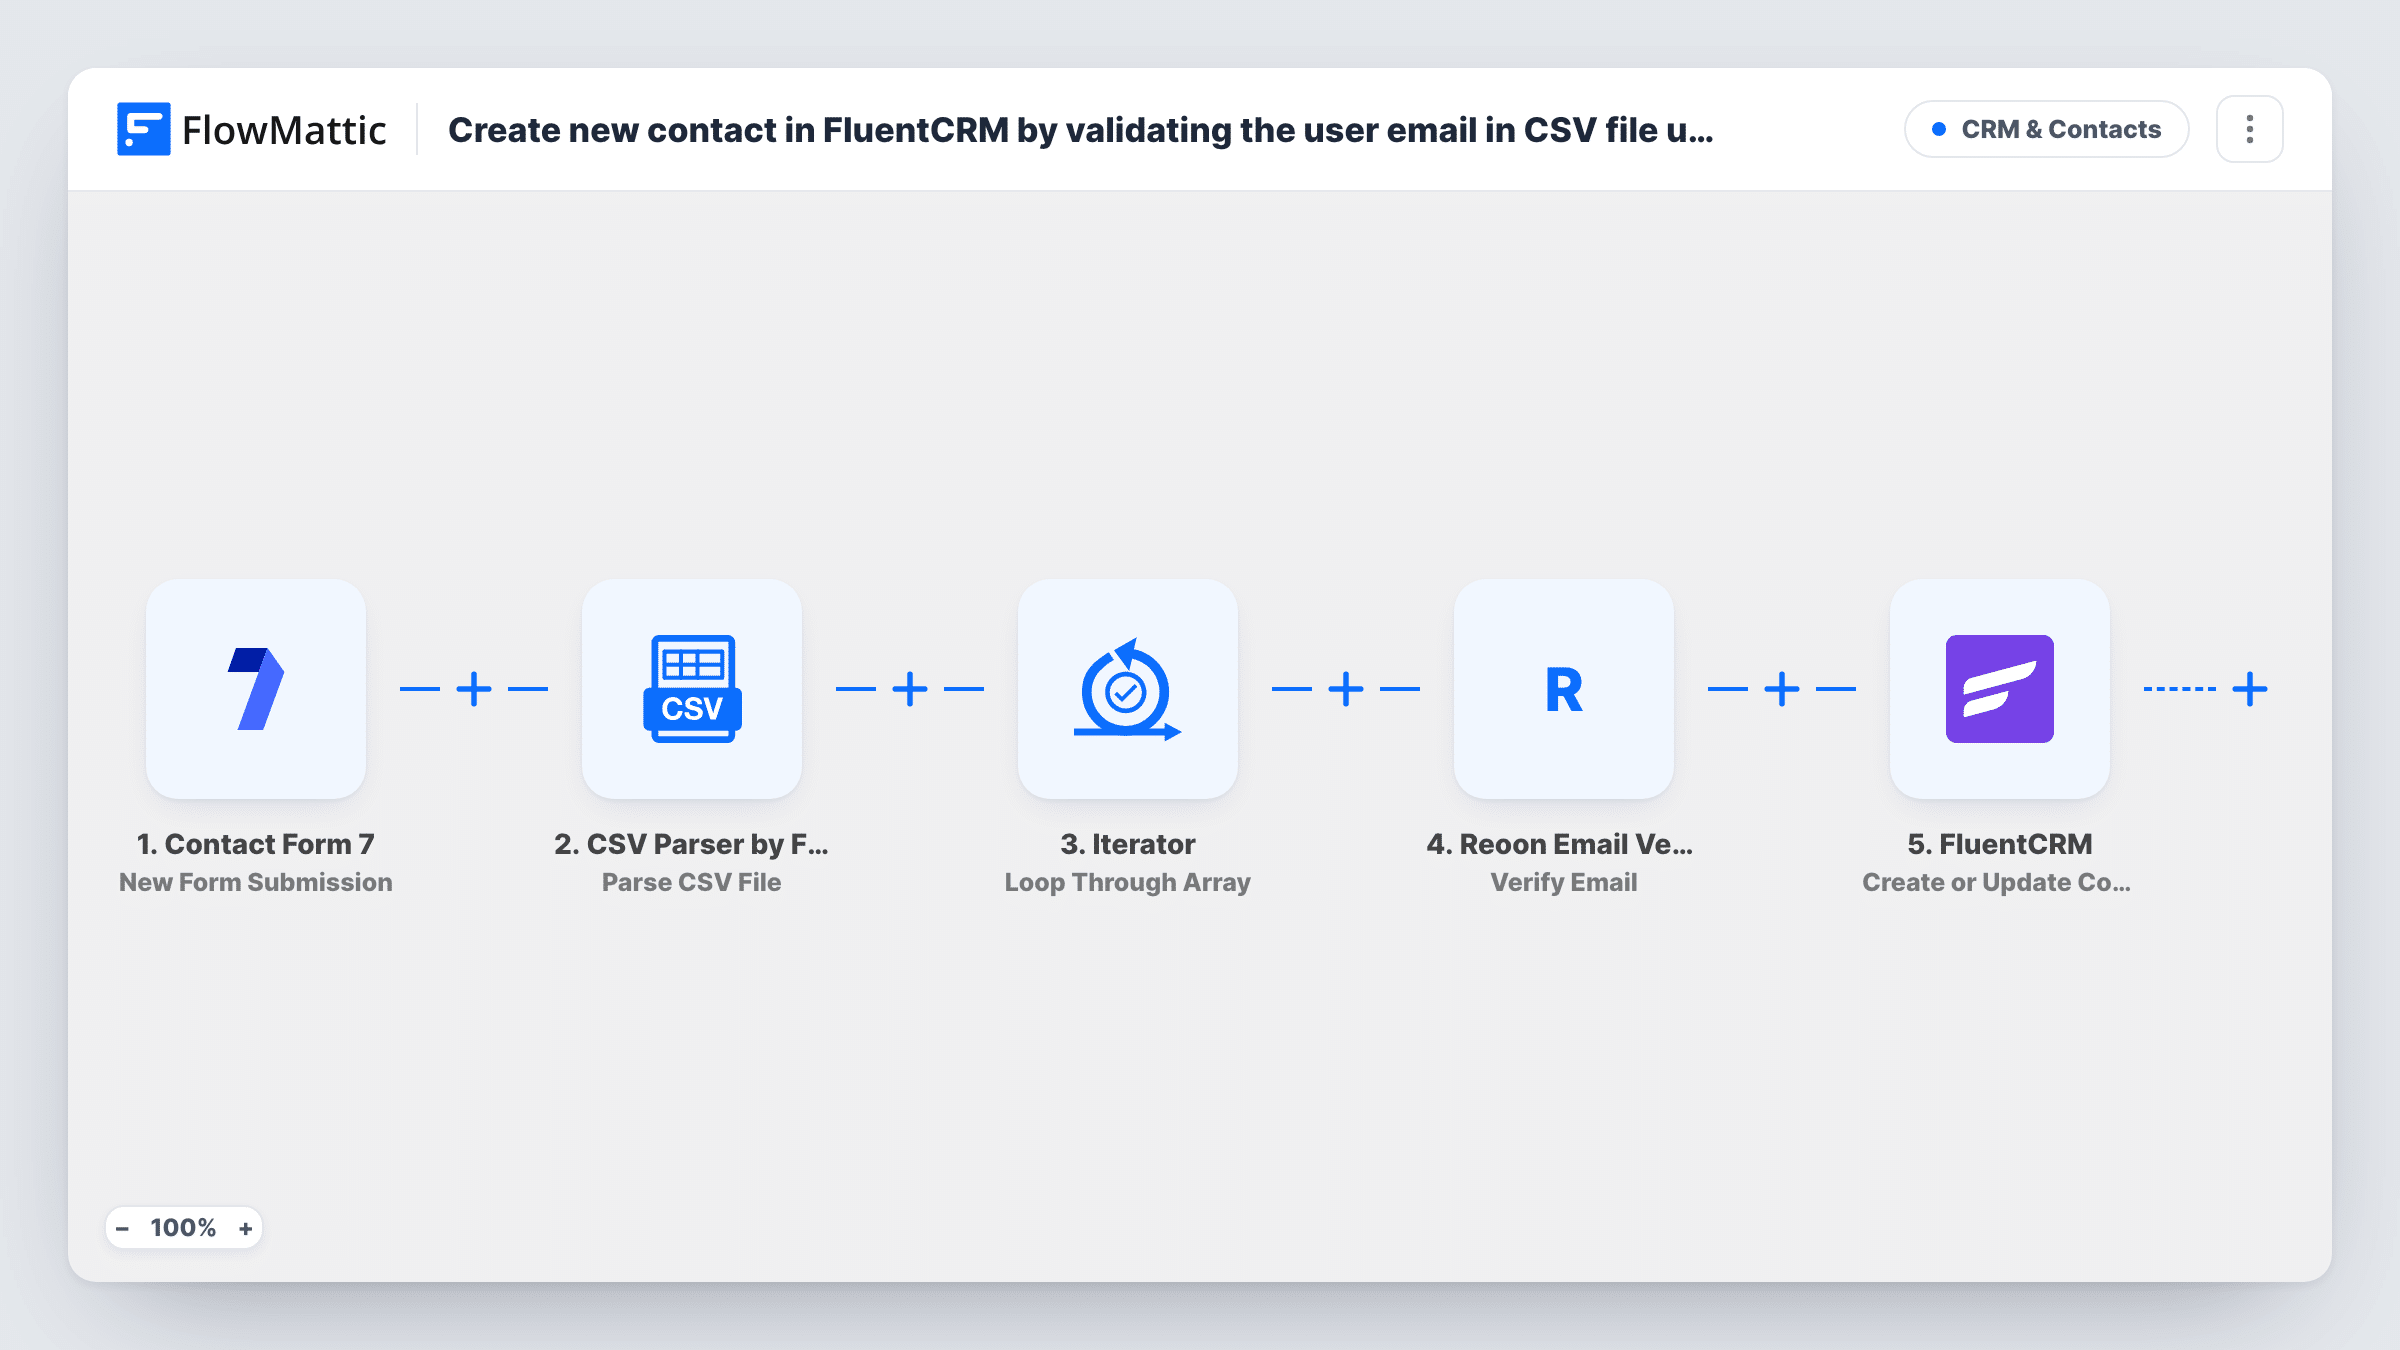
A CSV uploaded through Contact Form 7 is parsed row by row: Reoon checks each row’s email, and FluentCRM creates or updates a contact for every row, whatever the check returned.
 Contact Form 7
 CSV Parser by FlowMattic
 Iterator
 Reoon Email Verifier
 FluentCRM
5 steps Setup ~8 min Used on 3.2k sites Free to import
What this workflow does
When partners, event staff or colleagues hand you lists of contacts, a CSV upload form is a simple way to collect them. This workflow takes the file from a Contact Form 7 submission, reads every row, runs each email address through Reoon and adds the people to FluentCRM, so you don't import the file by hand.
After the form is submitted, the CSV Parser step reads the uploaded file and returns its rows as data. The Iterator then repeats the next two steps once for each row. In each pass, Reoon Email Verifier checks the row's email address, and FluentCRM creates a contact, or updates the one that already has that email.
As imported, the Reoon result doesn't decide anything. Every row reaches FluentCRM, valid or not, and the verification result is only visible in Task History. If you want only good addresses in your CRM, add a Filter on the Reoon result inside the loop, as described in the tips.
All five steps ship unmapped. After import you map the uploaded file from the form into the parser, point the Iterator at the parsed rows, map each row's email into Reoon, and map the email and name columns into FluentCRM. Test with a small file first and check what the trigger passes for the upload.
Partner lead lists
Resellers upload their monthly lead CSV through a Contact Form 7 form on a partner page, and each lead becomes a FluentCRM contact with its email checked by Reoon.
Event sign-in sheets
Staff export the sign-in sheet from a trade show as a CSV and upload it, so every visitor is added to FluentCRM and the Reoon result for each address is recorded in Task History.
Cleaning an old mailing list before import
You upload a legacy list and, with a Filter added on the Reoon status inside the loop, only addresses Reoon reports as valid become FluentCRM contacts.
How this workflow runs
What happens at each step once the workflow is on, and what you need before you import it.
 Contact Form 7 New Form Submission
Starts a run when your Contact Form 7 form is submitted. The form's fields, including the file upload field holding the CSV, are passed on for the parser.
- CSV Parser by FlowMattic Parse CSV File
Reads the CSV file and returns its rows as JSON data. The step ships unmapped: map the uploaded file from the form submission, then check a test run to confirm the parser can open the file.
- Iterator Loop Through Array
Loops through the parsed rows and runs the Reoon and FluentCRM steps once per row. After import, point it at the rows array the CSV Parser returned.
- Reoon Email Verifier Verify Email
Checks the current row's email address with Reoon. FlowMattic describes a QUICK mode for fast checks and a POWER mode for deeper checks that take longer. Map the row's email column into the step.
- FluentCRM Create or Update Contact
Creates a FluentCRM contact for the row, or updates the existing contact with the same email address. It runs for every row, whatever Reoon returned. Map the email, name and any other columns you keep.
What you need
- FlowMatticCore
- Contact Form 7 PluginPlugin
- Reoon Email Verifier AccountAccount
- FluentCRM PluginPlugin
After importing, map your own data. To keep the template universal, not every step is pre-filled. Open each step in the builder and connect your accounts and fields (channels, lists, sheets, recipients) before you switch the workflow on.
Make it yours
Changes worth making after you import it.
- To keep invalid addresses out of FluentCRM, put a Filter between the Reoon step and the FluentCRM step on the verification status. Inside the Iterator, a failing row is skipped and the loop moves on to the next row.
- Use QUICK mode in Reoon for large files and POWER mode when the list matters more than the run time.
- Add a tag or list in the FluentCRM step for uploaded contacts, so you can find everyone who came in from a CSV and review them later.
- Limit the Contact Form 7 upload field to CSV files with the file type option, so people can't send a spreadsheet the parser can't read.
Questions about this workflow
Does the workflow skip emails that Reoon marks as invalid?
No. As imported, every row goes on to FluentCRM whatever Reoon returns. Put a Filter between the Reoon step and the FluentCRM step on the verification status to add only valid addresses.
What happens if a row's email is already a FluentCRM contact?
The Create or Update Contact step matches by email address, so the existing contact is updated with the mapped columns instead of a duplicate being created.
What does the CSV file need to look like?
Give it a clear header row and an email column. Test with a small file to see how the parser names each column, and keep the same headers in later files so your mapping in the Reoon and FluentCRM steps still fits.
Do I need a Reoon account to use this Contact Form 7 workflow?
Yes. The Verify Email step uses your Reoon Email Verifier account, so connect it after import. FluentCRM must also be installed on the same WordPress site.
More CRM & Contacts workflows
Other ready-to-import templates from the same category.





Import this workflow into your WordPress site
Download the JSON, import it from the Workflows screen and connect your accounts. Every run stays on your server, with no per-task fees.
30-day money-back guarantee Unlimited workflows and runs Self-hosted