

When an asset is created in Storyblok, create a new item in Notion for asset tracking
Each time someone uploads a new asset to Storyblok, this workflow adds an item to a Notion database with the asset details you map, so your team keeps an asset register outside the CMS.
 Storyblok
 Notion
2 steps Setup ~5 min Used on 1.5k sites Free to import
What this workflow does
Images and files pile up in a Storyblok asset library quickly, and the people who track licences, owners or usage often work in Notion rather than the CMS. A list kept by hand soon misses uploads. This template records each new asset in Notion as it is created.
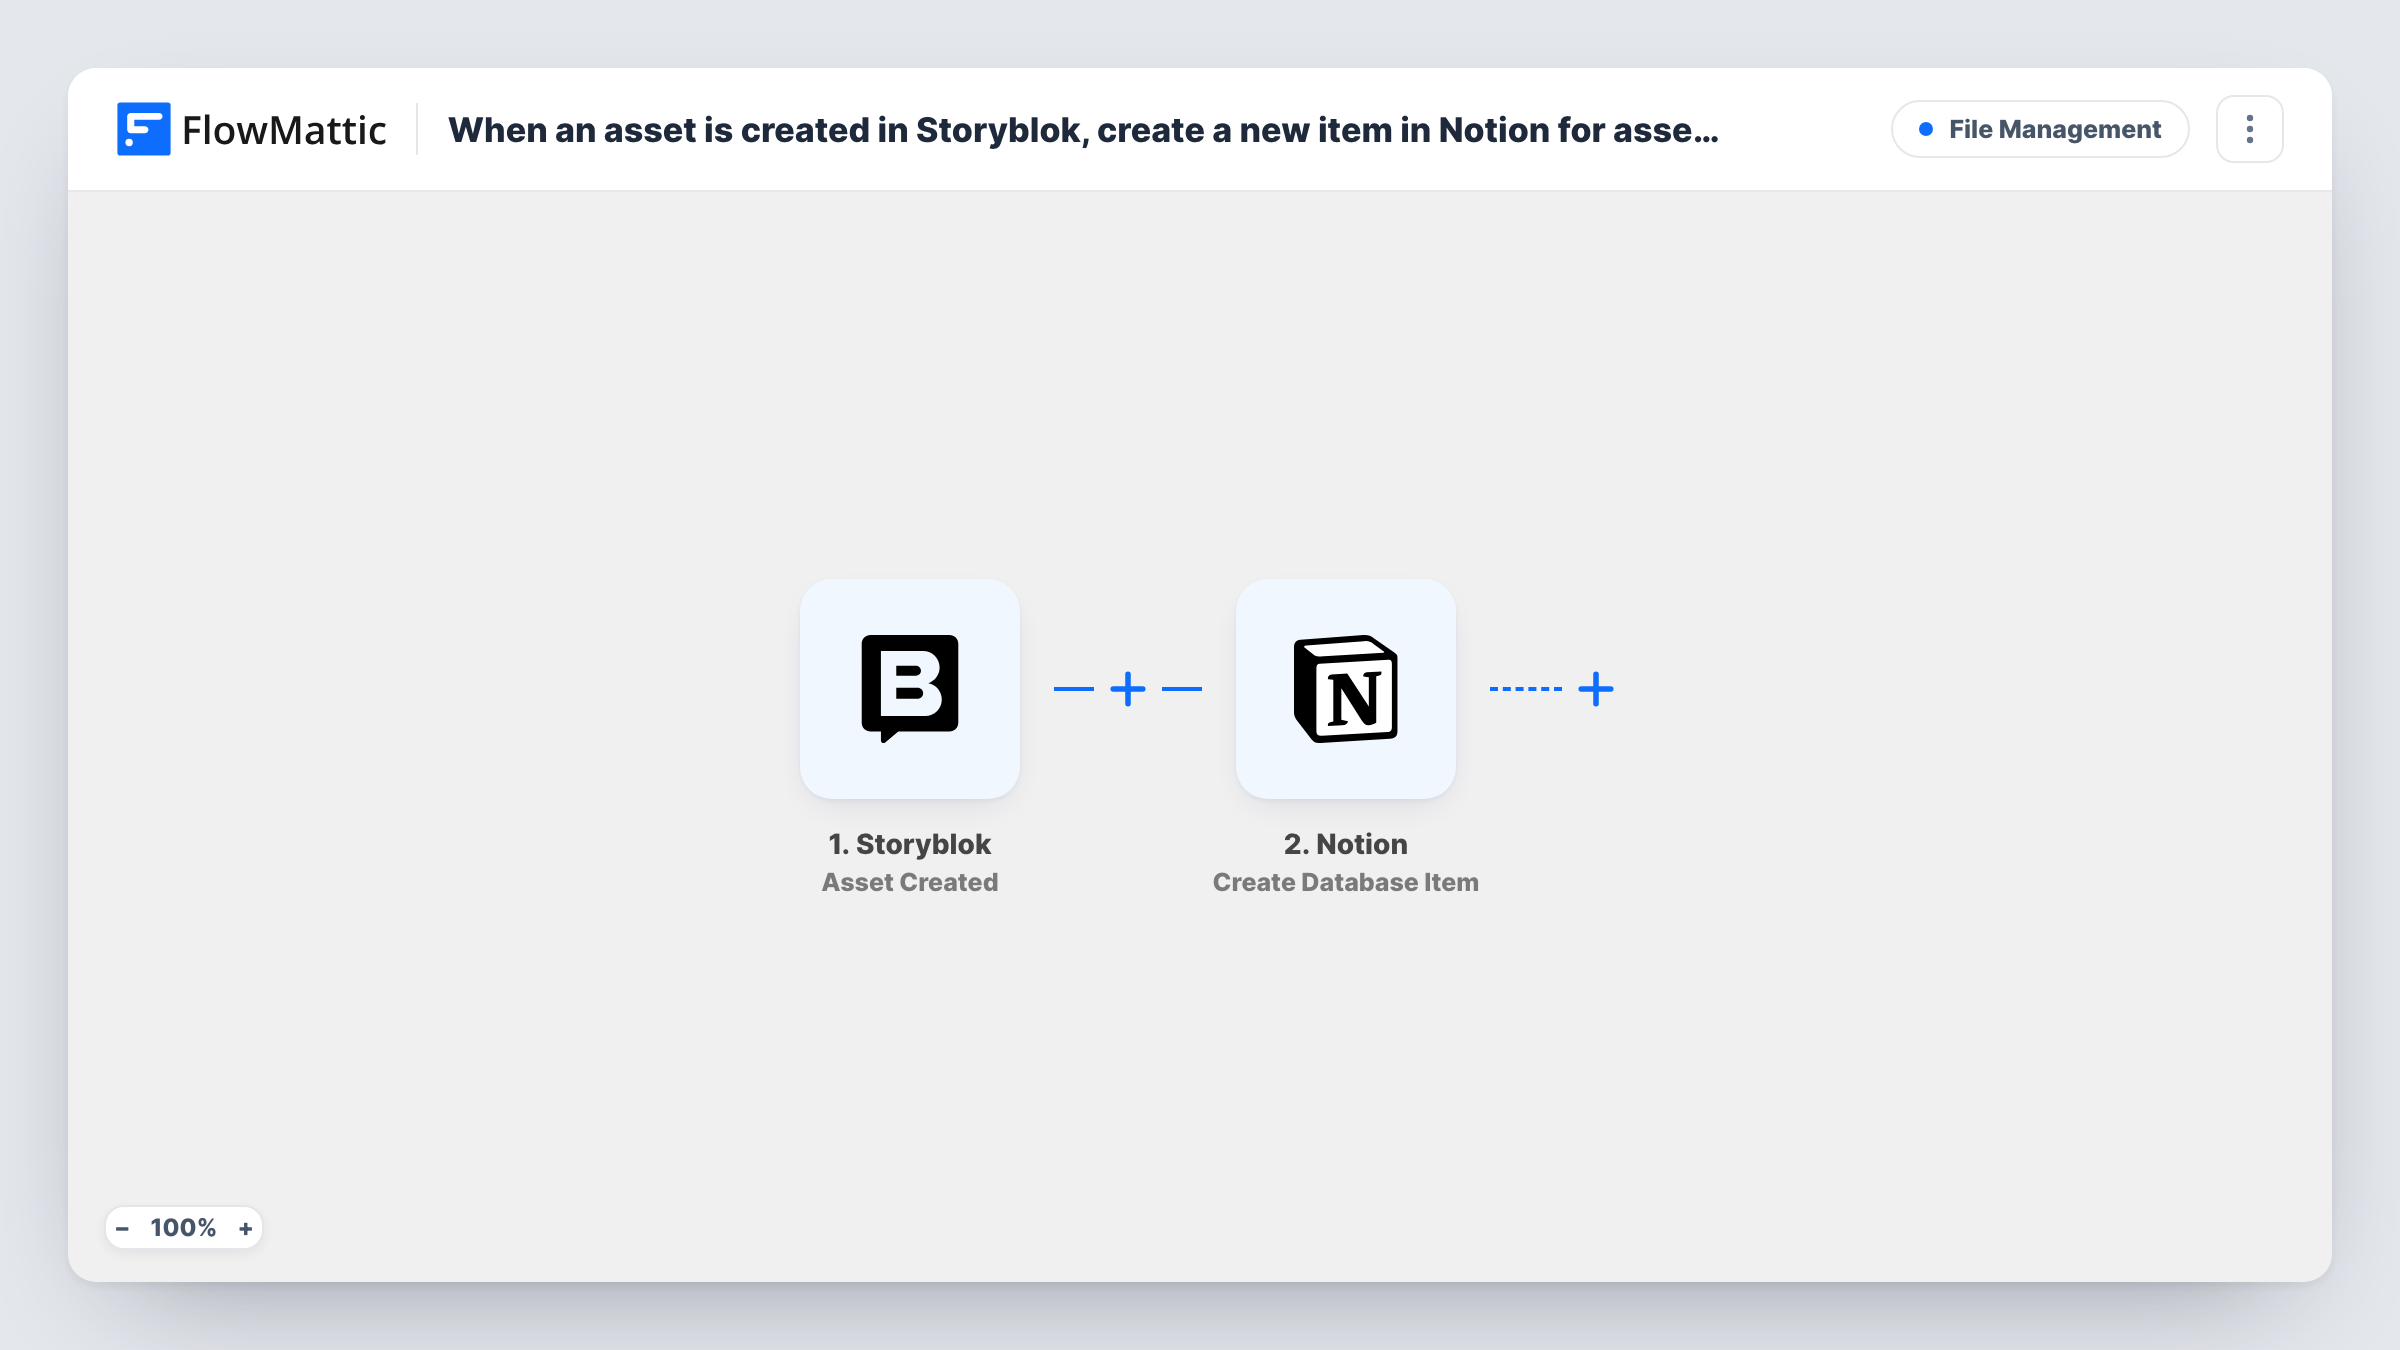
The Storyblok trigger, Asset Created, fires when an asset is created in your space. The asset data Storyblok sends, such as its ID or file name where included, becomes available to map. The Notion step then runs Create Database Item, which adds an item to the database you connect and fills its properties from those values.
Only new assets start a run. Storyblok has separate triggers for replaced, deleted and restored assets, and this template uses none of them, so a replaced file doesn't change its Notion item. Every created asset gets an item, because there is no Filter. Columns in Notion that nothing maps, such as a licence note or owner, stay free for your team to fill in.
Image licence tracking
A content team adds a licence and expiry property to the Notion database and fills them in for each new image the workflow logs from Storyblok.
Asset review queue for a brand team
Every new upload appears in Notion with a status property, so brand reviewers can mark assets approved or flag ones to replace.
Agency handover records
An agency managing a client's Storyblok space keeps a Notion list of every asset added during the project to hand over at the end.
How this workflow runs
What happens at each step once the workflow is on, and what you need before you import it.
 Storyblok Asset Created
Fires when a new asset is created in Storyblok. The asset information Storyblok sends is passed on so it can be mapped to Notion properties.
- Notion Create Database Item
Adds an item to your Notion database. Map asset values to the database properties, and connect a Notion account that has access to that database.
What you need
- FlowMatticCore
- Storyblok AccountAccount
- Notion AccountAccount
After importing, map your own data. To keep the template universal, not every step is pre-filled. Open each step in the builder and connect your accounts and fields (channels, lists, sheets, recipients) before you switch the workflow on.
Make it yours
Changes worth making after you import it.
- Set up the Notion database before mapping, with properties for the values you want, such as file name and asset URL, plus empty ones your team completes by hand.
- Upload a test asset in Storyblok after import so FlowMattic captures a real payload, then map the Notion properties from the values you see.
- Want deletions tracked too? Import a second copy with Storyblok's Asset Deleted trigger, add Notion's Find Database Item to locate the asset's item, and Update Database Item to mark it removed.
Questions about this workflow
Does replacing a Storyblok asset update its Notion item?
No. This template only uses Asset Created. Storyblok's Asset Replaced trigger is separate, so a replaced file leaves the existing Notion item as it was.
Are assets already in Storyblok added to Notion?
No. Only assets created after the workflow is turned on get an item. Earlier assets need to be added another way.
What Storyblok asset details can go into Notion?
Whatever Storyblok sends with the Asset Created event. Look at a captured test payload to see the available values before you choose Notion properties.
My Notion asset database doesn't appear in the Storyblok workflow. Why?
Notion only lets a connected app reach pages and databases it has been given access to. Grant that access to your asset database in Notion, either when you authorise the connection or from the database's connections menu, then open the step again.
More File Management workflows
Other ready-to-import templates from the same category.





Import this workflow into your WordPress site
Download the JSON, import it from the Workflows screen and connect your accounts. Every run stays on your server, with no per-task fees.
30-day money-back guarantee Unlimited workflows and runs Self-hosted