

When a new form is submitted in Webapi.ai, create a support ticket in Fluent Support
Each form response received in Webapi.ai opens a new ticket in Fluent Support on your WordPress site, filed for the person’s email address, so requests reach your helpdesk queue instead of a separate dashboard.
 Webapi.ai
 Fluent Support
2 steps Setup ~5 min Used on 2.8k sites Free to import
What this workflow does
When people ask for help through a Webapi.ai form, the request needs to reach the people who answer support. If your team works in Fluent Support, a response sitting in Webapi.ai is easy to miss. This workflow turns each response into a ticket in your helpdesk.
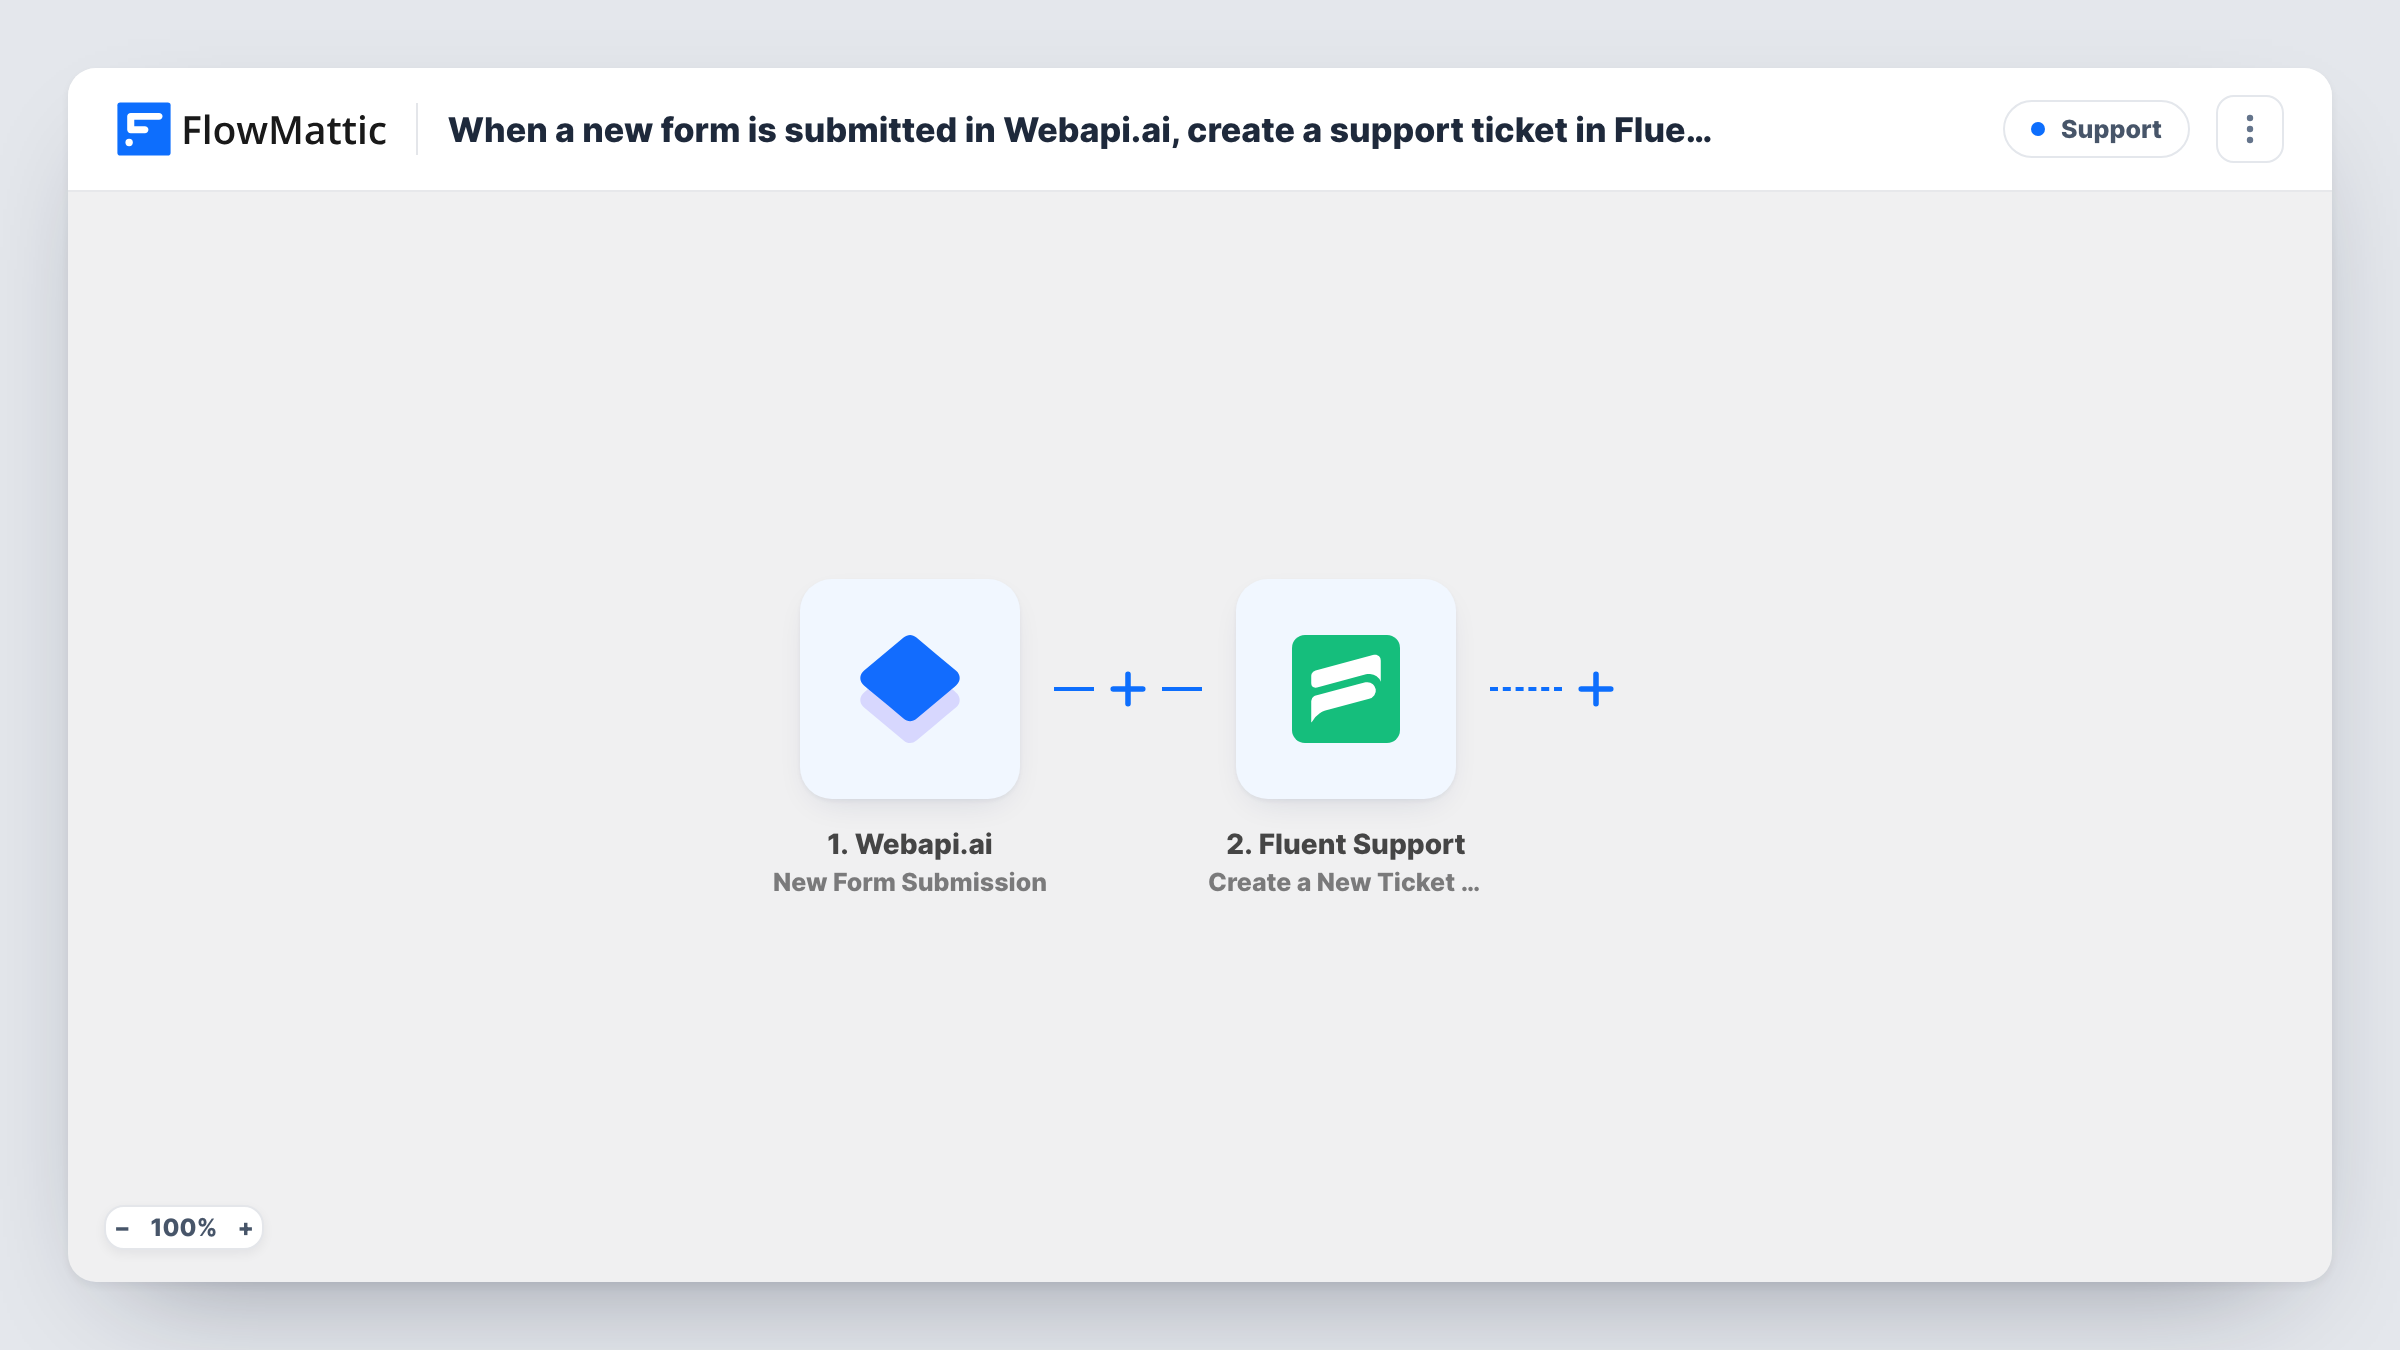
The Webapi.ai trigger fires when the response of a form is received, and its answers become available to map. The Fluent Support step uses Create a New Ticket Using Customer, which creates a new ticket and supports custom fields and file attachments. Map the person's email address so the ticket is filed for them, then build the ticket title and content from their answers.
Every response opens one ticket, and nothing is checked first, so a person who submits twice gets two tickets. Once the ticket exists, Fluent Support handles it like any other: your agents see it in the queue and reply from there. Task History shows each run and the response Fluent Support returned, which helps if a ticket was not created.
Help requests from a product site
Customers describe a problem in a Webapi.ai form. Each one becomes a Fluent Support ticket, so your agents work every request from one queue.
Bug reports from beta users
Testers fill in a short report with steps and expected results. The answers form the ticket content, ready for a developer to pick up.
Refund or account requests
A form collects the order number and the reason. Mapping both into the ticket gives the agent what they need before replying.
How this workflow runs
What happens at each step once the workflow is on, and what you need before you import it.
 Webapi.ai New Form Submission
Runs each time Webapi.ai receives a response to your support form. The person's answers, including their email, become available to map into the Fluent Support ticket.
- Fluent Support Create a New Ticket Using Customer
Creates a new Fluent Support ticket for the person who answered the form. Map their email address, then build the ticket title and content from the Webapi.ai answers.
What you need
- FlowMatticCore
- Webapi.ai AccountAccount
- Fluent Support PluginPlugin
After importing, map your own data. To keep the template universal, not every step is pre-filled. Open each step in the builder and connect your accounts and fields (channels, lists, sheets, recipients) before you switch the workflow on.
Make it yours
Changes worth making after you import it.
- Make sure your Webapi.ai form asks for an email address, and map it in the Fluent Support step so each ticket is filed for the right person.
- Add a Filter after the trigger that continues only when the answer holding the request is not empty, so blank responses do not open empty tickets.
- Submit a test response after import so FlowMattic captures the form's fields, then map them into the ticket title and content.
Questions about this workflow
Does Fluent Support need to be on the same site as FlowMattic for Webapi.ai tickets?
Yes. Fluent Support is a WordPress plugin, and FlowMattic creates the ticket on the site where both are installed.
What if someone sends the Webapi.ai form twice?
Each response opens its own ticket. The step does not look for an open ticket from the same person first.
Can the Webapi.ai answers fill custom ticket fields?
The action supports custom fields and file attachments. Check which fields appear in the step after you connect, and map answers into the ones you use.
Will older Webapi.ai responses become tickets?
No. Tickets are opened only for responses that arrive once the workflow is active. Earlier responses stay in Webapi.ai.
More Support workflows
Other ready-to-import templates from the same category.







Import this workflow into your WordPress site
Download the JSON, import it from the Workflows screen and connect your accounts. Every run stays on your server, with no per-task fees.
30-day money-back guarantee Unlimited workflows and runs Self-hosted