

Log every new MaintainX work order in a Google Sheets spreadsheet
Every time a work order is created in MaintainX, this workflow adds a row to your Google Sheets spreadsheet, building a running log of maintenance requests you can sort, chart or share.
 MaintainX
 Google Sheets
2 steps Setup ~5 min Used on 1.3k sites Free to import
What this workflow does
MaintainX is where your technicians see and close work orders. Managers, finance staff or clients often want the same list in a spreadsheet, where they can count jobs per site, sort by priority or build a monthly report. Copying each new order across by hand is slow and easy to forget.
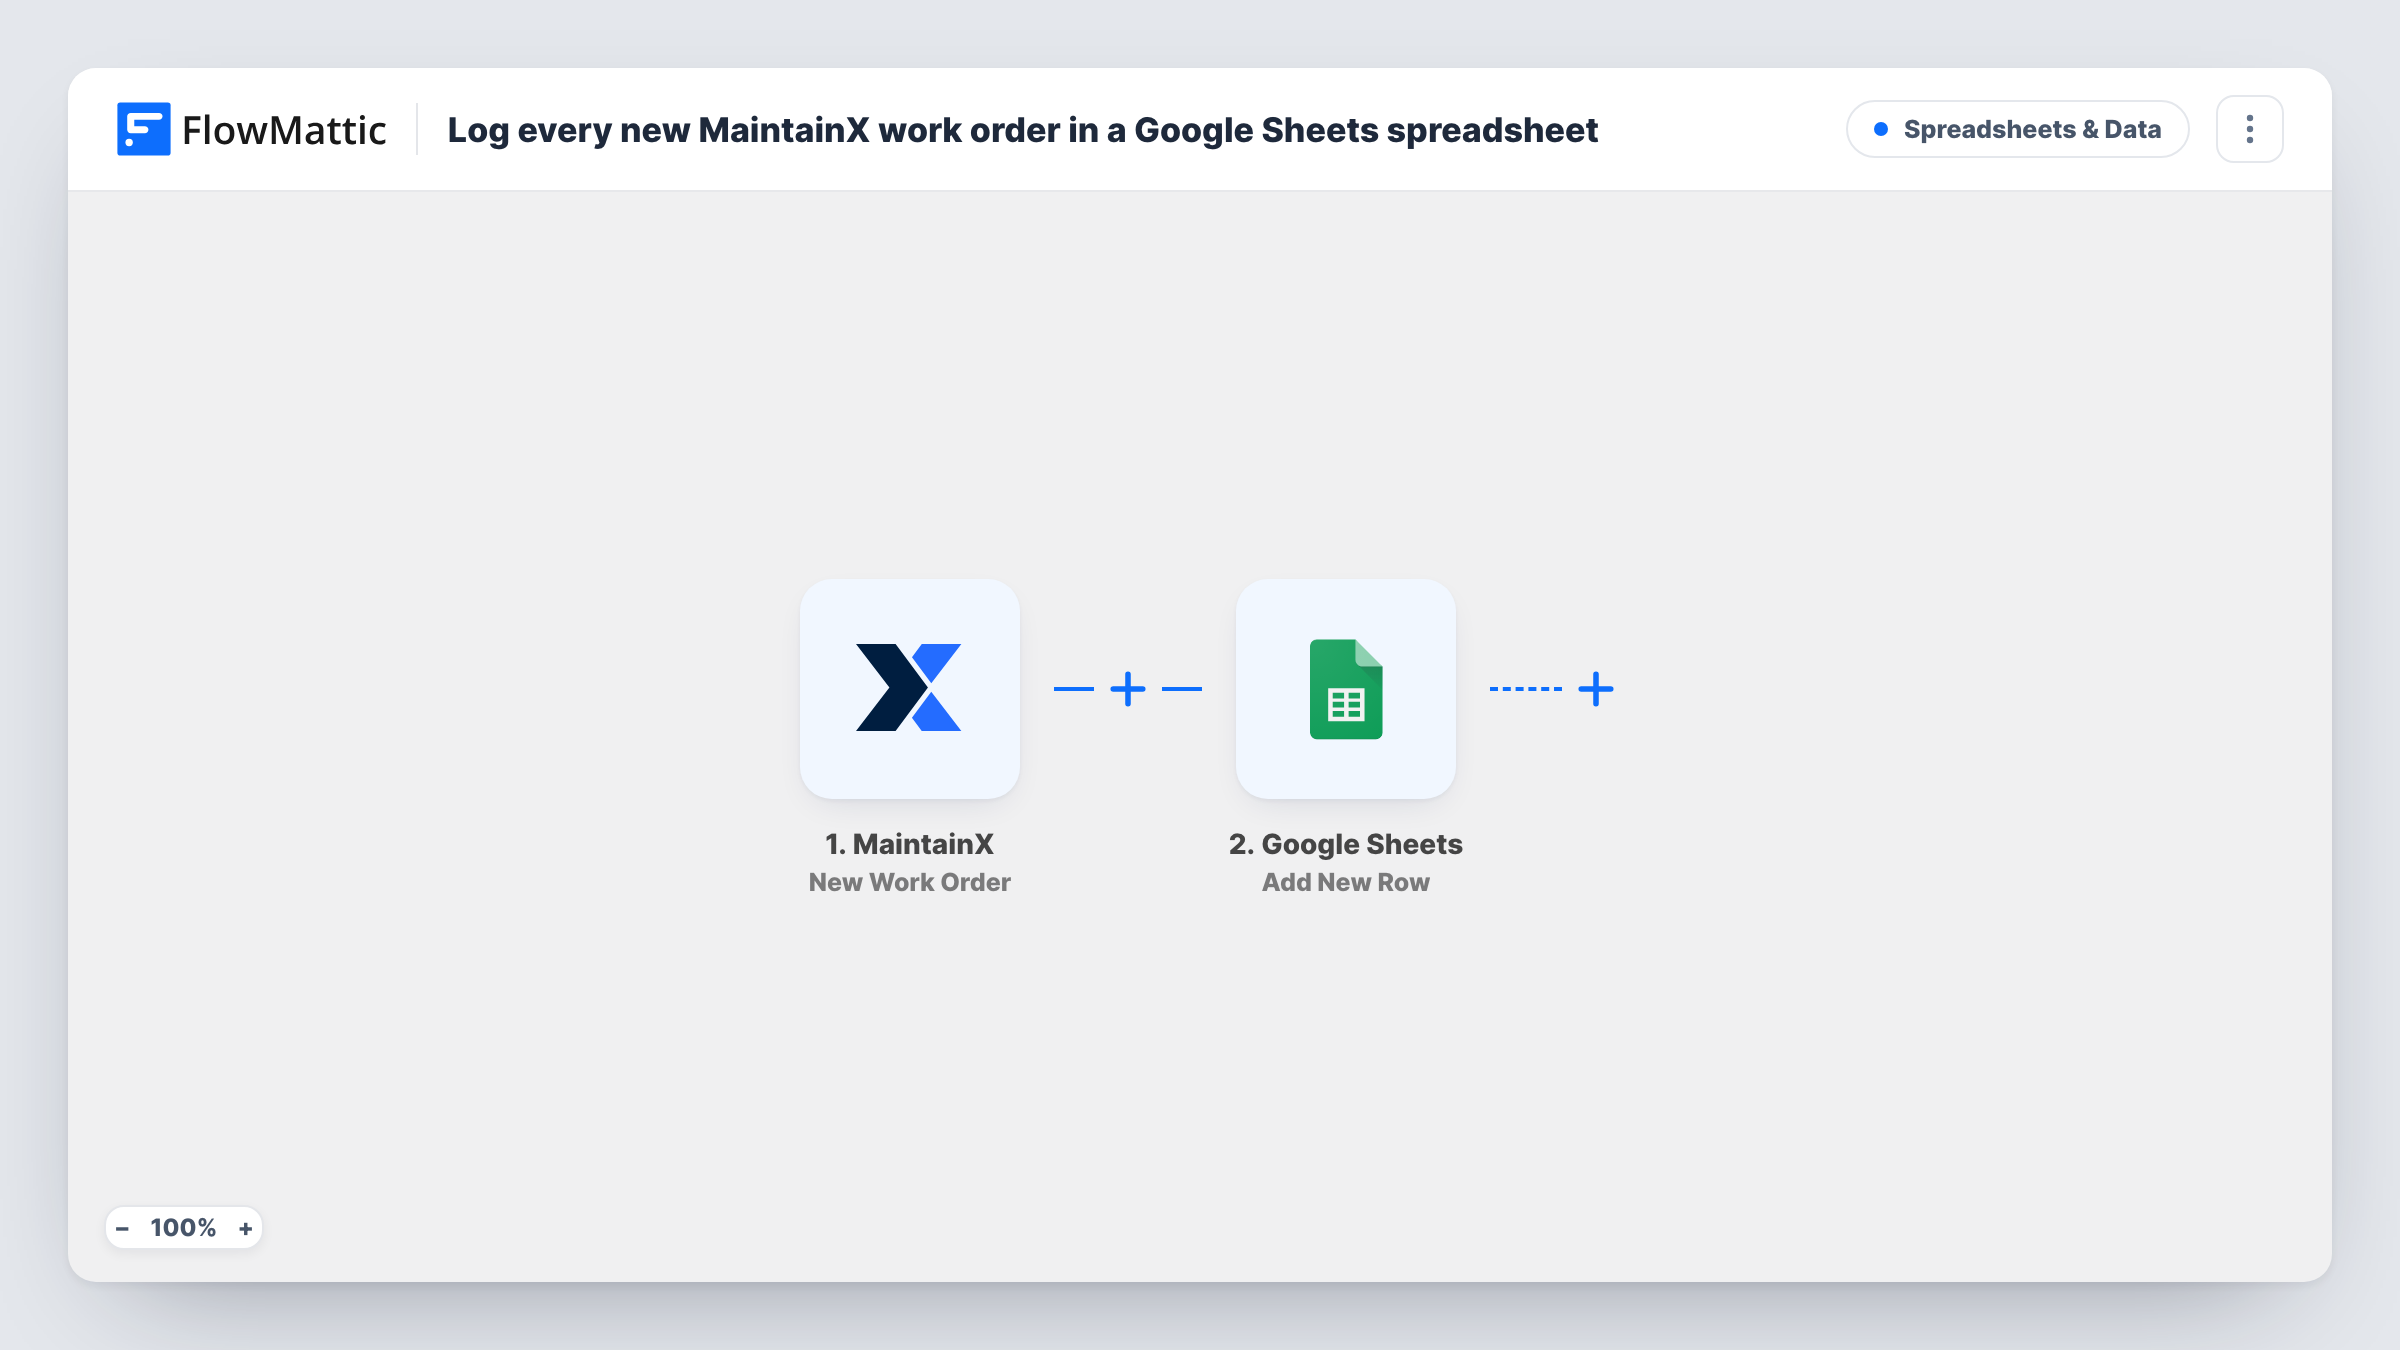
The MaintainX trigger fires when a new work order is created. FlowMattic receives the order's data and holds it for mapping. The Google Sheets step then adds a new row to the spreadsheet and sheet you pick, with each column filled from a work order field, such as the title, location, priority or assignee.
The row is a snapshot taken when the order is created. Later changes in MaintainX, such as a status moving to done, don't update it. MaintainX has a separate Work Order Status Change trigger if you also want to log those, in a second workflow.
Monthly maintenance reports
A facilities manager builds a pivot table from the sheet to show how many work orders each building raised that month.
Sharing jobs with a client
A contractor running maintenance for a client shares a read-only copy of the sheet, so the client sees each new job without a MaintainX login.
Spotting repeat problems
Sorting the log by asset or location shows which machines keep getting new work orders, ahead of a decision to repair or replace.
How this workflow runs
What happens at each step once the workflow is on, and what you need before you import it.
 MaintainX New Work Order
Fires when a work order is created in MaintainX. The order's details are passed to FlowMattic so you can place them in sheet columns.
- Google Sheets Add New Row
Writes the MaintainX work order as one new spreadsheet row. Connect your Google account, pick the sheet, and map the MaintainX work order fields to its columns.
What you need
- FlowMatticCore
- MaintainX AccountAccount
- Google Sheets AccountAccount
After importing, map your own data. To keep the template universal, not every step is pre-filled. Open each step in the builder and connect your accounts and fields (channels, lists, sheets, recipients) before you switch the workflow on.
Make it yours
Changes worth making after you import it.
- Put column headers in the first row of the sheet before mapping, such as Title, Location, Priority and Created, so each MaintainX field has a clear place to go.
- Only want urgent jobs in the sheet? Add a Filter after the trigger on the priority field a test run shows, so lower-priority orders are skipped.
- Create one test work order in MaintainX after import, then open Task History to see which fields it sends before you map the columns.
Questions about this workflow
Does the Google Sheets row change when the MaintainX work order is updated?
No. This workflow adds a row once, when the order is created. Status changes and edits in MaintainX don't touch the row.
Are existing MaintainX work orders added to the sheet?
No. Only orders created after you turn the workflow on are logged. Export older ones from MaintainX if you want them in the same sheet.
Can I log status changes too?
That takes a second workflow. Use MaintainX's Work Order Status Change trigger with its own Google Sheets step, perhaps writing to another tab.
Which work order fields can go into the sheet?
Whatever MaintainX sends with the new order event. Run a test order and check the trigger data, then map the fields you need.
More Spreadsheets & Data workflows
Other ready-to-import templates from the same category.





Import this workflow into your WordPress site
Download the JSON, import it from the Workflows screen and connect your accounts. Every run stays on your server, with no per-task fees.
30-day money-back guarantee Unlimited workflows and runs Self-hosted