

Create a contact in Hubspot for every new Gravity form response
Every new Gravity Forms submission on your WordPress site creates a contact in HubSpot CRM with the fields you map, so form leads are in your CRM without a CSV export.
 Gravity Forms
 HubSpot CRM
2 steps Setup ~5 min Used on 710 sites Free to import
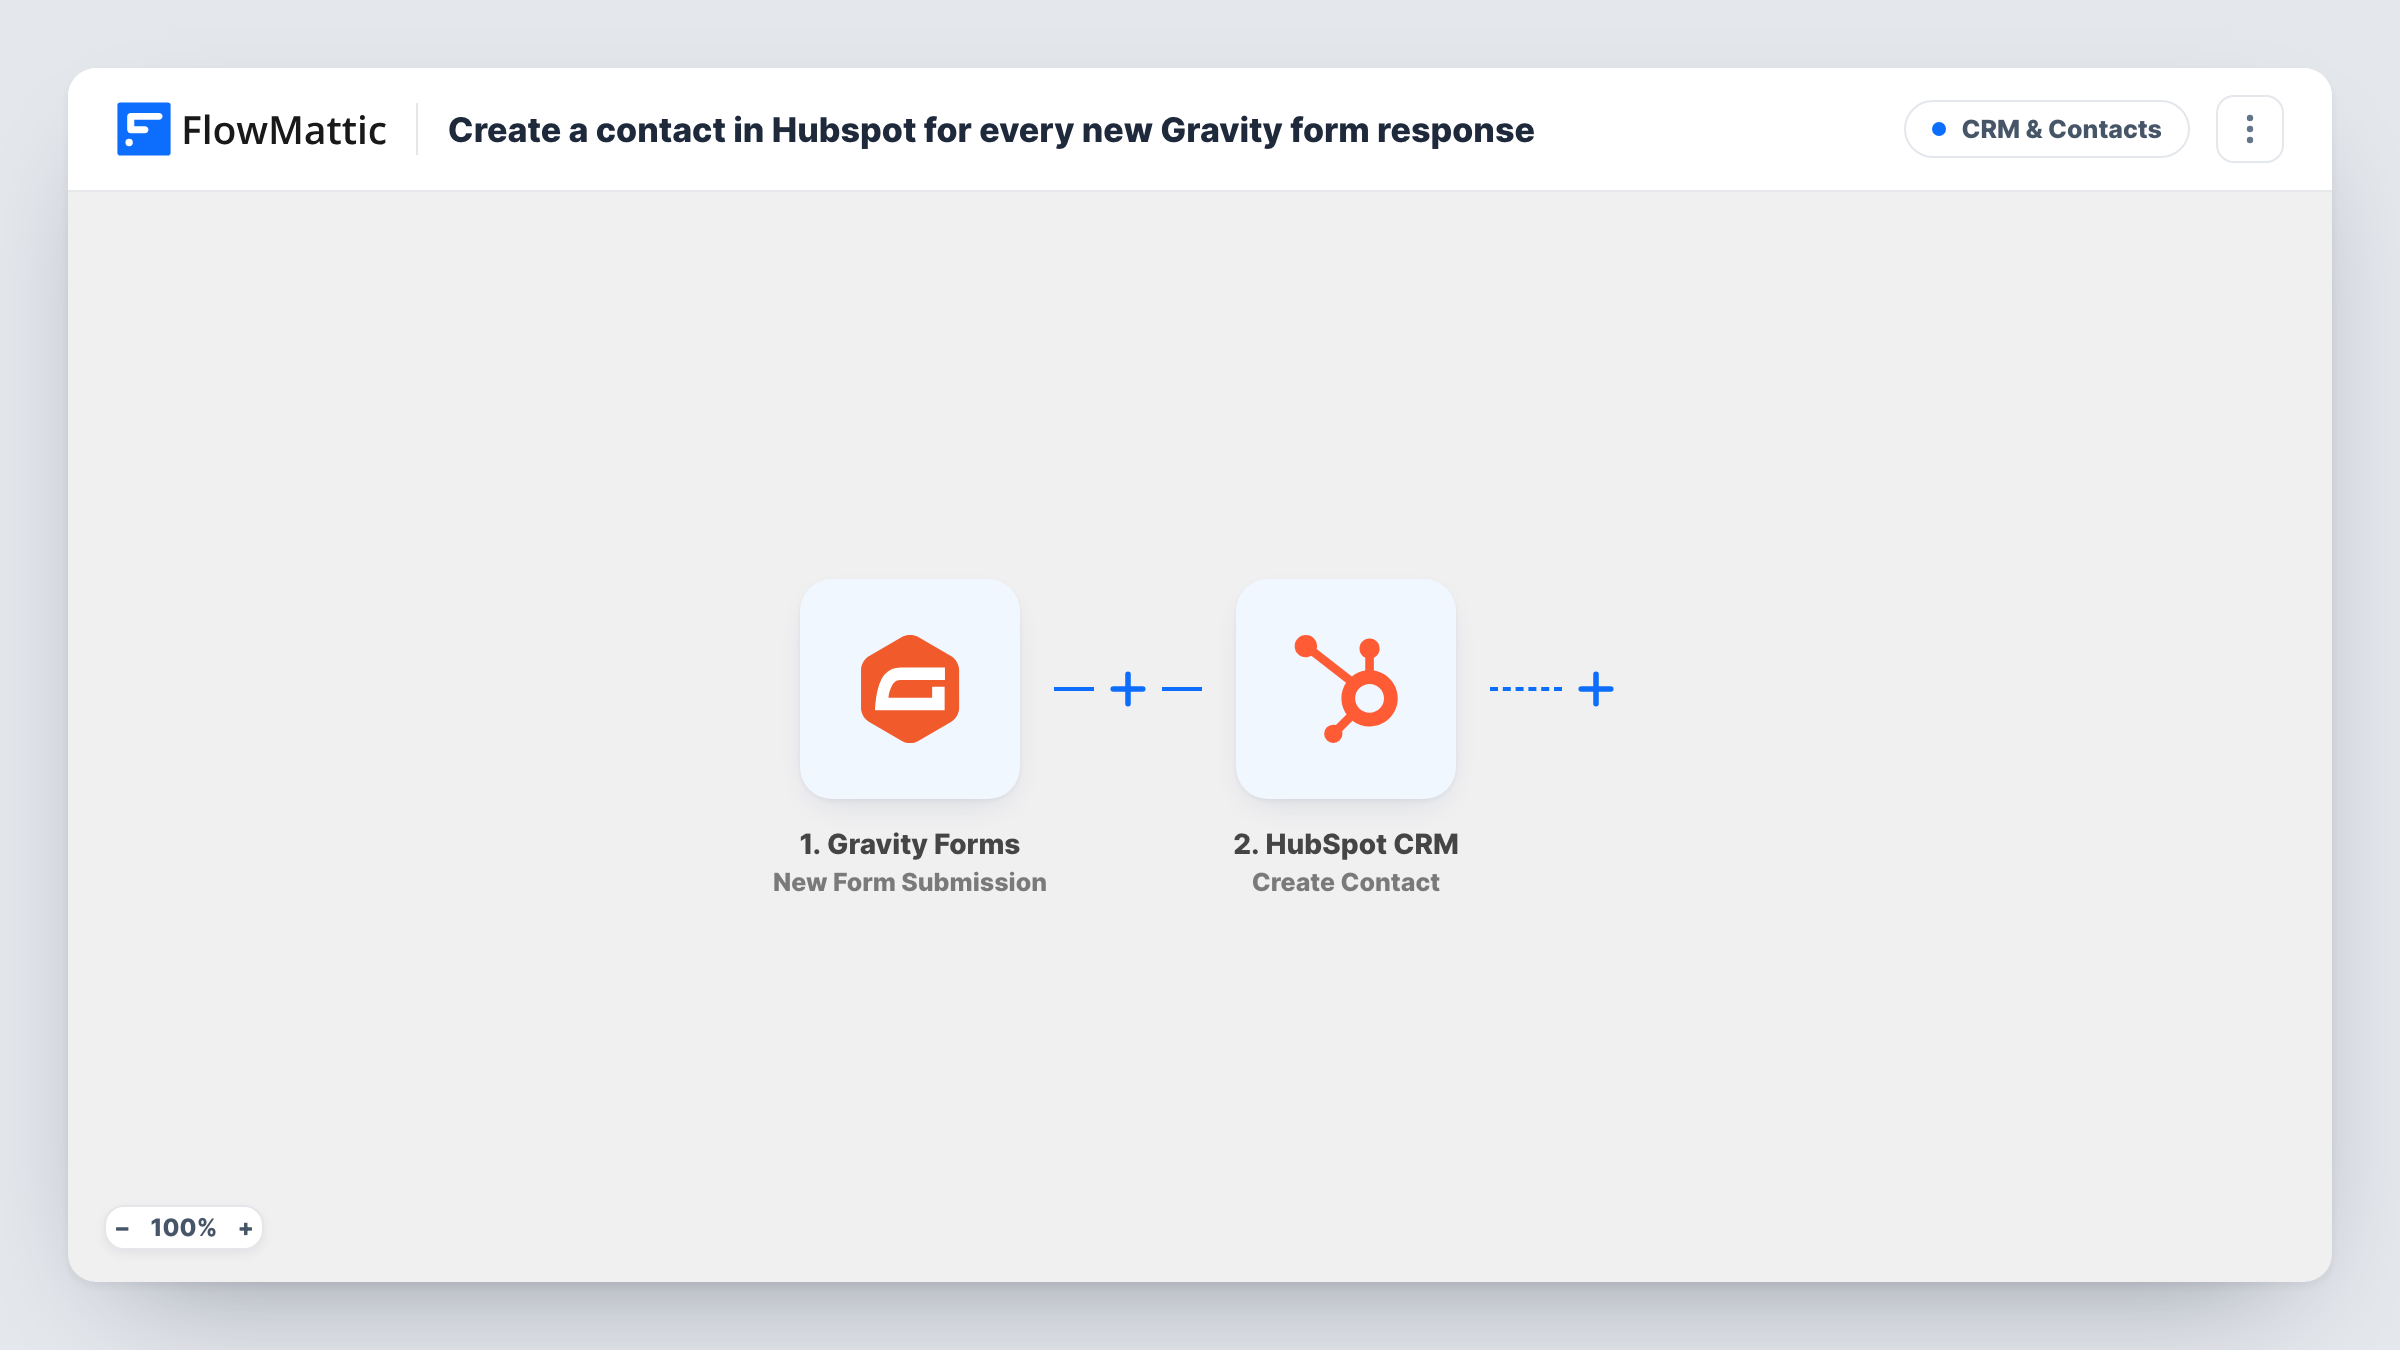
What this workflow does
Gravity Forms stores entries in WordPress, while your sales team lives in HubSpot. Moving leads between the two by export and import is slow, and leads go cold while they wait. This workflow creates a HubSpot contact as each form is submitted.
The Gravity Forms trigger fires on a new form submission. FlowMattic passes the submitted fields to HubSpot CRM, where Create Contact adds a contact from the values you map, such as email, first name and last name.
Create Contact is for new people. If the email already belongs to a HubSpot contact, HubSpot may refuse the request, and Task History shows that response on the step. Gravity Forms keeps its own copy of each entry either way, so nothing is lost on your site.
Contact Us form for a services business
Each enquiry sent through your Gravity Forms contact page becomes a HubSpot contact the sales team can assign and follow up.
Webinar or event registration
Registrants who sign up through a Gravity Forms form appear in HubSpot, ready for reminders and follow-up from your CRM.
Content download requests
Visitors who fill in a Gravity Forms form to get a whitepaper are added to HubSpot so marketing can see who downloaded it.
How this workflow runs
What happens at each step once the workflow is on, and what you need before you import it.
 Gravity Forms New Form Submission
Fires when a visitor submits a Gravity Forms form on this WordPress site. Each field in the entry is passed on for mapping into HubSpot.
- HubSpot CRM Create Contact
Creates a HubSpot contact from the Gravity Forms entry. Map the email field and any name or company fields, then connect your HubSpot account.
What you need
- FlowMatticCore
- Gravity Forms PluginPlugin
- HubSpot CRM AccountAccount
After importing, map your own data. To keep the template universal, not every step is pre-filled. Open each step in the builder and connect your accounts and fields (channels, lists, sheets, recipients) before you switch the workflow on.
Make it yours
Changes worth making after you import it.
- Make the Email field required in Gravity Forms, so every submission gives HubSpot an address to create the contact with.
- Check after import whether the trigger listens to one form or several. If it covers forms that aren't meant for sales, add a Filter after it so only the right submissions create HubSpot contacts.
- Submit a test entry after import so FlowMattic captures the form fields, then map them in the HubSpot step and check the new contact.
Questions about this workflow
What if the Gravity Forms submitter is already a HubSpot contact?
Create Contact makes new contacts only. HubSpot may reject a duplicate email, and Task History shows the reply. The Gravity Forms entry is still saved in WordPress.
Does Gravity Forms still keep the entry after it goes to HubSpot?
Yes. FlowMattic picks up a copy of the submitted values and leaves the form alone. Gravity Forms saves the entry in WordPress as usual, and its own notifications are unchanged.
Will past Gravity Forms entries be sent to HubSpot?
No. Entries submitted before the workflow is switched on stay in Gravity Forms only. Export those and import them into HubSpot if you need them there.
Can I map Gravity Forms fields to custom HubSpot properties?
Open the HubSpot step after import to see which contact details it offers, then test with one entry to confirm the values arrive where you expect.
More CRM & Contacts workflows
Other ready-to-import templates from the same category.



Import this workflow into your WordPress site
Download the JSON, import it from the Workflows screen and connect your accounts. Every run stays on your server, with no per-task fees.
30-day money-back guarantee Unlimited workflows and runs Self-hosted