

When new ticket is created in Freshdesk, add tag to the contact in Groundhogg
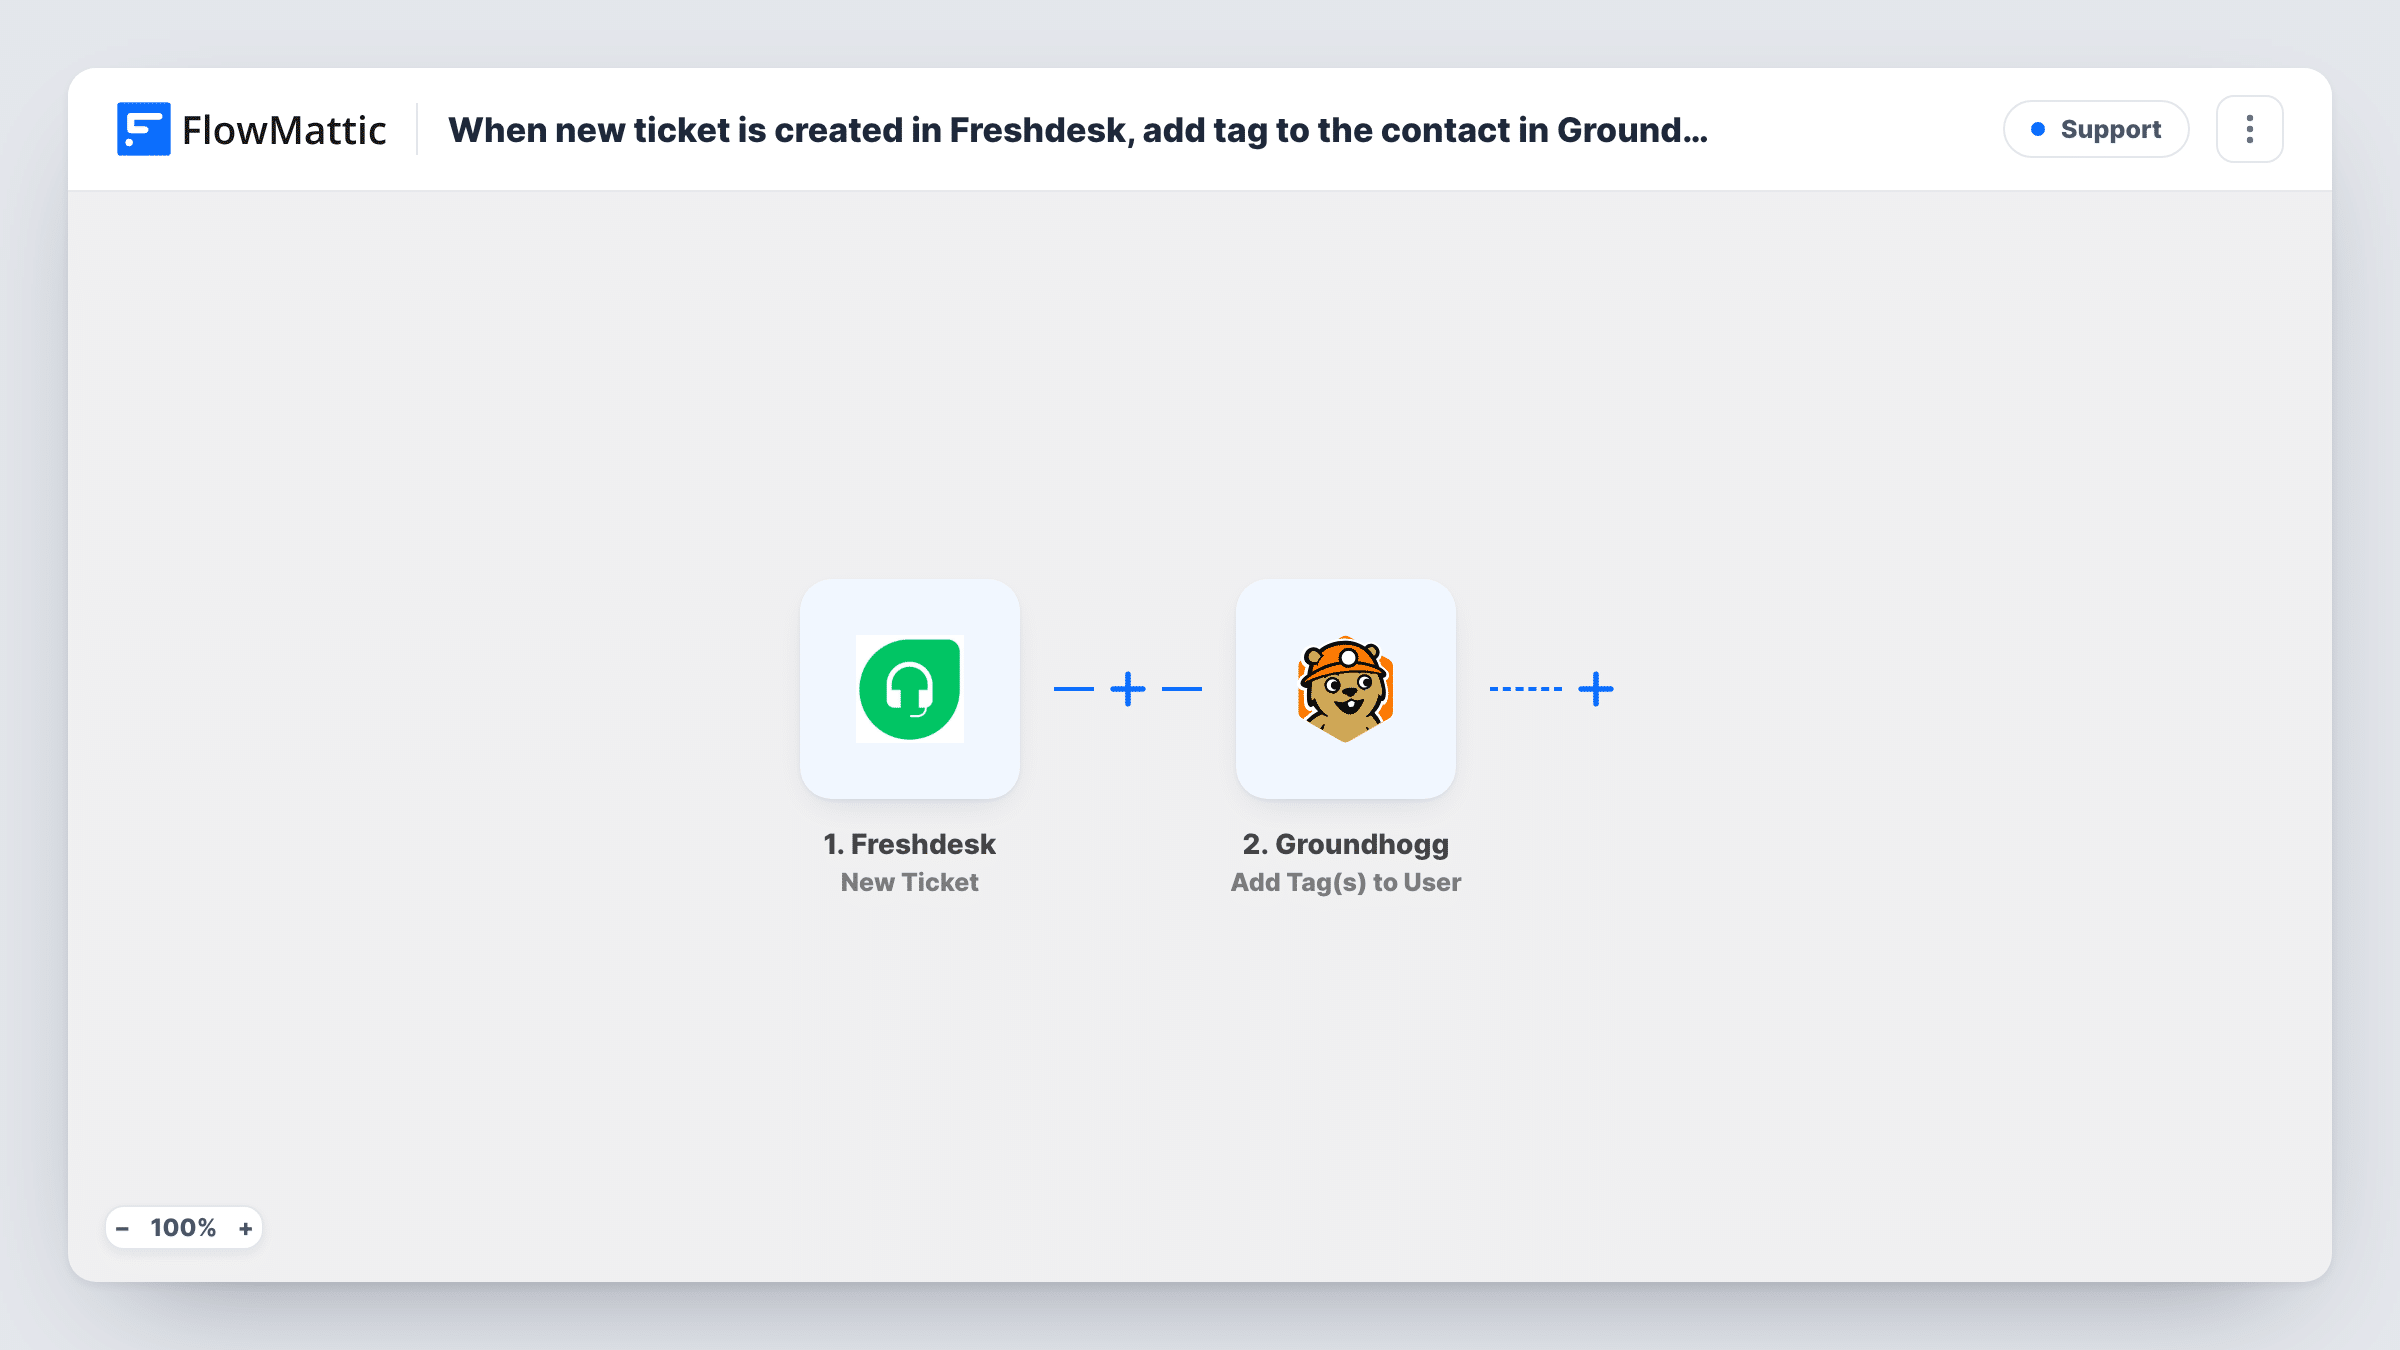
When a new ticket is created in Freshdesk, this workflow adds the tags you pick to the requester’s contact in Groundhogg, so your CRM shows who has asked for support.
 Freshdesk
 Groundhogg
2 steps Setup ~5 min Used on 3.4k sites Free to import
What this workflow does
Your support desk and your CRM usually know different things about the same customer. Freshdesk knows they opened a ticket, while Groundhogg holds their emails and funnels. Tagging the customer in Groundhogg when they write in lets you pause marketing emails to them, or follow up after the issue is solved.
The Freshdesk trigger starts a run for each ticket a customer opens. FlowMattic receives the ticket data, which you use to identify the requester. The Groundhogg step then adds one or more tags to the matching contact on your WordPress site, for example Open Ticket or Support Requested.
The flow is built for customers who are already Groundhogg contacts. If the person behind a ticket isn't in Groundhogg, check Task History for the Groundhogg response, and consider adding a Create New Contact step first. Each new ticket runs the workflow again, which applies the same tags to a contact who already has them.
Pausing promotions during an open issue
Tag customers who open a ticket, then exclude that tag from Groundhogg broadcasts so nobody gets a sales email while waiting for help.
Spotting customers who need attention
A Support Requested tag lets your account manager filter Groundhogg contacts and see which clients have contacted support recently.
Post-support check-in funnel
Start a Groundhogg funnel when the tag is applied, sending a short check-in email later to ask whether the problem was solved.
How this workflow runs
What happens at each step once the workflow is on, and what you need before you import it.
 Freshdesk New Ticket
Runs once per new Freshdesk ticket. The ticket and requester data are passed on so the Groundhogg step can find the person.
- Groundhogg Add Tag(s) to User
Adds the tags you choose to the matching contact in Groundhogg. Map the requester's details from the Freshdesk ticket and pick the tags, then test with a contact you know exists.
What you need
- FlowMatticCore
- Freshdesk AccountAccount
- Groundhogg PluginPlugin
After importing, map your own data. To keep the template universal, not every step is pre-filled. Open each step in the builder and connect your accounts and fields (channels, lists, sheets, recipients) before you switch the workflow on.
Make it yours
Changes worth making after you import it.
- Check a test ticket in Task History first. If the Freshdesk data doesn't include the requester's email, the Groundhogg step has nothing to match the contact on.
- If new people also open tickets, add Groundhogg's Create New Contact action before the tag step, and test how it handles an address Groundhogg already has.
- Only want urgent tickets to tag contacts? Add a Filter after the trigger on the ticket priority field shown in your test run.
Questions about this workflow
Does the Freshdesk requester need to be a Groundhogg contact already?
That is the case this template is made for. If the requester isn't in Groundhogg, look at Task History for the response, and add Groundhogg's Create New Contact action first if you want them added.
Is the Groundhogg tag removed when the Freshdesk ticket is closed?
No, removing tags is not part of this template. You could build a second workflow on Freshdesk's Update Ticket trigger with Groundhogg's Remove Tag(s) From User action, plus a Filter on the closed status.
What happens when the same customer opens a second ticket?
The workflow runs again and applies the same tags. A contact that already has them keeps them.
Where does Groundhogg need to be installed?
On the WordPress site where FlowMattic runs, since Groundhogg is a WordPress plugin. Freshdesk is connected as an outside account.
More Support workflows
Other ready-to-import templates from the same category.




Import this workflow into your WordPress site
Download the JSON, import it from the Workflows screen and connect your accounts. Every run stays on your server, with no per-task fees.
30-day money-back guarantee Unlimited workflows and runs Self-hosted